Week 17, 2016 – May Acquisitions

I’m getting the ball rolling on a lot of stuff this month, from the MAKE COOL THINGS livestream and YouTube channel, to some prop making, to maybe even doing a little work on a simple fun little game project I’ve had in mind for a while… See a breakdown of this month’s acquisitions after the jump! Read more…

Week 16, 2016 – Clickity-Clack! My Adventures in Obnoxiously-Loud Typing!

It’s probably no secret that I’m an inconsiderate jerk…for that reason, I love mechanical keyboards and how incredibly loud they are! Kidding, kidding! …mostly.  I love mechanical keyboards though, I used to use nothing but the holy grail of old-school keyboards; the IBM Model-M, a ‘buckling spring’ keyboard, and the original PS/2 keyboard…because, duh, it was the keyboard that came with the IBM PS/2. Loud as hell and built like a tank, made out of other smaller tanks, made from an alloy of adamantium and mithril.  Anyway, when you spend over a decade on the computer 18 hours a day, typically on no less than half a dozen IRC channels at any given time, eventually you’re going to need an ergonomic keyboard or your hands are quite simply going to drop off at the wrists…

This meant giving up my glorious Model M…and for about another decade, I’ve been stuck using Microsoft Natural keyboards… Capacitive, rubber-dome based keyboards…  They’re garbage, and they feel like garbage to type on.  But what exactly is the alternative?  Anyway, I go through a keyboard every 2-3 years because I simply start wearing out some keys– Oddly enough, the “U”, “F”, “K”, and “C”… (Kidding, kidding! …mostly.) –and it’s really annoying, and they’re expensive, and they still feel like complete garbage to type on.

Enter The ErgoDox

The original ErgoDox was a keyboard designed by Dominic “Dox” Beauchamp in October 2011, based on the key64 keyboard. (You can find the original GeekHack forum thread here.) Now, even though I’d seen it a couple times, it was just so bloody expensive that I wasn’t too excited…but I knew it was the kind of thing I desperately needed.

…5 years later…

I’d been introduced to Massdrop a while back, and through their group buys, I managed to reacquire the greatest writing implement known to man, and level up one of my important Vault Dweller skills.  So, when the opportunity presented itself around the end of January, I got on board the group buy for the Infinity ErgoDox by Input-Club.  It makes a number of improvements over the original, including the addition of two RGB-backlit LCD screens, one on either half, which can display information such as which ‘layer’ the keyboard is currently in.  See, the ErgoDox isn’t just fully customizable, but it’s got this crazy firmware setup where instead of just having an ‘Fn’ key layer like a laptop keyboard, you have the base layout and 7 additional layers that can be locked, shifted into, or locked for just the next key-press, etc.  And it’s left/right side independent.  So, even though it drastically reduces the number of keys versus a standard 104/105 key layout, you have limitless possibilities.

It was $199.99 with switches (plus another $39 for keycaps), I got it down to $155.99 for just the keyboard kit, because I was going to buy switches and keycaps separately…the latter would turn out to be a mistake however…

It’d be 4 months before the ErgoDox shipped, so I had time to source other items. A little while later, another group buy popped up, this one for Gateron Switches. (Clones of the standard Cherry MX mechanical switches that are held in such high regard by gamers and typists alike.)  Of course, I didn’t really know what type of switches I wanted… Though I kind of figured I wanted ‘clicky’…  That’s when I learned about ‘switch testers’, and oh hey, there was one on Massdrop!  A switch tester is just a means of holding a bunch of different key switches so that you can test the feel.  What was really cool about this one, was that for an additional $9 they were offering a PCB to turn it into a functional USB keypad. (Including keycaps, the PCB, and shipping, the total was $35.87) Now, obviously it wasn’t going to arrive in time for me to figure out which Gateron switches I wanted, so I bought a small one off Amazon with just Cherry MX switches and sort of guesstimated.

In the end, I went with Greens, because they’re clackers, and because they require the most force, and I’m a fairly heavy-handed typist.

So, in February, the switches arrived.  In March, the switch tester arrived. And finally, just this last week, the Infinity ErgoDox arrived.

EDIT: This is interesting.  So apparently, the switch tester was supposed to ship with the version 2.0 of the PCB, but they shipped the old one… So, at no additional cost, they sent us all a replacement, which turned out to be the brand new version 3.0, fresh off the production line.

Next Time: To Infinity ErgoDox, and Beyond!

Stay tuned for my next post on this subject where I’ll have a writeup on assembling my Infinity ErgoDox kit, the NKPC Switch Tester– including videos, I hope! –and probably some crazy mods to one or both of them.  (Not to mention some other mechanical keyboard goodies!)

In the meantime, the like-minded clickity-clacky among you might be interested in the Mechanical Keyboards subreddit, or the Mechanical Keyboards community at Massdrop!

Week 05, 2016 – How Soon is Now?

Okay, I got off to a slow start this year.  But things are looking very promising.

First things first, on a sad note one of my internet comrades, Tim Lazicki, had his house burn down on Christmas.  Some of us banded together to make a new PC for him… It seemed like the appropriate thing to do, after all if it weren’t for computers and internet access, none of us would know him…and his absence due to no longer having one had not gone unnoticed.  (I’ll write a separate in-depth post about this later.) Anyway, working on a new computer for Tim inspired a few other projects which I will be posting about…

The new year also marked my acquisition of a video camera.  The quality isn’t the best without super-duper lighting, which I don’t yet possess, but it’s a hella nice little camera… A Canon VIXIA HF-R62.  I got it very cheap right before Canon debuted the R72…which seems like a thinly-veiled excuse to go back to getting full price on a camera… Since as far as I can tell it is all but identical to the R62 in every way.

I plan to start shooting YouTube videos regularly… Things would go a lot easier if I got some contributions to that end, and I will be making a Patreon and a couple different Amazon Wish Lists once I start posting videos.

I’m going to replace my previous ‘brain dump’ post type with “What’s On The ‘Bench?” videos, where I do a 1-2 minute (each) pitch about any ideas I have or things I’m working on.  This way I can try and both gauge and garner interest in nascent ideas in a more natural and conversational way than simply writing a post about them.

I got so sidetracked with stuff after removing the stock bed of the laser cutter that I never got around to draining the water or doing anything about the coolant loop, and now I think there’s algae growing in it… FML  Oh well, these things happen.  I ordered some Copper Sulfate Pentahydrate to add to the coolant loop, that oughta take care of the stuff.  (Good thing I hadn’t finished the coolant system and added all the water yet.)

Things are getting started, I would expect videos to start showing up any time now.

Week 46, 2015 – Radiation and the Stimulated Emission Thereof

A new post? After Fallout 4 was released?! And it’s actually ON TIME?!?!?!  Yeah, I amaze even myself sometimes.

Five days ago, Fallout 4 dropped.  So I’ve kinda been doing nothing but playing that since then…  But that doesn’t mean nothing of note has been going on, because yesterday… This happened.

Excuse the certain earthy potato-like flavor of these pics, I used a Samsung Galaxy S3 to snap them, because I’m sick of not getting these sorts of liveblagging images when I can’t be bothered to set up a bunch of lights and a tripod.  I need a point-and-shoot that can do RAW. :<
20151114_124850

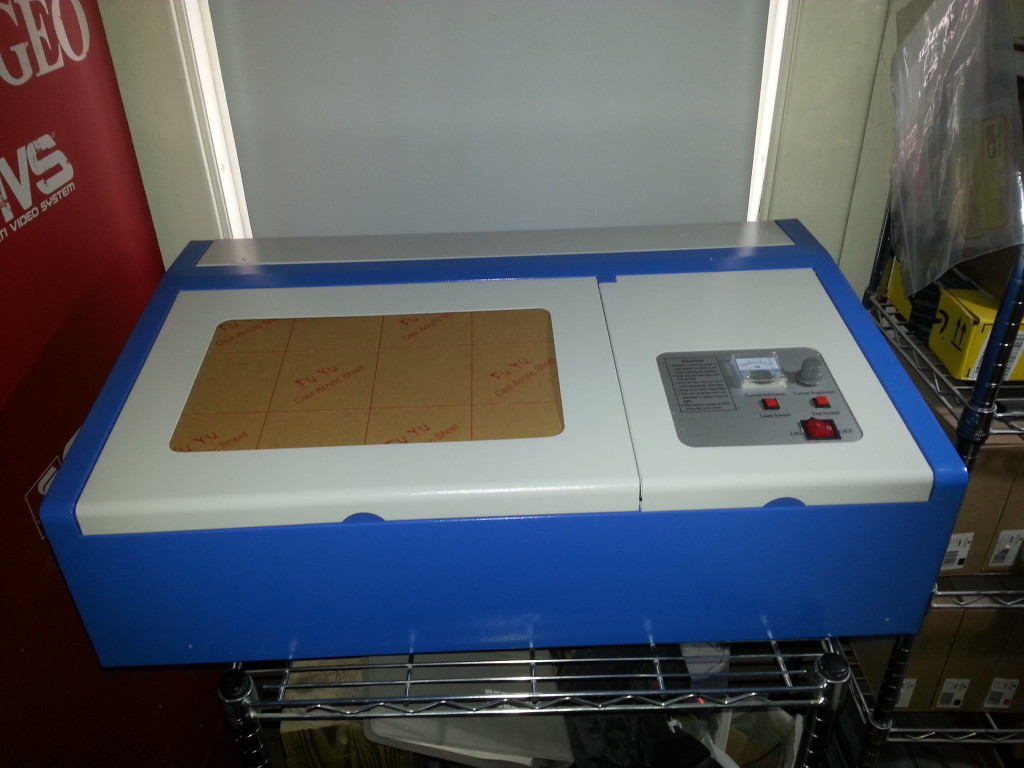
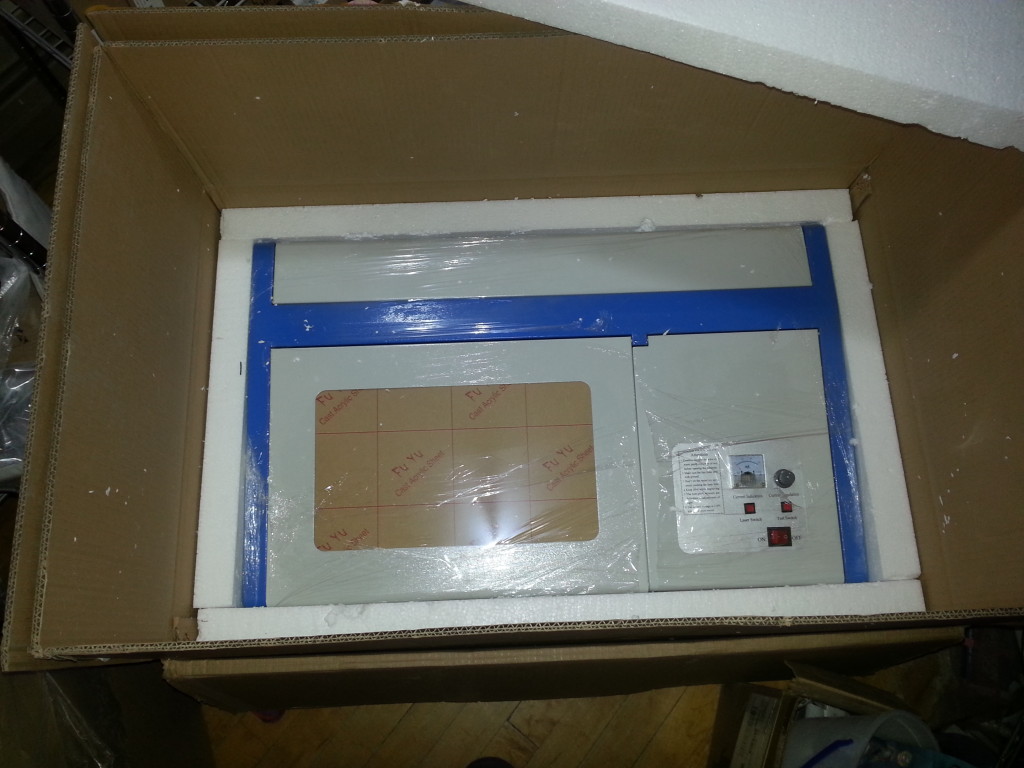
A FREAKIN’ LASER! From China, with cheapness.

20151114_125925

In its new (at least temporary) home between the 3D printer and the NEO-GEO cabinet.

20151114_125948

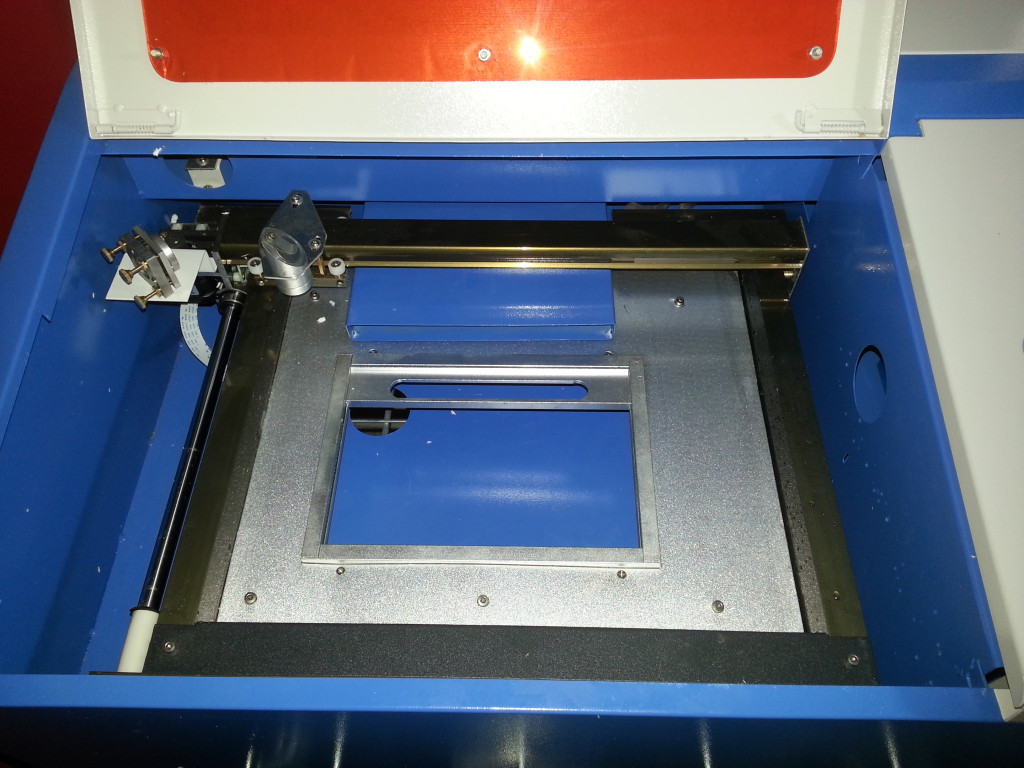
The inside. I’m going to need a power bed upgrade and an air assist… And I’d like to get rid of that stupid exhaust duct.

20151114_145000

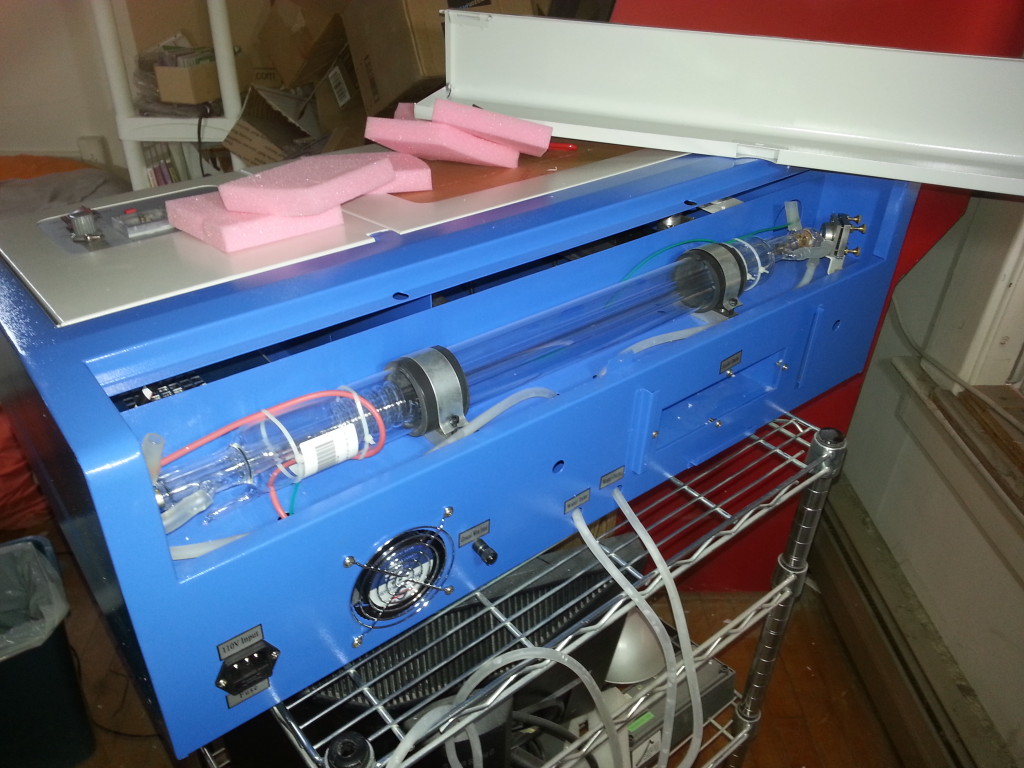
A 40 Watt, water-cooled, CO2 laser tube.

20151115_030755

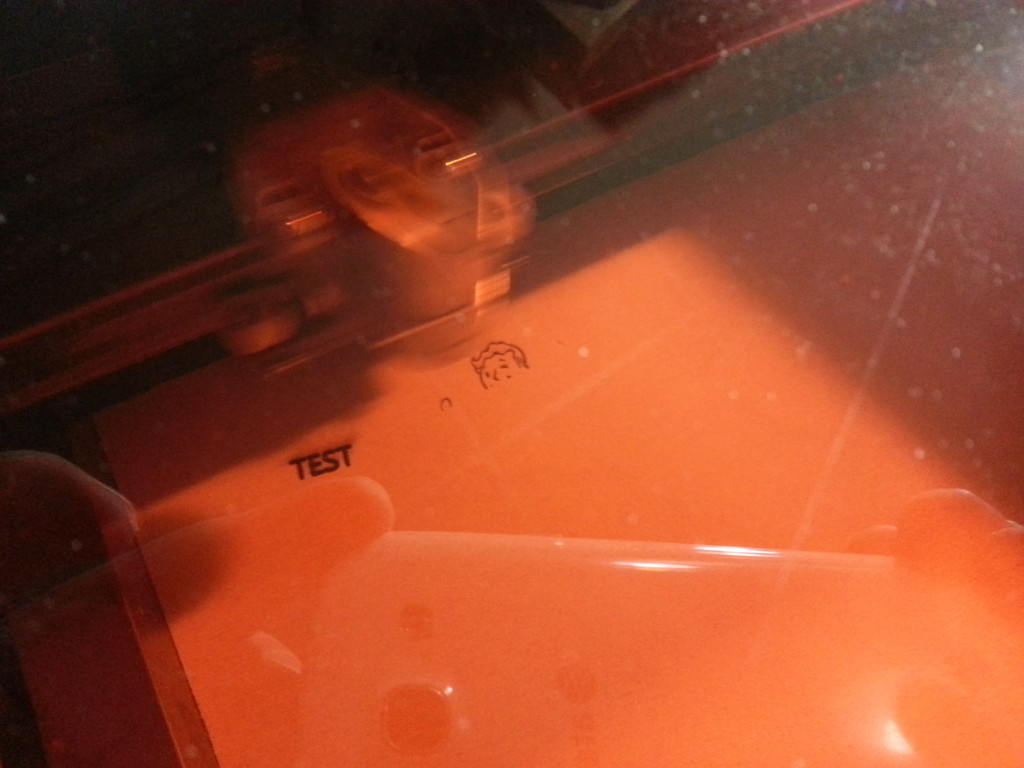
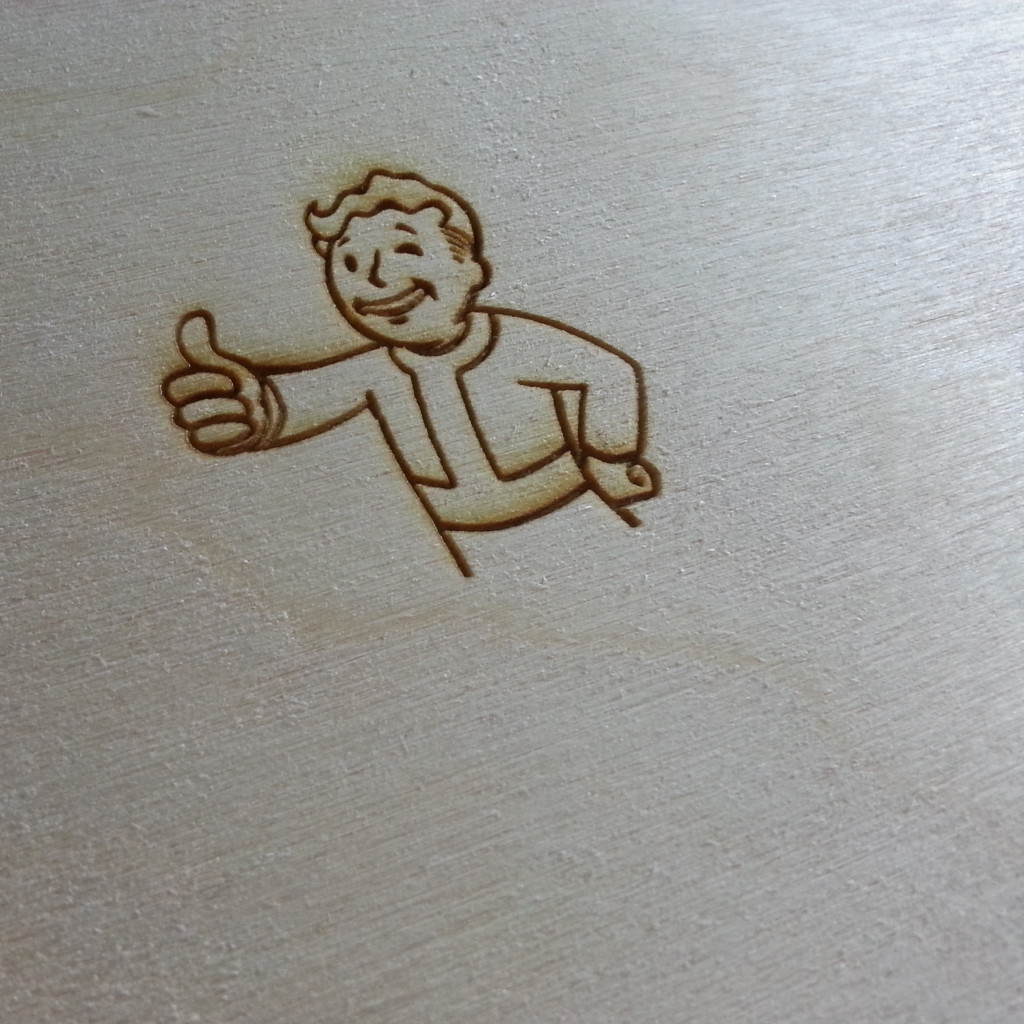
The second test, after using the laser to engrave the word ‘TEST’… I wonder what it is?

20151115_032119

It seems Vault Boy approves of my use of ‘Science!’ Guess I can go back to Fallout 4 now.

I’ll do a more in-depth look at the laser soon, as well as the November acquisitions post.

Week 41, 2015 – October Acquisitions

Gotta feed that printer! Filament from hell to breakfast, read the breakdown after the jump! Read more…

Week 36, 2015 – September Acquisitions

Well, let’s see here…  First of all I got a replacement part for my computer chair, because the bloody thing basically broke in half a week or so prior… I actually found a reinforced one on Amazon with Prime shipping, and had it overnighted for the extra four bucks!  But we’re not here to talk about that.

I got a whole lot of cool stuff, some of it very important. Details after the jump! (Pictures are coming) Read more…

Week 06, 2015 – 3D Printering

First off, I’m sure there’s some questions anyone interested in getting their own 3D printer might have, so I’ll try to answer the most basic ones:

Where did you get it?

eBay.  It’s a CTC 3D branded Chinese copy of the original dual-extruder MakerBot Replicator.  I got it for $550.90.  Though it dropped another $50 days later. That got me the printer, a 1kg roll of (in my case) no-name red PLA filament, a bag of screws and stuff, an SD card, etc.  Shipped via FedEx.  EDIT: As of February 21st, the price seems to be back up to the original $700, which is unfortunate.

How good of a copy?

Well, I replaced the generic firmware it came with– which I guess is based on an earlier open source MakerBot firmware –with the latest official MakerBot firmware, right from within MakerWare… Yeah.  In fact, the hardest part was getting the damned timing right for hitting the reset button on the back of the printer, so that the controller board is rebooting just as you try to upload. Basically, other than probably skimping on material quality where they could (Though that doesn’t seem to be a problem… I mean, other than the working bits, it’s already just made out of plywood anyway.) the only difference between this and a vintage MakerBot machine would seem to be the lack of a MakerBot ‘M’ button as the interface’s enter key. Only time will tell how durable it is.

Any problems so far?

Mostly just me trying to climb the learning curve, and tumbling back down.  Though the bed is slightly uneven– it dips in the center –but that’s a very common problem regardless of the printer.  And hopefully that’s been resolved, as I’ve got a 0.25″ borosilicate glass plate to put on there that’s flatter than anything.  Haven’t installed it yet though.  It’s also a wee bit rattletrap; when it arrived, it’d already lost a bolt from the housing (I eventually found the nut in the box, and reinstalled it.) and one of the bolts at the back of the print bed, that hold in the upright section behind it, came undone and fell out… That was a bastard to put back in.  Basically, I’ve just gotta make sure to snug everything up, and get some loctite the next chance I get.  Luckily it does come with a bag full of extra hardware.

What are you using for filament?

I bought a little over $200 worth of HATCHBOX brand filament from Amazon, via Fire Sale Merchant. (Fulfilled by Amazon, though often it will default to getting it direct from Fire Sale Merchant without the benefit of Prime and you have to choose the ‘Fulfilled by Amazon’ one under other sellers.)  They seem to be the only source for this brand of filament.  Both their PLA and ABS are very nice, though their ‘transparent’ ABS is a bit of a misnomer… It’s more of a ‘translucent’, at least, without post-processing to reduce the diffusion properties of the surface. (Haven’t tried that yet.) Sadly the prices for the 1KG spools have gone up $6 to ~$30 since I bought mine.

Anything else?

Well, I’ve been keeping some notes on print quality– such as the fact that the transparent white ABS extrudes better at 245°C but I need to do some proper test parts. (Like extrusion temperature/speed tests) I’ll tell you this though; Elmer’s purple glue sticks do wonders for making prints stick to the bed regardless of filament/substrate…even combinations like PLA directly on a Kapton-covered printbed.

What’s next?

I want to get some HIPS and a gallon of Limonene, some PVA, some NinjaFlex, some carbon fiber filament, some T-Glase, some Taulman 618, some Taulman Bridge, and a copy of Simplify3D.  Once I get experience with dissolvable support materials, flexible materials, high-strength nylon and reinforced ABS, and other exotic materials, I should have a pretty good handle on the current 3D printing landscape… Plus I’ll have that much more to offer on 3D Hubs.

Week 03, 2015 – Big Things

2015-01-21 *Sigh* Yes, I’m back-dating these posts because I didn’t want to start the year off badly when the reason I kept being unable to sit down and write them was because I had so much cool stuff going on!!!

So I got a small investment from my mother, for my birthday. It’s going to buy something very, very, very, spiffy.

When I show off what it is, I’ll also be announcing what I hope to become a new feature of the site, as well as listing some projects I want to undertake.  Other than that, I’m still waiting on the screen printing article because I’ve got a few small but important items coming in, and because there’s a lot of photos I’d need to take that I haven’t yet.

Speaking of screen printing, I found a cheap IR-based flash dryer for $400 that some guy sells…builds them himself and it’s basically just the panel with a metal box built around it and a light switch to flip it on and off.  So I went straight to Intek and they quoted me a price under $200 for the same panel. (Way under.) Between that, and building my own 36-inch-long exposure unit– so I can do all the way up to 36×31 frames –for about $200…  I’d say I’m good on that front, it just might take me a couple months unless I come up with another source of funding.

Anyway, just over a week until my birthday!


Week 02, 2015 – On The Horizon

2015-01-21 *Sigh* Yes, I’m back-dating these posts because I didn’t want to start the year off badly when the reason I kept being unable to sit down and write them was because I had so much cool stuff going on!!!

For starters, I spotted this in the Adafruit Twitter feed: A DIY PCB ‘printer’ built around the laser pickup out of an Xbox 360 HD-DVD drive.  Oh man, to have one of those…

Second, I bought some fabulous stuff from Silkscreeningsupplies.com again: Several new colors of ink, a roll of pallet tape, spatulas, ink clean-up cards, and more… Plus I never detailed the items I picked up on Black Friday… And there’s still more ahead, so I’m going to do a couple big Screen Printing posts to cover it all! (Probably the beginning of February.)

That’s about it for now… I’m trying to get the house in order for various things that’re going on…

Week 43, 2014 – Make Cool Shirts, Phase One

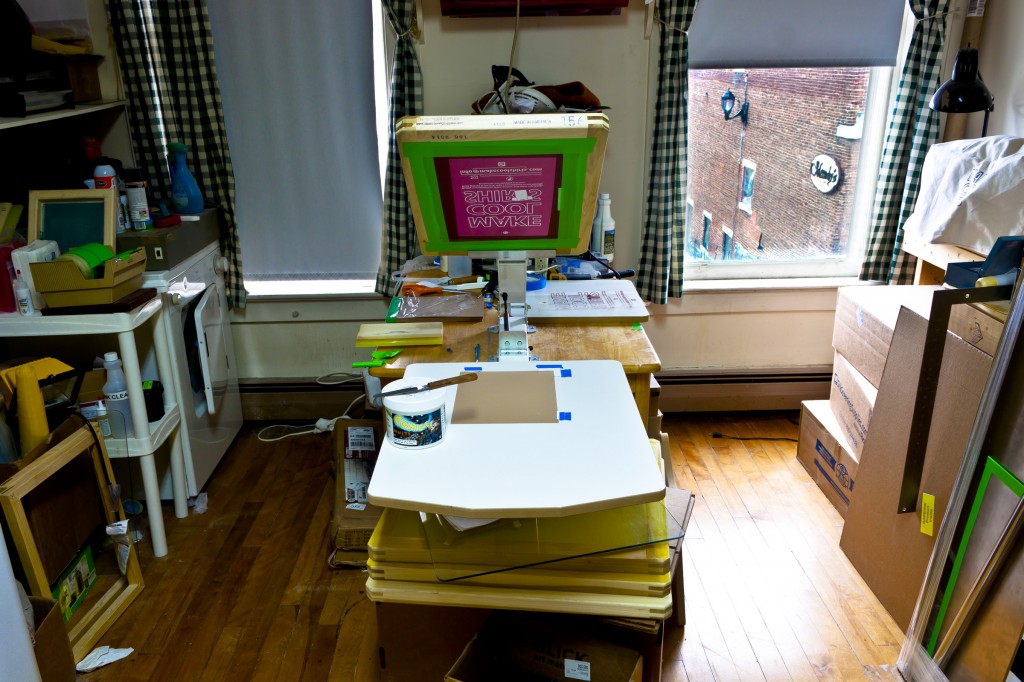
Screenprinting Workspace

My Ryonet DIY Starter Press, bolted to table in the kitchen. With a 20×26″ t-shirt/sign platen, and 20×24″ 156 mesh screen.

Well, I finally got my ass in gear and started working on things. It wasn’t easy. The apartment is still congested, and I can’t get to anything (Seriously, you don’t even want to know what it looked like behind the camera, let alone in any other room.)

Before I give you a tour of the gear, lemme run you through a quick print I did.  This screen didn’t turn out well, it was under-exposed for whatever reason, but since I knew this wasn’t really a ‘keeper’, I mostly did this to buck myself up by doing something productive, as well as to show my mother– who had come by –the process (Not that she didn’t know, both my parents had been making silkscreens long before they’d made me), and finally, to take photos for a montage to use as banners on the MAKE COOL SHIRTS YouTube channel and Twitter account. Read more…

Go back to top