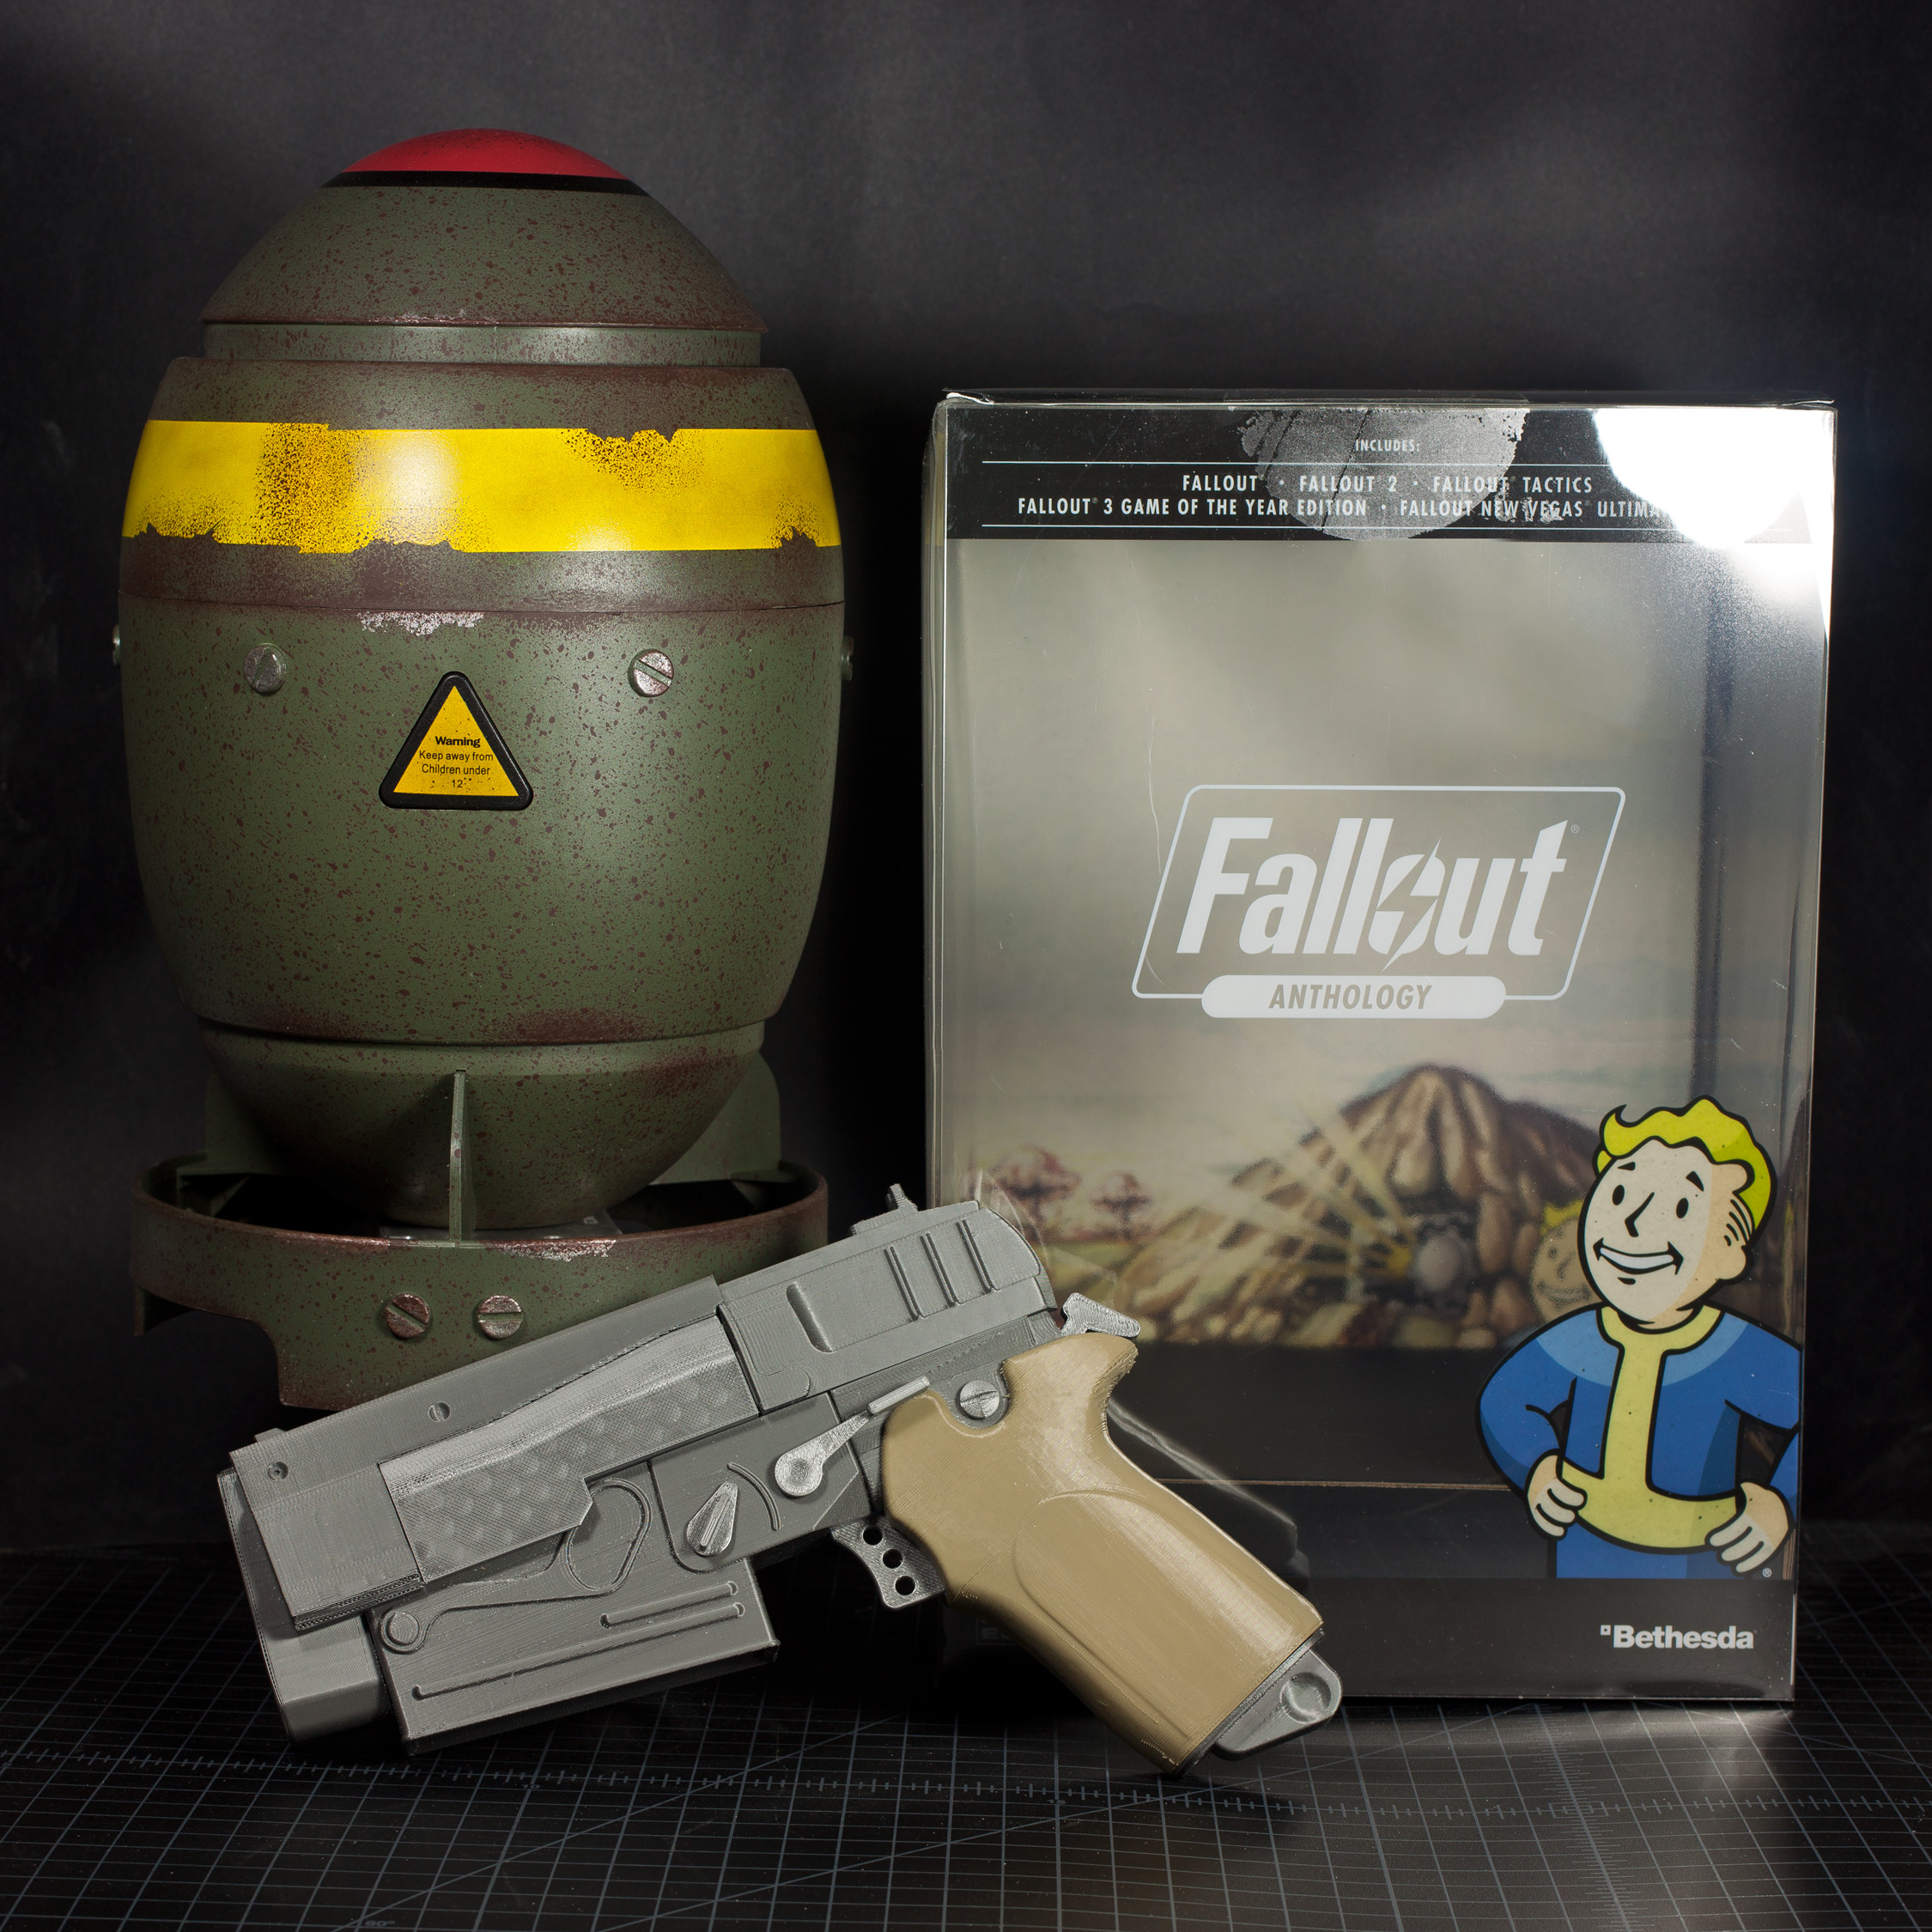
Well, here it is. This is what I consider to be my first ‘real’ part. I mean, sure, I designed that webcam mount and a few other things, but they were all crude early attempts.
I decided that a spool holder was going to be absolutely essential. Besides just making it a pain in the ass to change, having the spools mounted to the back of the printer caused a lot of feeding friction– though I never had a jam, I did have a particularly brittle transparent ABS filament snap off at the extruder a couple times because it took too much force to feed it –and most importantly it makes it impossible to put the printer on my 14-inch deep wire shelving. I wanted to be able to mount the spools above the machine, make them as fast and easy as possible to swap, and make it feed as smoothly as possible. To take care of that last point, I knew that whatever I did, it was going to need to involve bearings of some kind.

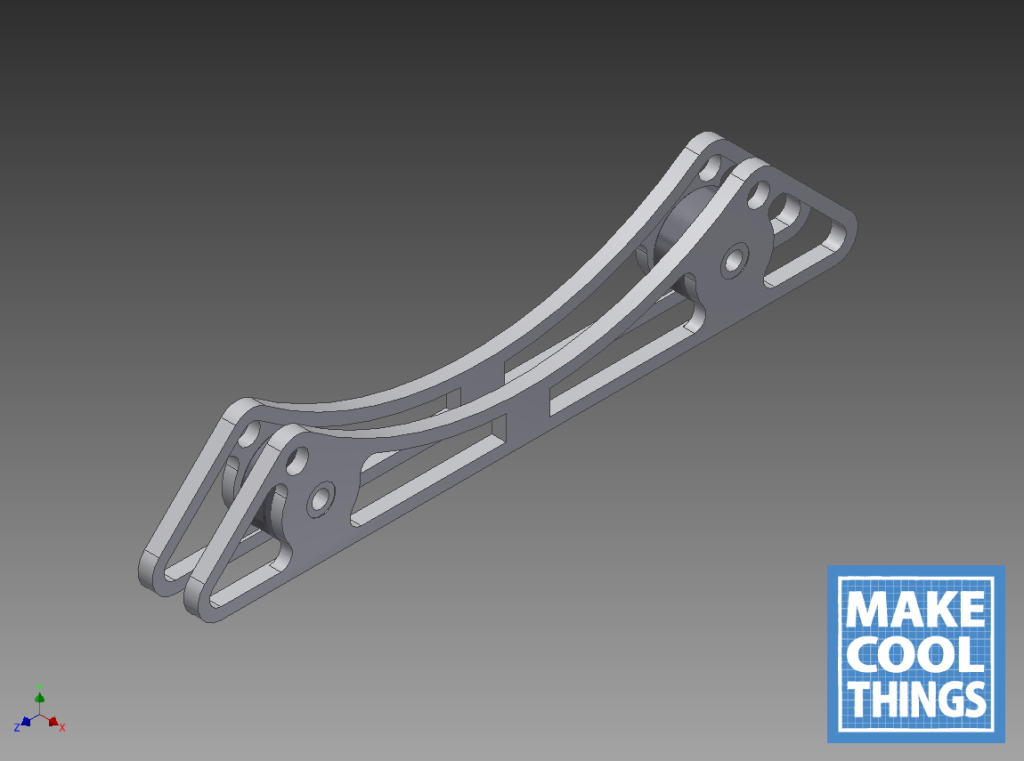
Mechanical drawings.
At first, I thought about other designs I’d seen, like a horizontal post that the spool hangs on,
with a single straight race loaded with like quarter-inch ball bearings, which the spool rests on… But mounting that would be problematical, and there’s no guarantee that the balls would roll smoothly. It also wasn’t necessarily universal. In the end, I settled on a very simple and elegant concept; just have each rim of the spool rest on a pair of skate bearings spaced apart by a printed frame.
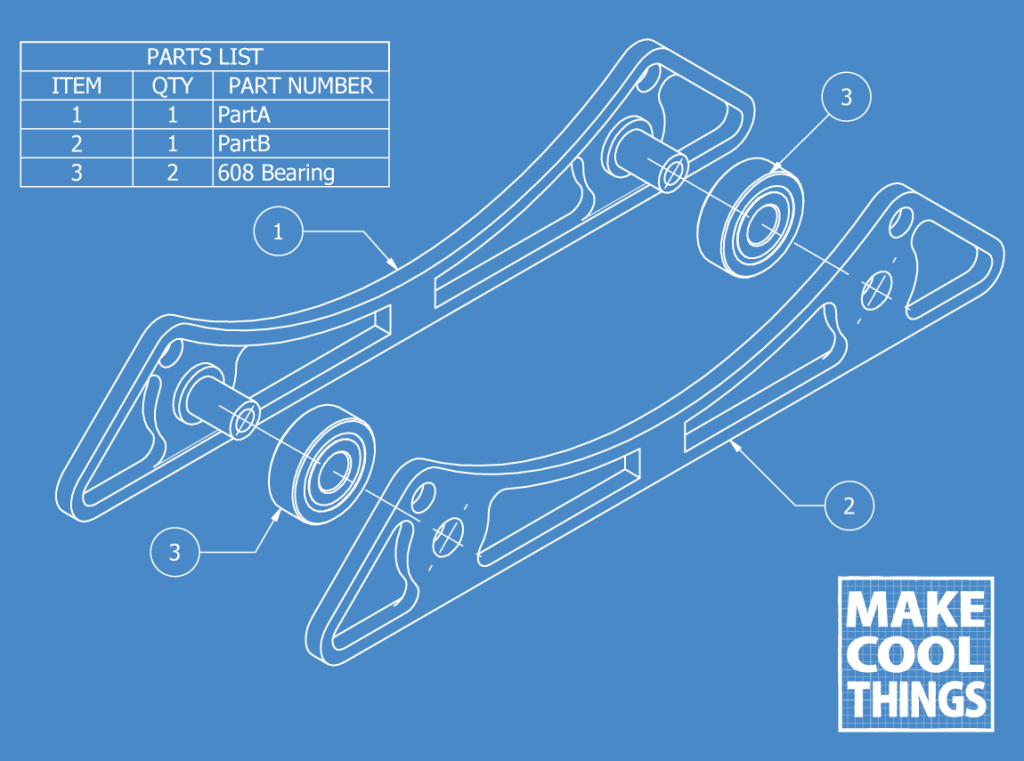
Assembly diagram.
The end result was some beautiful work, with some additional cutouts to lighten it up and reduce material usage and print time. (I later found out that the reduction in print time was negligible, depending on the print settings, because of the additional time spent printing perimeters.)
And it printed just as good as it looked…which is something I could definitely get used to.

The printed parts.
I put them to use immediately, moving the printer to the shelves, and setting up the filament spools above it.
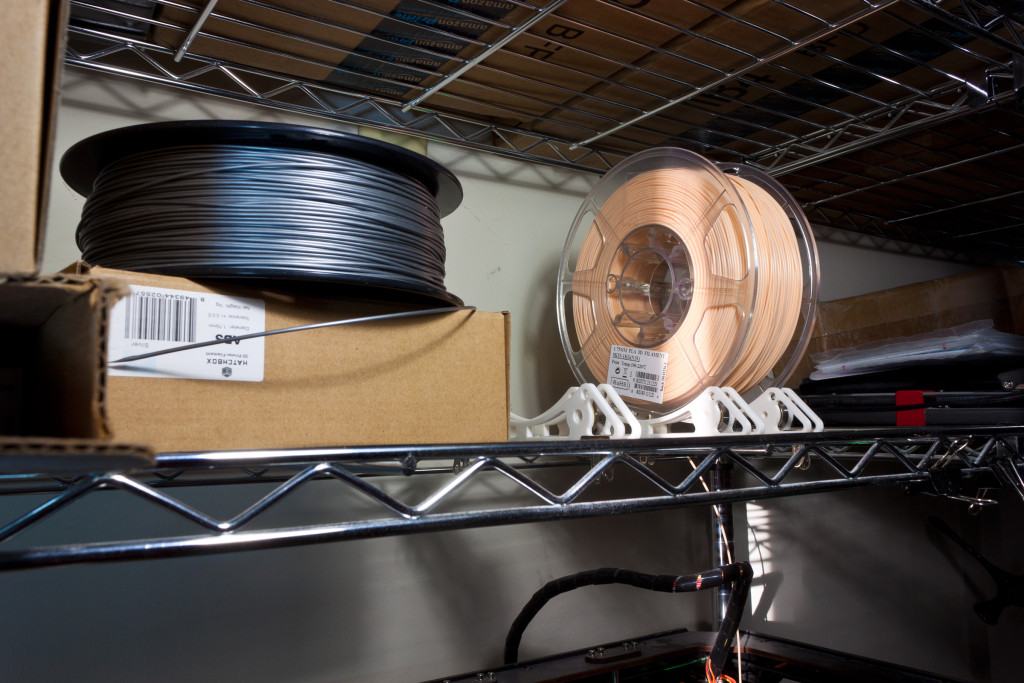
The spool holders in action.
I need to design and print some little clips that attach to the spool holders, and then to the wires of the shelf… I purposely avoided integrating a shelf attachment method to allow for flexibility in their use. In future design iterations, it might be useful to include some manner of guide tube near the front or something, so I can just plonk the spool down on the holder, feed the filament into the tube, and have it come out where I want under the holder. Because currently, I have to stick the filament through the shelf first, before I set the spool down, so that the filament is coming down from the center of the spool…this is less than ideal. I think it’d also be cool to print them in Taulman Bridge filament, so the finished parts would be nigh-indestructible!
UPDATE! 2015-08-30 Posted to Thingiverse!
Thingiverse and MakerBot are running a contest, #FilamentChallenge, with first prize being ten spools of either MakerBot ABS or PLA. The challenge is to design a spool holder, so I submitted this design. You can find it on Thingiverse here! It’s my first submission to Thingiverse, but it won’t be my last.
And by the way, you can see that nearly six months later, the spool holders are still working perfectly.
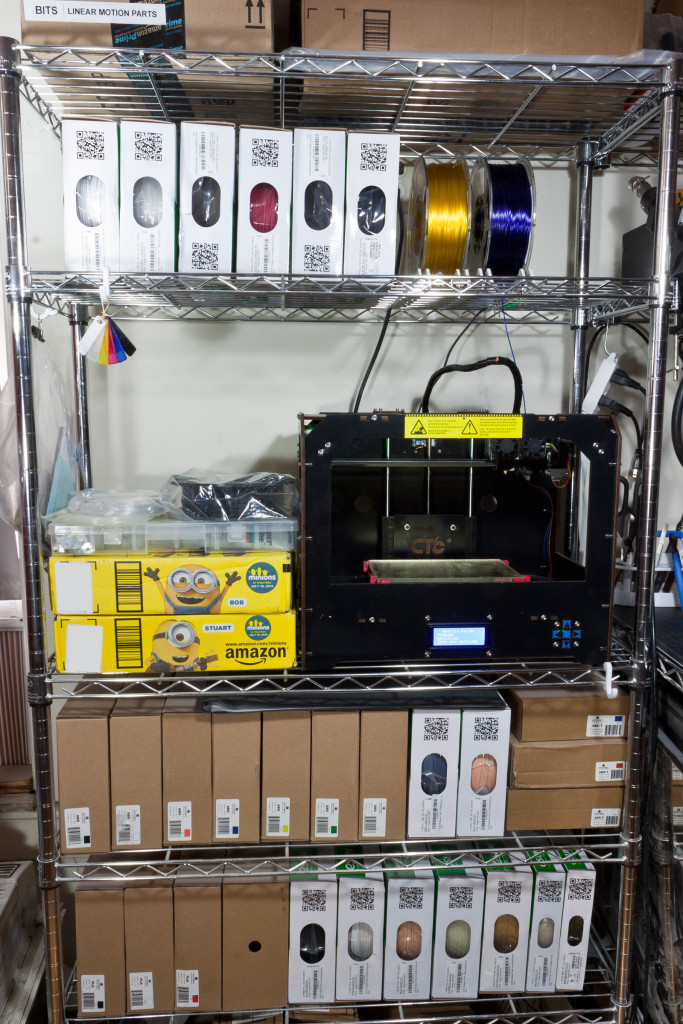
The spool holders are still serving me well, six months on.

