
Week 36, 2020 – Adventures in Harmless Forgery
Anyone who knows me, knows that I’m a huge fan of Penny-Arcade. I’ve been reading the comic my entire adult life—which also happens to be how long it has existed—but I’m also an active P-A community member, and partake of the duo’s shenaniganry in all its various forms.
Which brings us to PAX, the Penny Arcade Expo. With 2020’s COVIDpocalypse, PAX West and PAX AUS have been canceled, instead replaced with the unprecedented 24-hour a day, 9-day extravaganza known as PAX Online. In addition to openly selling the show-exclusive West and AUS merch on the P-A store, they quickly made some PAX Online merch to offer, including a souvenir badge…knowing that most PAX attendees keep their badges as mementos. I ordered a set with my PAX:O merch, but unfortunately, even the first wave of badges wouldn’t ship until a month after the convention, so for me—an absolute freakin’ nerd who wanted a badge to wear during the con —that just wouldn’t do…
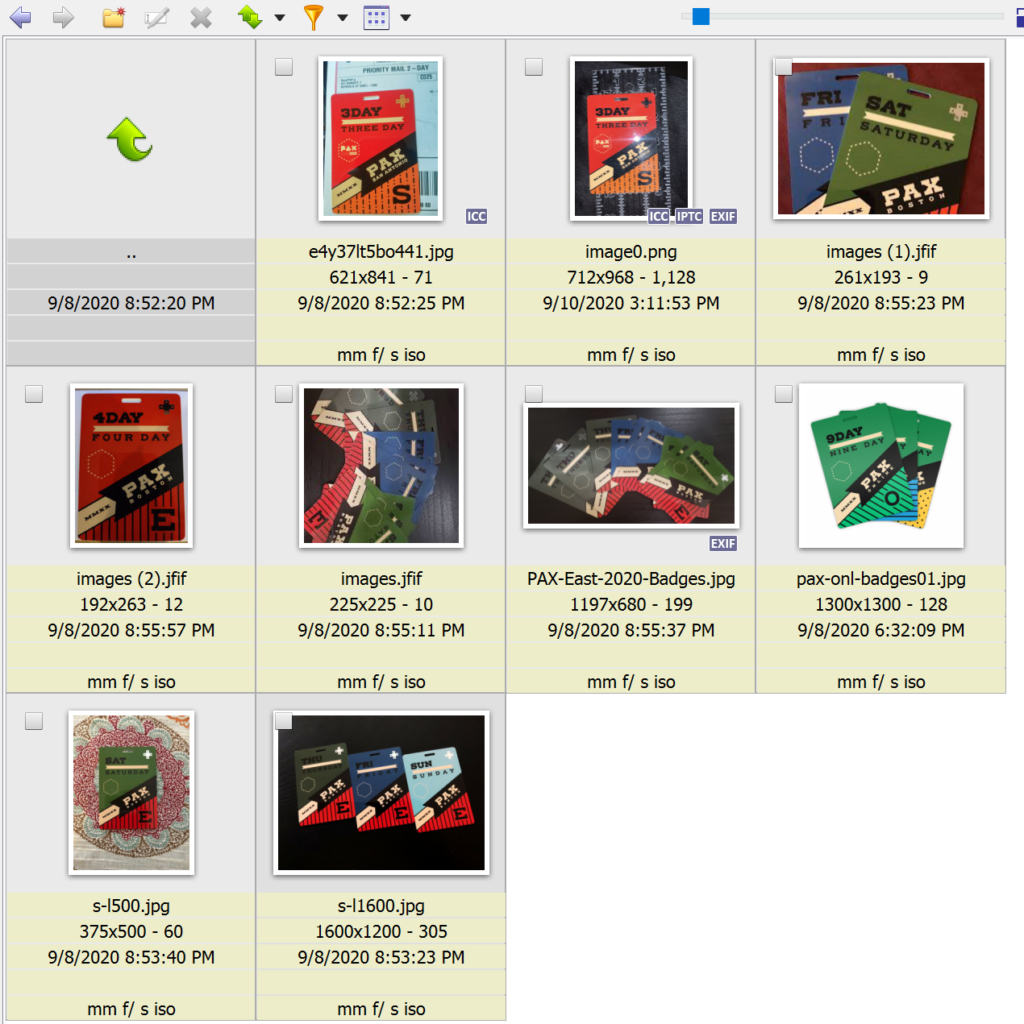
I had the art for the PAX Online badge from the store listing… So I went looking for pictures of previous badges, hoping to find something I could use for size reference. I found a photo of a PAX South 2020 badge on a USPS label, so I used the height of the barcode as a reference dimension to set the scale in Photoshop’s “Image Analysis” mode.
From there, I worked it out to 2.75″ by 3.875″ with a .5″ by .125″ lanyard slot. I would later find out that this was close but not quite it, no doubt due to perspective foreshortening. The actual dimensions—as I got someone on the P-A discord to measure one of their badges for me—were 2.75″ by 4.00″, and while they confirmed the slot as .5″ by .125″ I’m now confident that it’s probably 15 by 3 millimeters. (Since that’s the most common hole that ID badge punches make.)
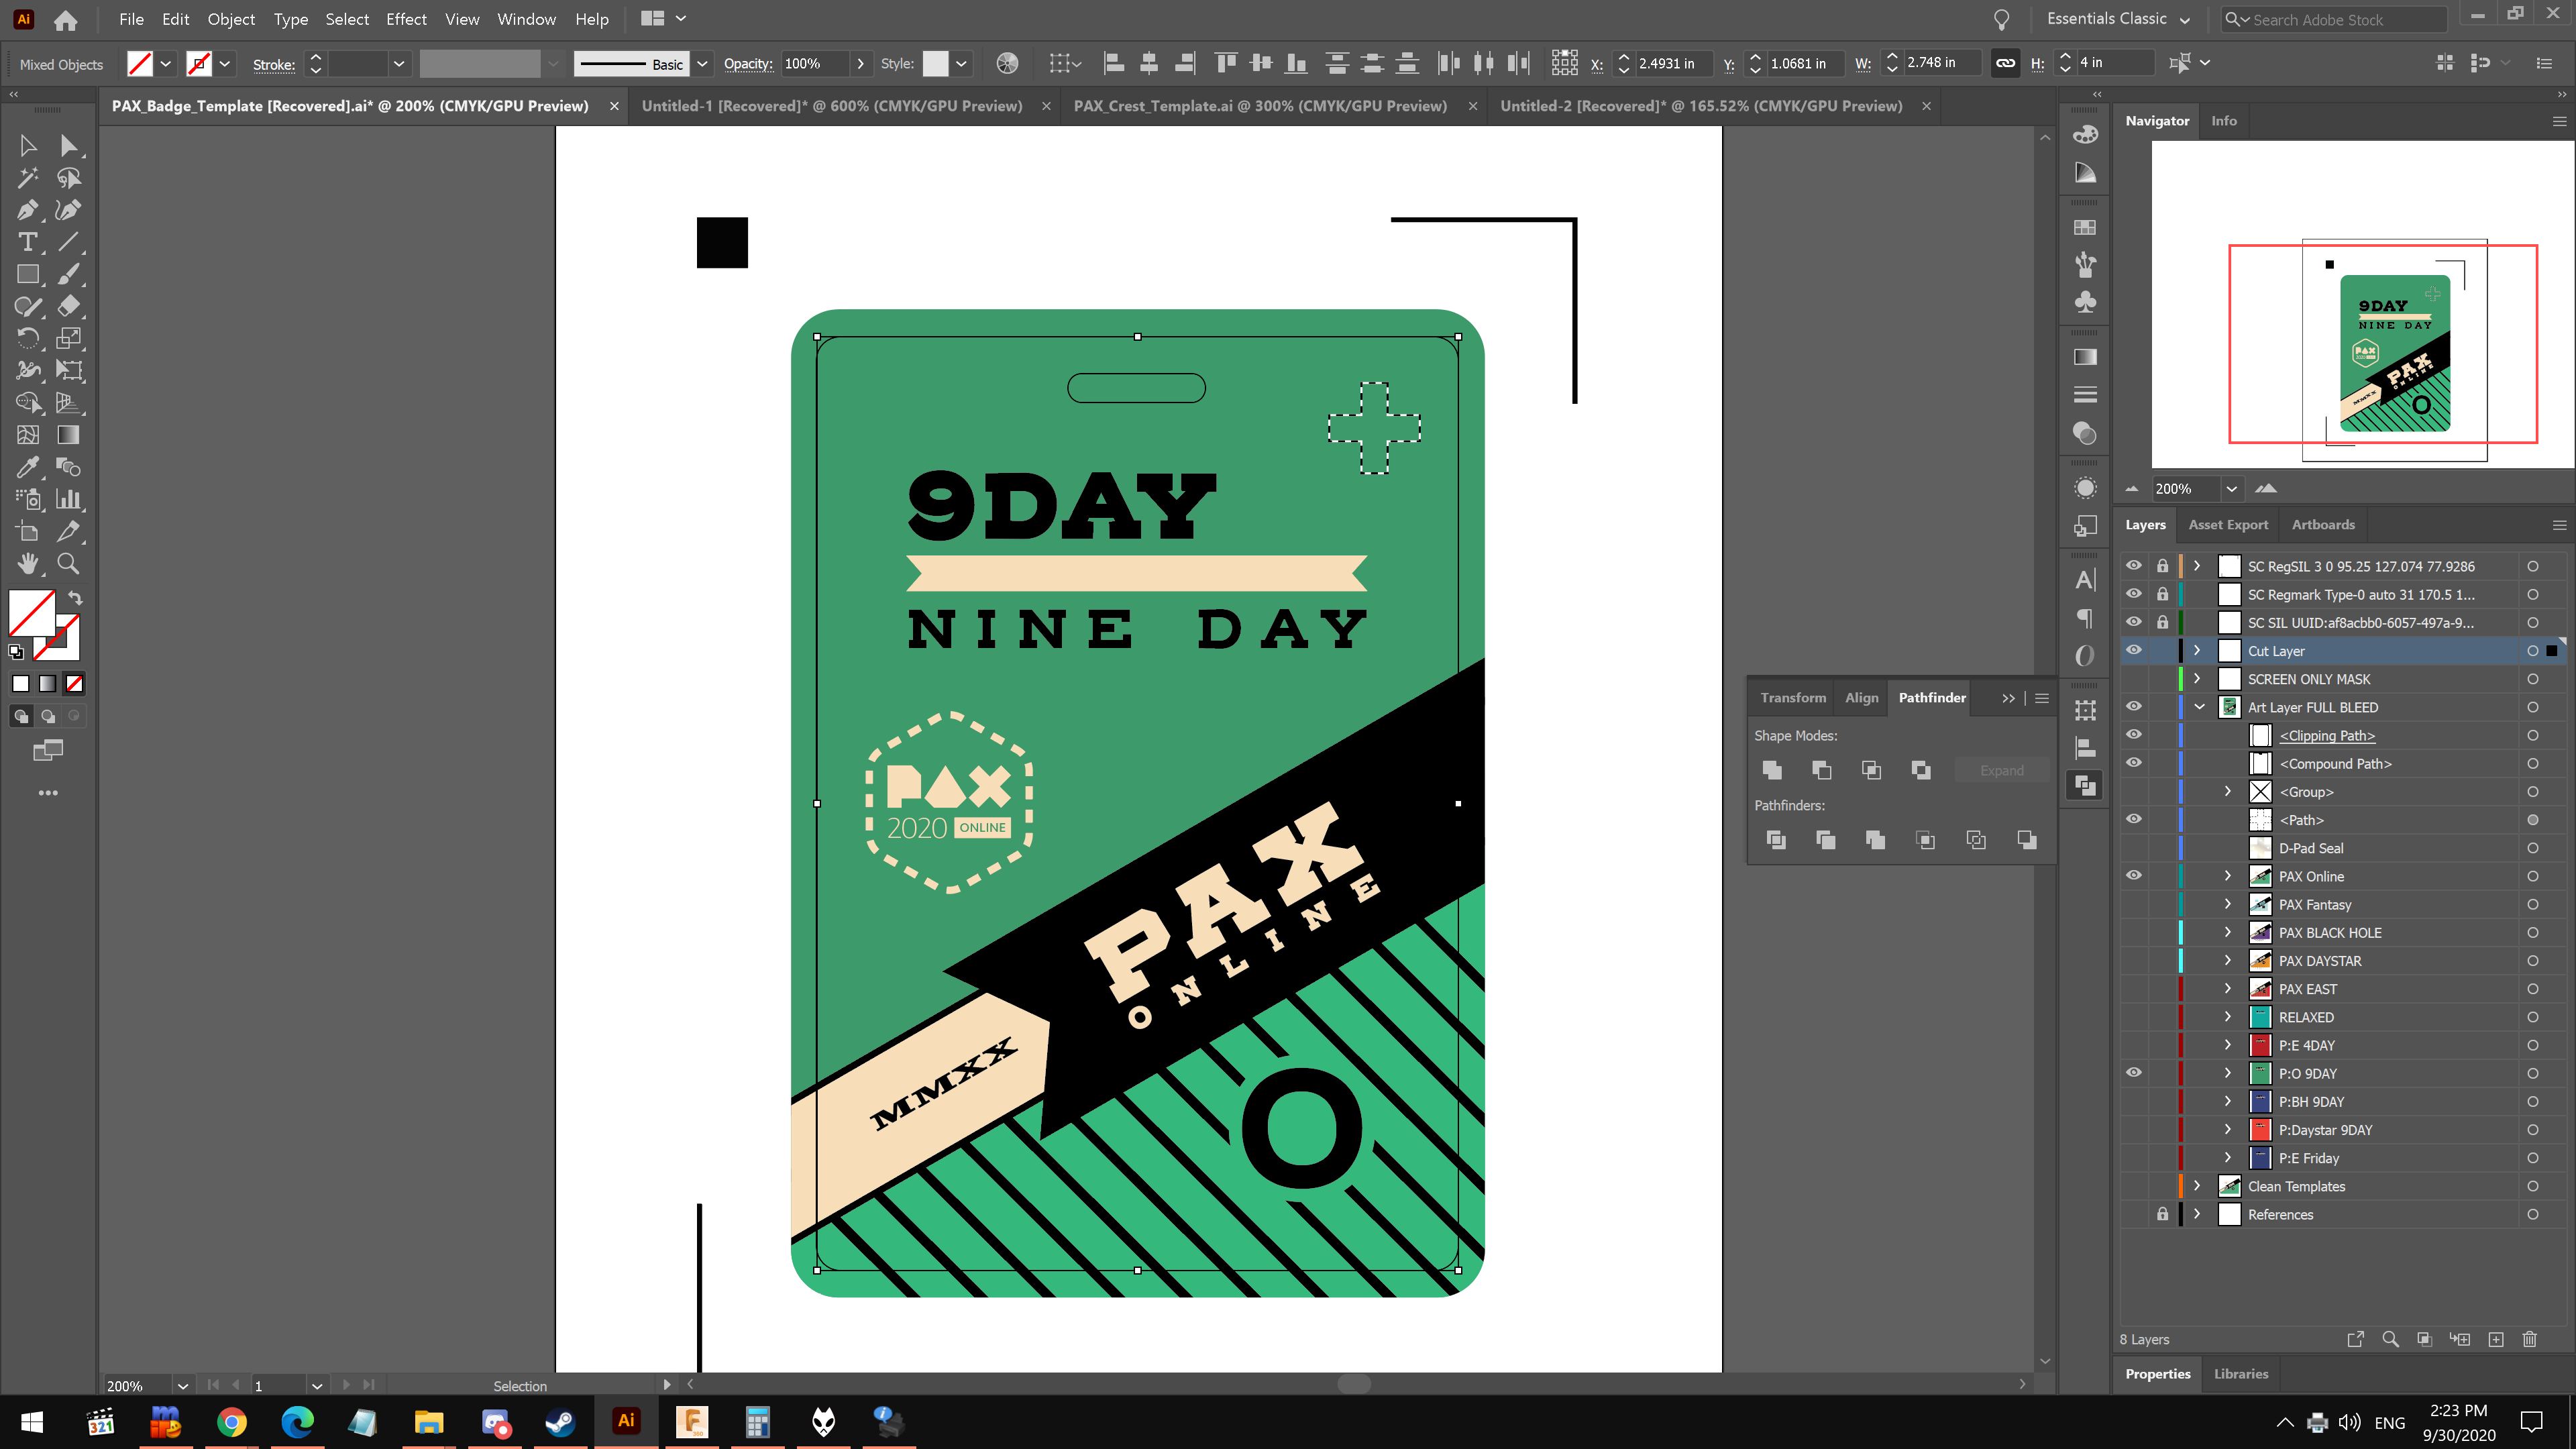
I worked my usual Illustrator sorcery; playing “CSI: Typography” and meticulously recreating the work of more talented artists, eventually arriving at a template of full-bleed artwork, with upper and lower art combinations for different real and fictional PAX shows, an additional mask layer for exporting screen-ready images, and a cut-layer for contour cutting the art in my Silhouette Cameo 3.
-

Full-bleed art in Illustrator -

Cut line layer -

Silhouette Connect interface


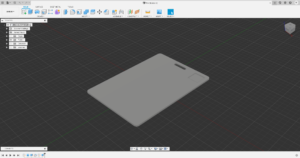
The next step was the physical construction… I didn’t want it to just be the usual laminated cardstock nonsense one might fabricate; it would be far too flimsy, and thus lack the verisimilitude I desired. I decided on a 3D printed card blank. I fired up Fusion 360 and designed it 1.5mm thick, and to the dimensions of the badge, complete with the lanyard slot… With one addition; a .25mm deep square cutout in the face for the hologram.
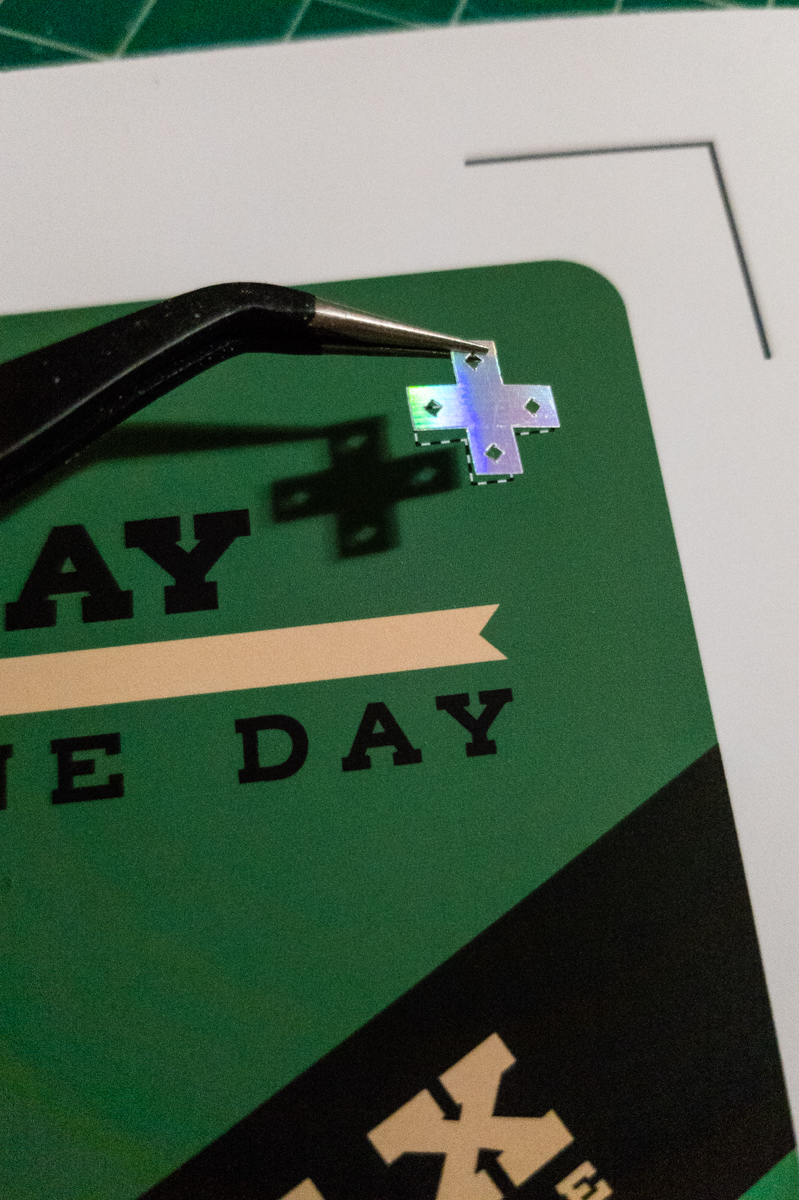
On the PAX badges, there’s a foil-stamped ‘D-pad’ seal hologram, and originally I thought the best way to do that would be to lay down a square of hologram vinyl, and cut the shape out of the art… But that would leave me with these fiddly little flecks cut out of the art which wouldn’t stay put and would get lost. It wasn’t perfect, but it was much simpler to just cut the seal shape out of the hologram vinyl and lay it on top of the art, though I worried about its durability…luckily there was yet one more dimension to this.
The inkjet-printable vinyl I was using for the artwork layer had a rather aggressively matte finish, it simply didn’t look like a badge. However! It just so happens that I have an entire roll of clear vinyl.
At first I tried cutting clear vinyl to match the badge and putting it on the already assembled badge…this was a stupid idea and I don’t know what I was thinking. It was near-impossible to align, and after even the slightest contact from the adhesive any attempt to reposition obliterated the printed surface. Oops!
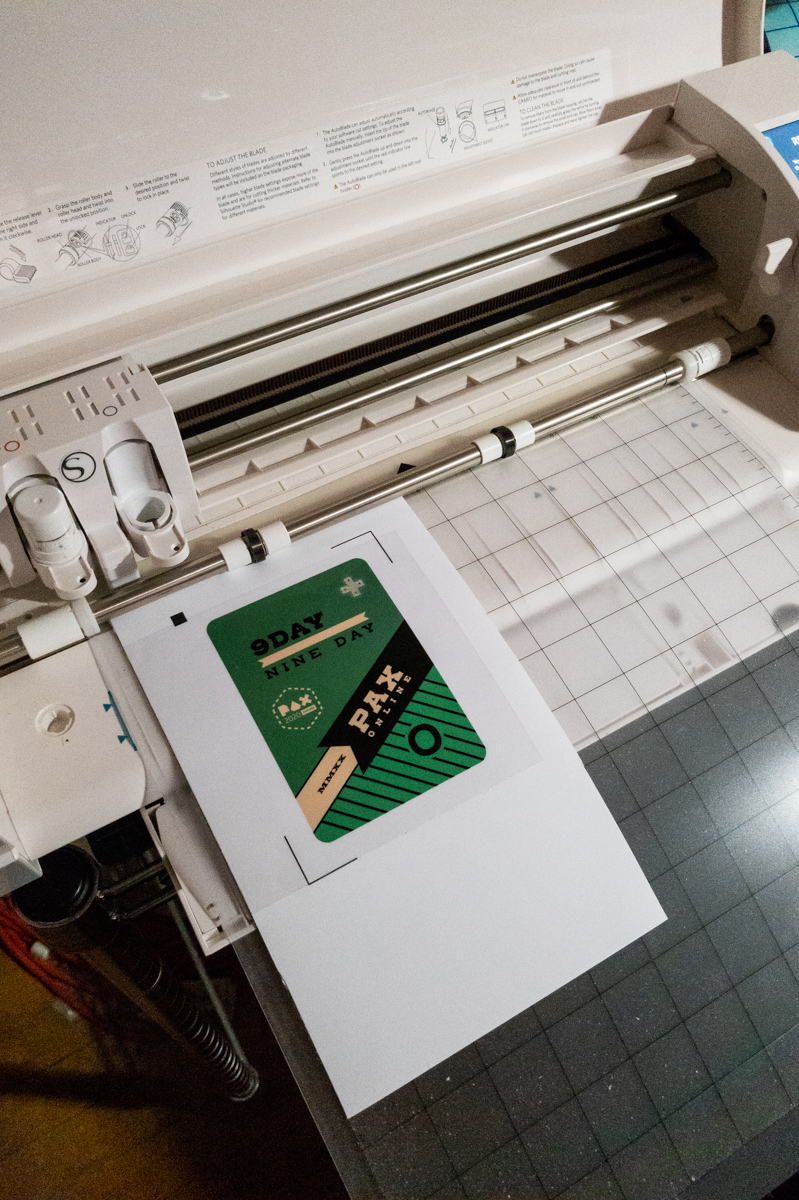
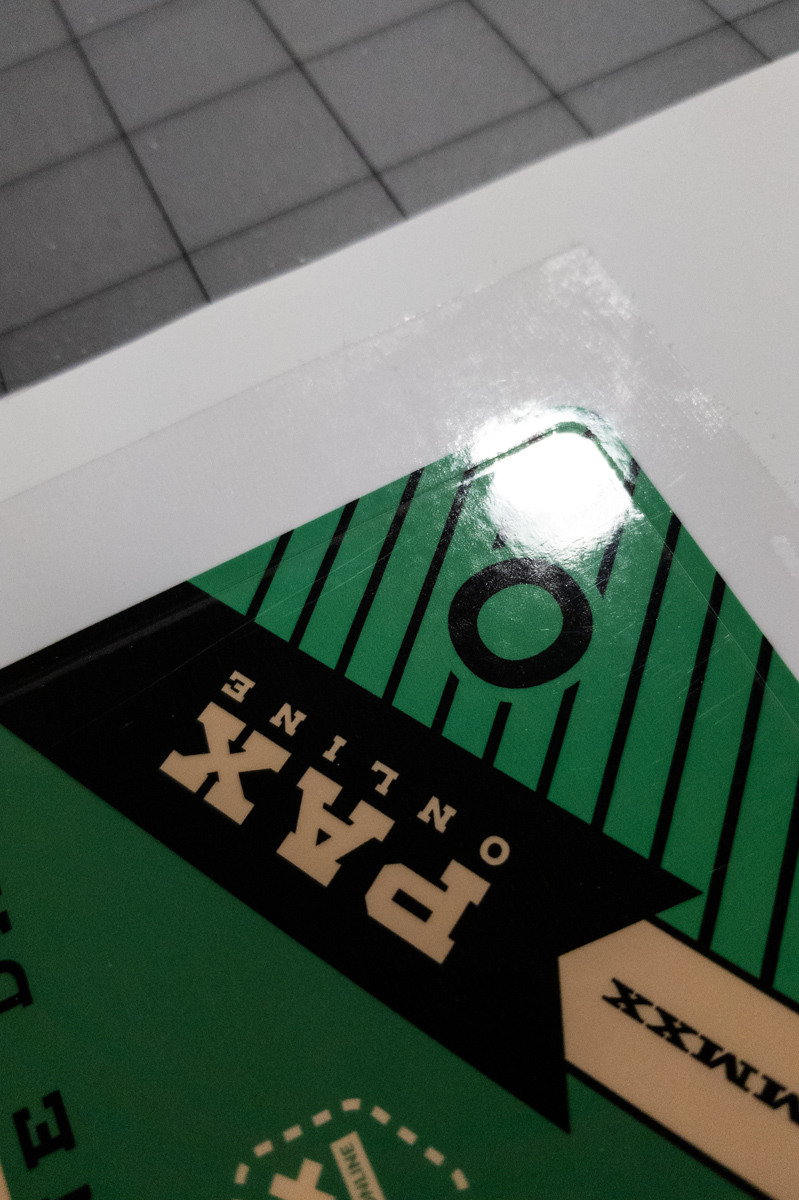
What I finally settled on was printing the art, placing the seal, laminating it with the clear vinyl, and then cutting the entire stack-up with the Cameo. It took a bit of trial and error to find the settings to get a clean cut through the entire stack-up, but eventually it worked. I was rewarded with a clean, sharp and glossy die-cut sticker which could be easily affixed to the 3D printed blank—and even repositioned without issue —and looked absolutely fantastic!
-

Inkjet-printed vinyl art -
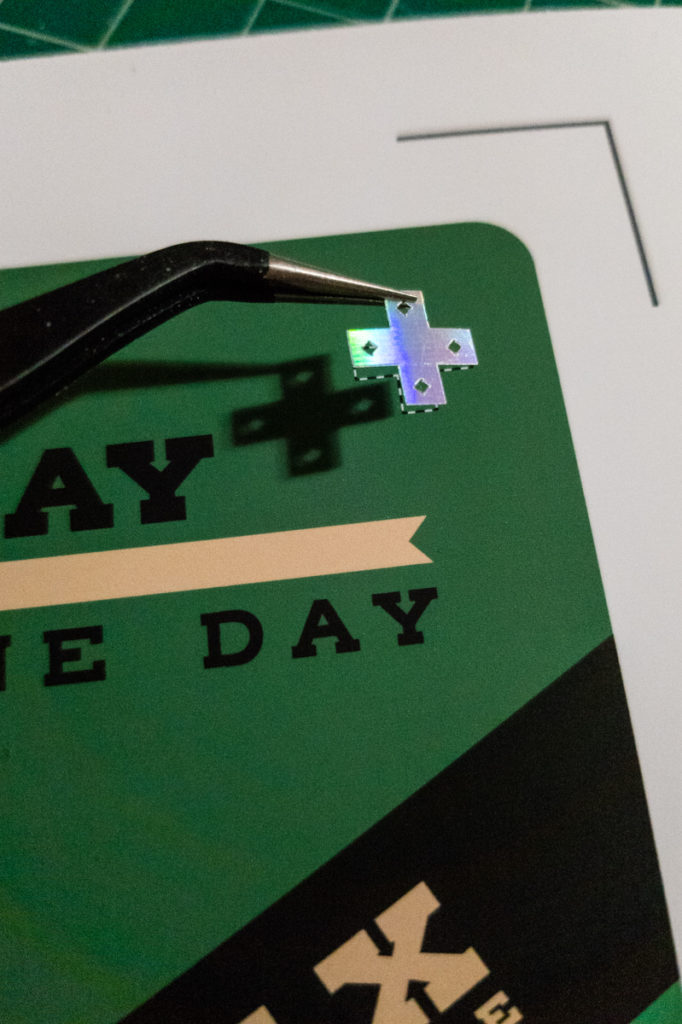
Placing the holo seal -

Applying the clear vinyl overlay -
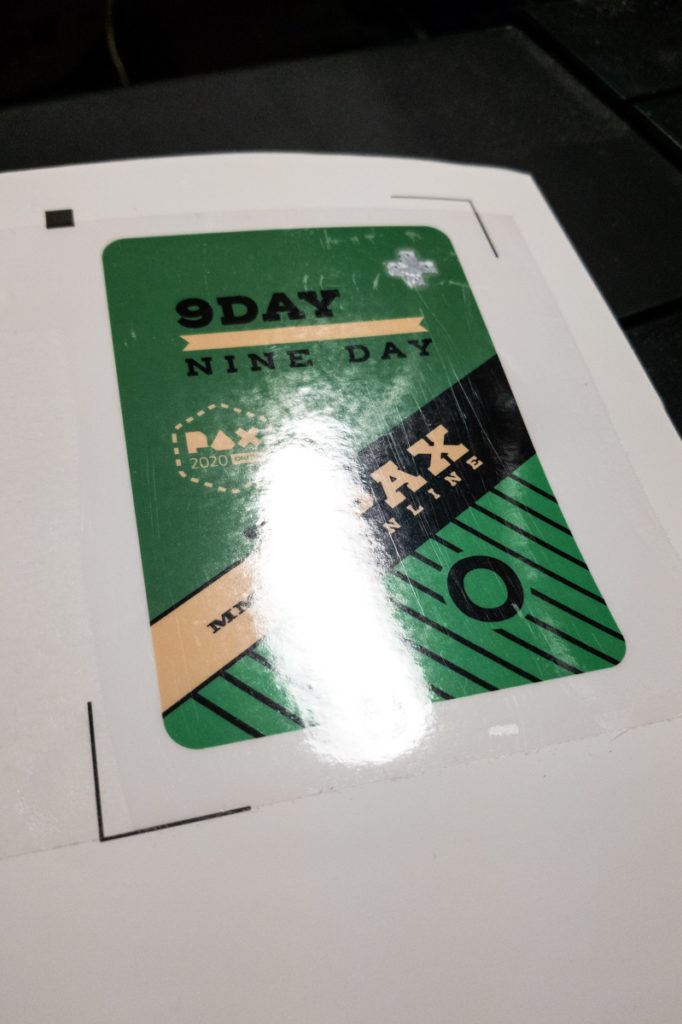
Shiny! -

Going into the Cameo. -

Deep Cut -

Simple as that!


Even with the thickness of the laminated stack-up, any imperfections in the 3D printed blank would show through, so I made sure to tweak my print settings to get a super-smooth finish, and then gave it a couple minutes of wet-sanding on a sheet of 600-grit 3M WetOrDry, just to make sure. I attached the card blank to the bottom of a 3M rubber sanding block with a square of carpet tape. It worked beautifully.
-

Printing the badge blank -

Wet-sanding the blank
Anyway, with all that work done, all the separate pieces came together to form a fantastic PAX Online badge. Shadow Council; May my labors please you!
-
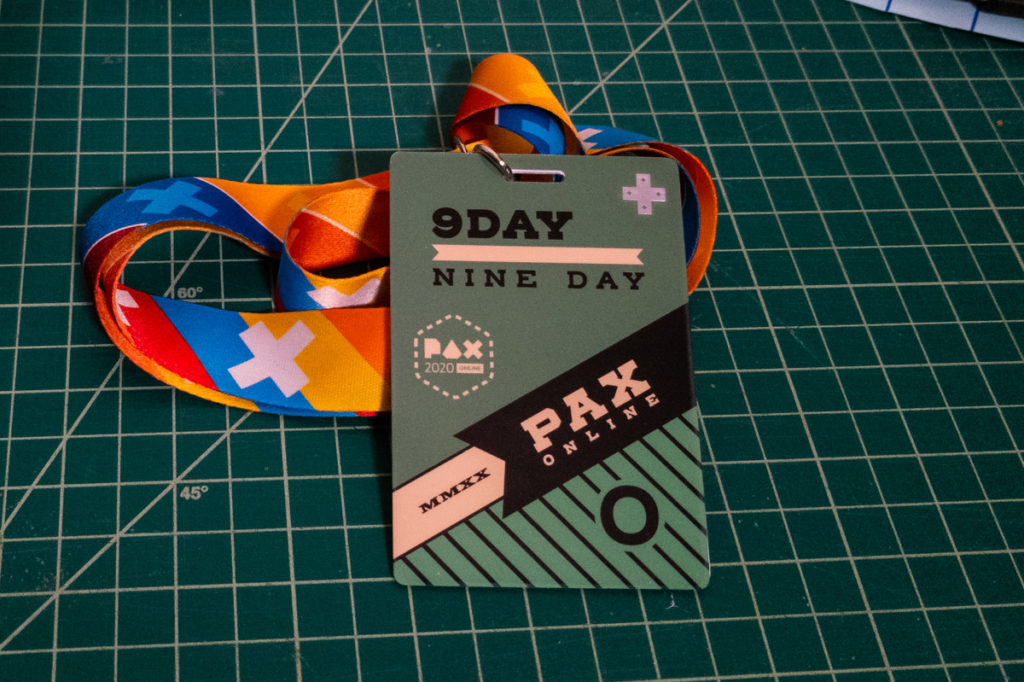
The PAX Online 2020 badge!

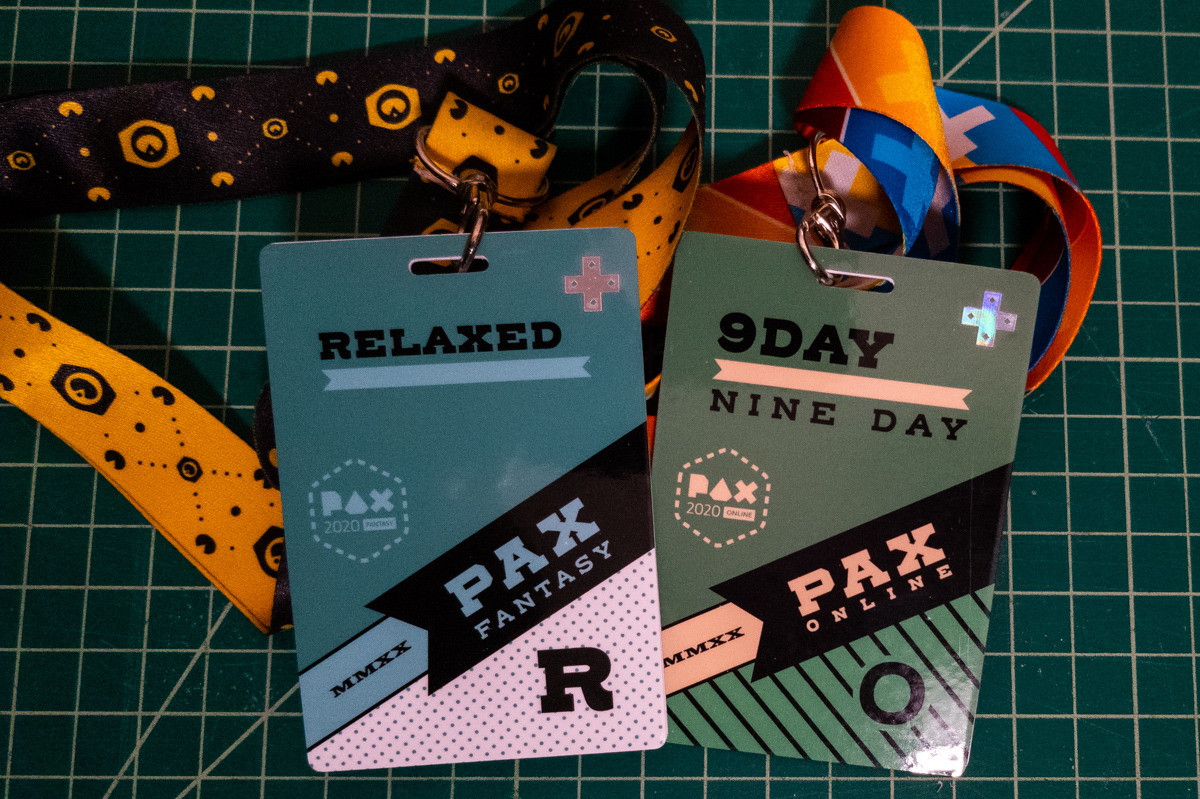
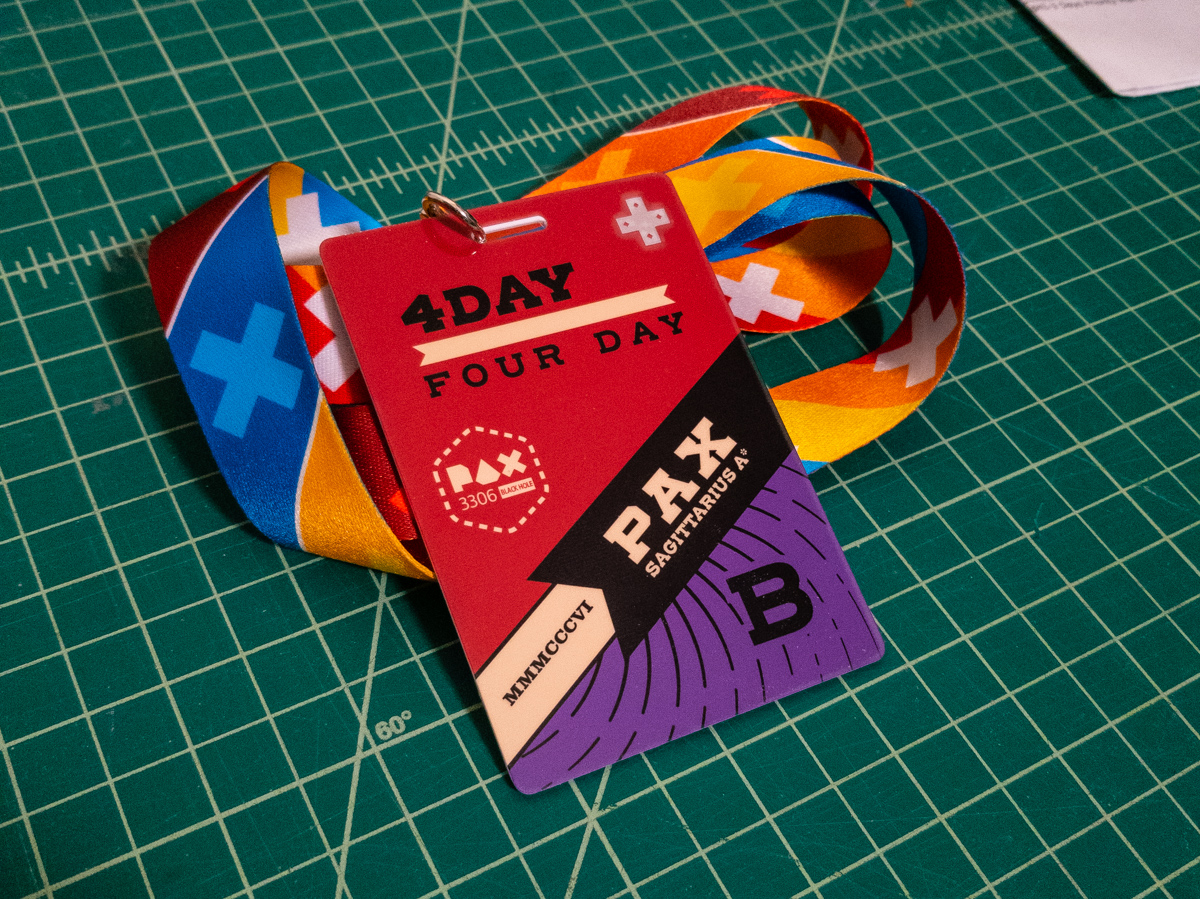
While my primary inspiration was the desire to have an actual PAX Online badge ready in time for the con, I was later spurred on to further greatness by a desire to substantiate my very own PAX Fantasy “Relaxed” badge from what appeared on the schedule as untitled kris straub panel.mp4 (Kris is such a nerd, bless his dorky soul!) the badge even has an NFC tag on the back which I later programmed with a URL for the YouTube video, at the timestamp where Kris begins to describe the badge! 😂 The ‘further greatness’ I went on to achieve also included combining my love of Elite: Dangerous with P-A’s own “PAX Explorer League” product line, envisioning future space-faring PAX conventions, and making my own 34th-century Space PAX badges.
-

The RELAXED badge from untitled kris straub panel.mp4 -

My “PAX Black Hole 3306” badge
I’ll be posting a follow-up when the real-fake PAX Online badge arrives, comparing it to my fake-fake badge and covering any additional musings and developments. Stay Tuned!