Week 07, 2015 – Keeping Track of One’s Head
So, for my birthday, and to keep from losing my mind while waiting for my 3D printer to arrive, I bought Elite: Dangerous. Even with my Saitek X36 HOTAS it quickly became clear that there was an element of immersion drastically lacking. The game was developed with the Oculus Rift, and later the Vive, in mind, but that’s a little out of my reach at the moment…surely there’s an intermediate step, I thought. Head tracking!
That’s when I decided to look into what it’d take to read a cheap 3-axis accelerometer and turn that movement into a generic joystick input. It was a very short bit of research, as I found that plenty of others had been down this road before me, including some people who rolled their own solution specifically for Elite: Dangerous, called EDTracker. (Though it works for any game.)
It uses an Arduino Pro Micro (Or any other ATMega32u4-based Arduino board) and an MPU-6050 6DOF accelerometer and gyroscope board, or an MPU-9150 9DOF accelerometer, gyroscope, and magnetometer board to encode head movement– as detected by the sensor –and turn it into generic joystick inputs. Update: I’ve since upgraded to the MPU-9150 and it’s a lot better. :D
I ended up getting a Teensy 2.0 dev board, but it was the only thing available with Amazon Prime shipping, and it was cheaper than the Arduino board. And after burning an Arduino Leonardo bootloader to it, the software didn’t know the difference.
The sensor boards can be found almost anywhere. You can get an MPU-6050 off eBay for like three bucks, if you don’t mind waiting a month for them to arrive. I paid twice that to get one off Amazon. The MPU-9150’s added magnetometer is used in the special version of the EDTracker firmware to compensate for ‘yaw drift’, but for the price/availability difference between the two sensors, I decided to go with the MPU-6050, even if it means having to ‘re-center’ the tracker occasionally during long play sessions. Update: Using the MPU-9150 does completely eliminate this. I’ve had it go days without needing to be re-centered. (Probably only needs it at all because there’s magnets on the shelf where I hang it.) Also, it never has to be reset when I go to use it after inactivity, which was a problem I was having with my original build…Though that might have been attributable to a soldering fault I found on the MPU-6050 board and never got around to fixing. (Weak solder joint on the voltage regulator.)
Until the ‘lab’ is cleaned up and I’ve recovered the ability to make PCBs, I’ll have to settle for using a small breadboard to interface the two devices. I 3D printed a little case for the breadboard with a velcro strap, so I could strap it to the top of my VOIP headset.
I then printed a lid, I went through several iterations, playing around with quality settings, trying to get the raised lettering just right. I eventually managed to get the lettering to turn out right, but the top was another matter. I ended up making it separate part, so it could be printed vertically.
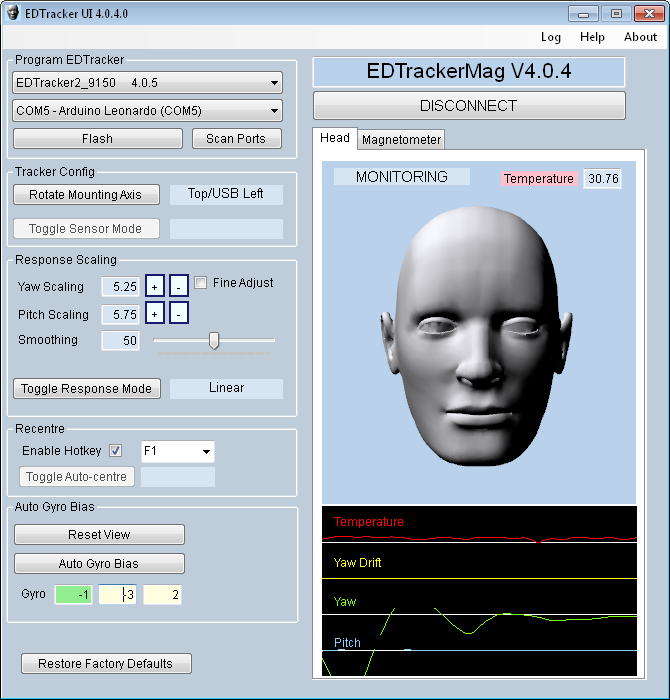
The way it works is you can set up a proportional multiplier on each axis, so you turn your head just a little and it pans the view more than that. In my case, I have it set up so that by the time I’m looking at the middle of another third of the screen, the camera has already moved the full extent in that direction.
Besides allowing me to fluidly look around and keep an eye on things in a way that just isn’t possible without head tracking, a lot of the game’s GUI can be invoked by just looking at the monitors to your left and right inside the cockpit. Normally, this would require a few button or key presses to bring up. Instead, I just turn and look at the appropriate monitor.
(Update 5/18/2016: There was supposed to be a bunch of screenshots here, but I never did find them… So here’s a video I just captured on my new capture card! I’ll add a proper demo video with a webcam view of me, later.)
(UPDATE 6/8/2016: Here’s a webcam test with me on greenscreen. I still hadn’t worked out the audio recording level, and you can see light through the greenscreen…but other than that, great! …ugh, it sucks… I’ll record another when I get a chance!)
It really changes the game being able to look around like this. With my 50″ LED LCD TV/monitor, it’s probably almost as good as having an Oculus Rift, just without the stereoscopic vision. Almost.
The next step is to make a custom control panel with switches and stuff for my most-used functions. Like landing gear, cargo scoop, Frame Shift Drive, and other things that are annoying to access via the keyboard. (UPDATE 6/7/2015: Already took care of that!) Then I can think about working on the custom joystick and throttle.
UPDATE 7/22/2018: Made a new post about an updated version!


Pingback: Week 20, 2015 – I Can See For Miles and Miles… » MAKE COOL THINGS
Pingback: Head Tracking Redux » MAKE COOL THINGS