
Week 23, 2015 – We Are Now In Control (Part II)
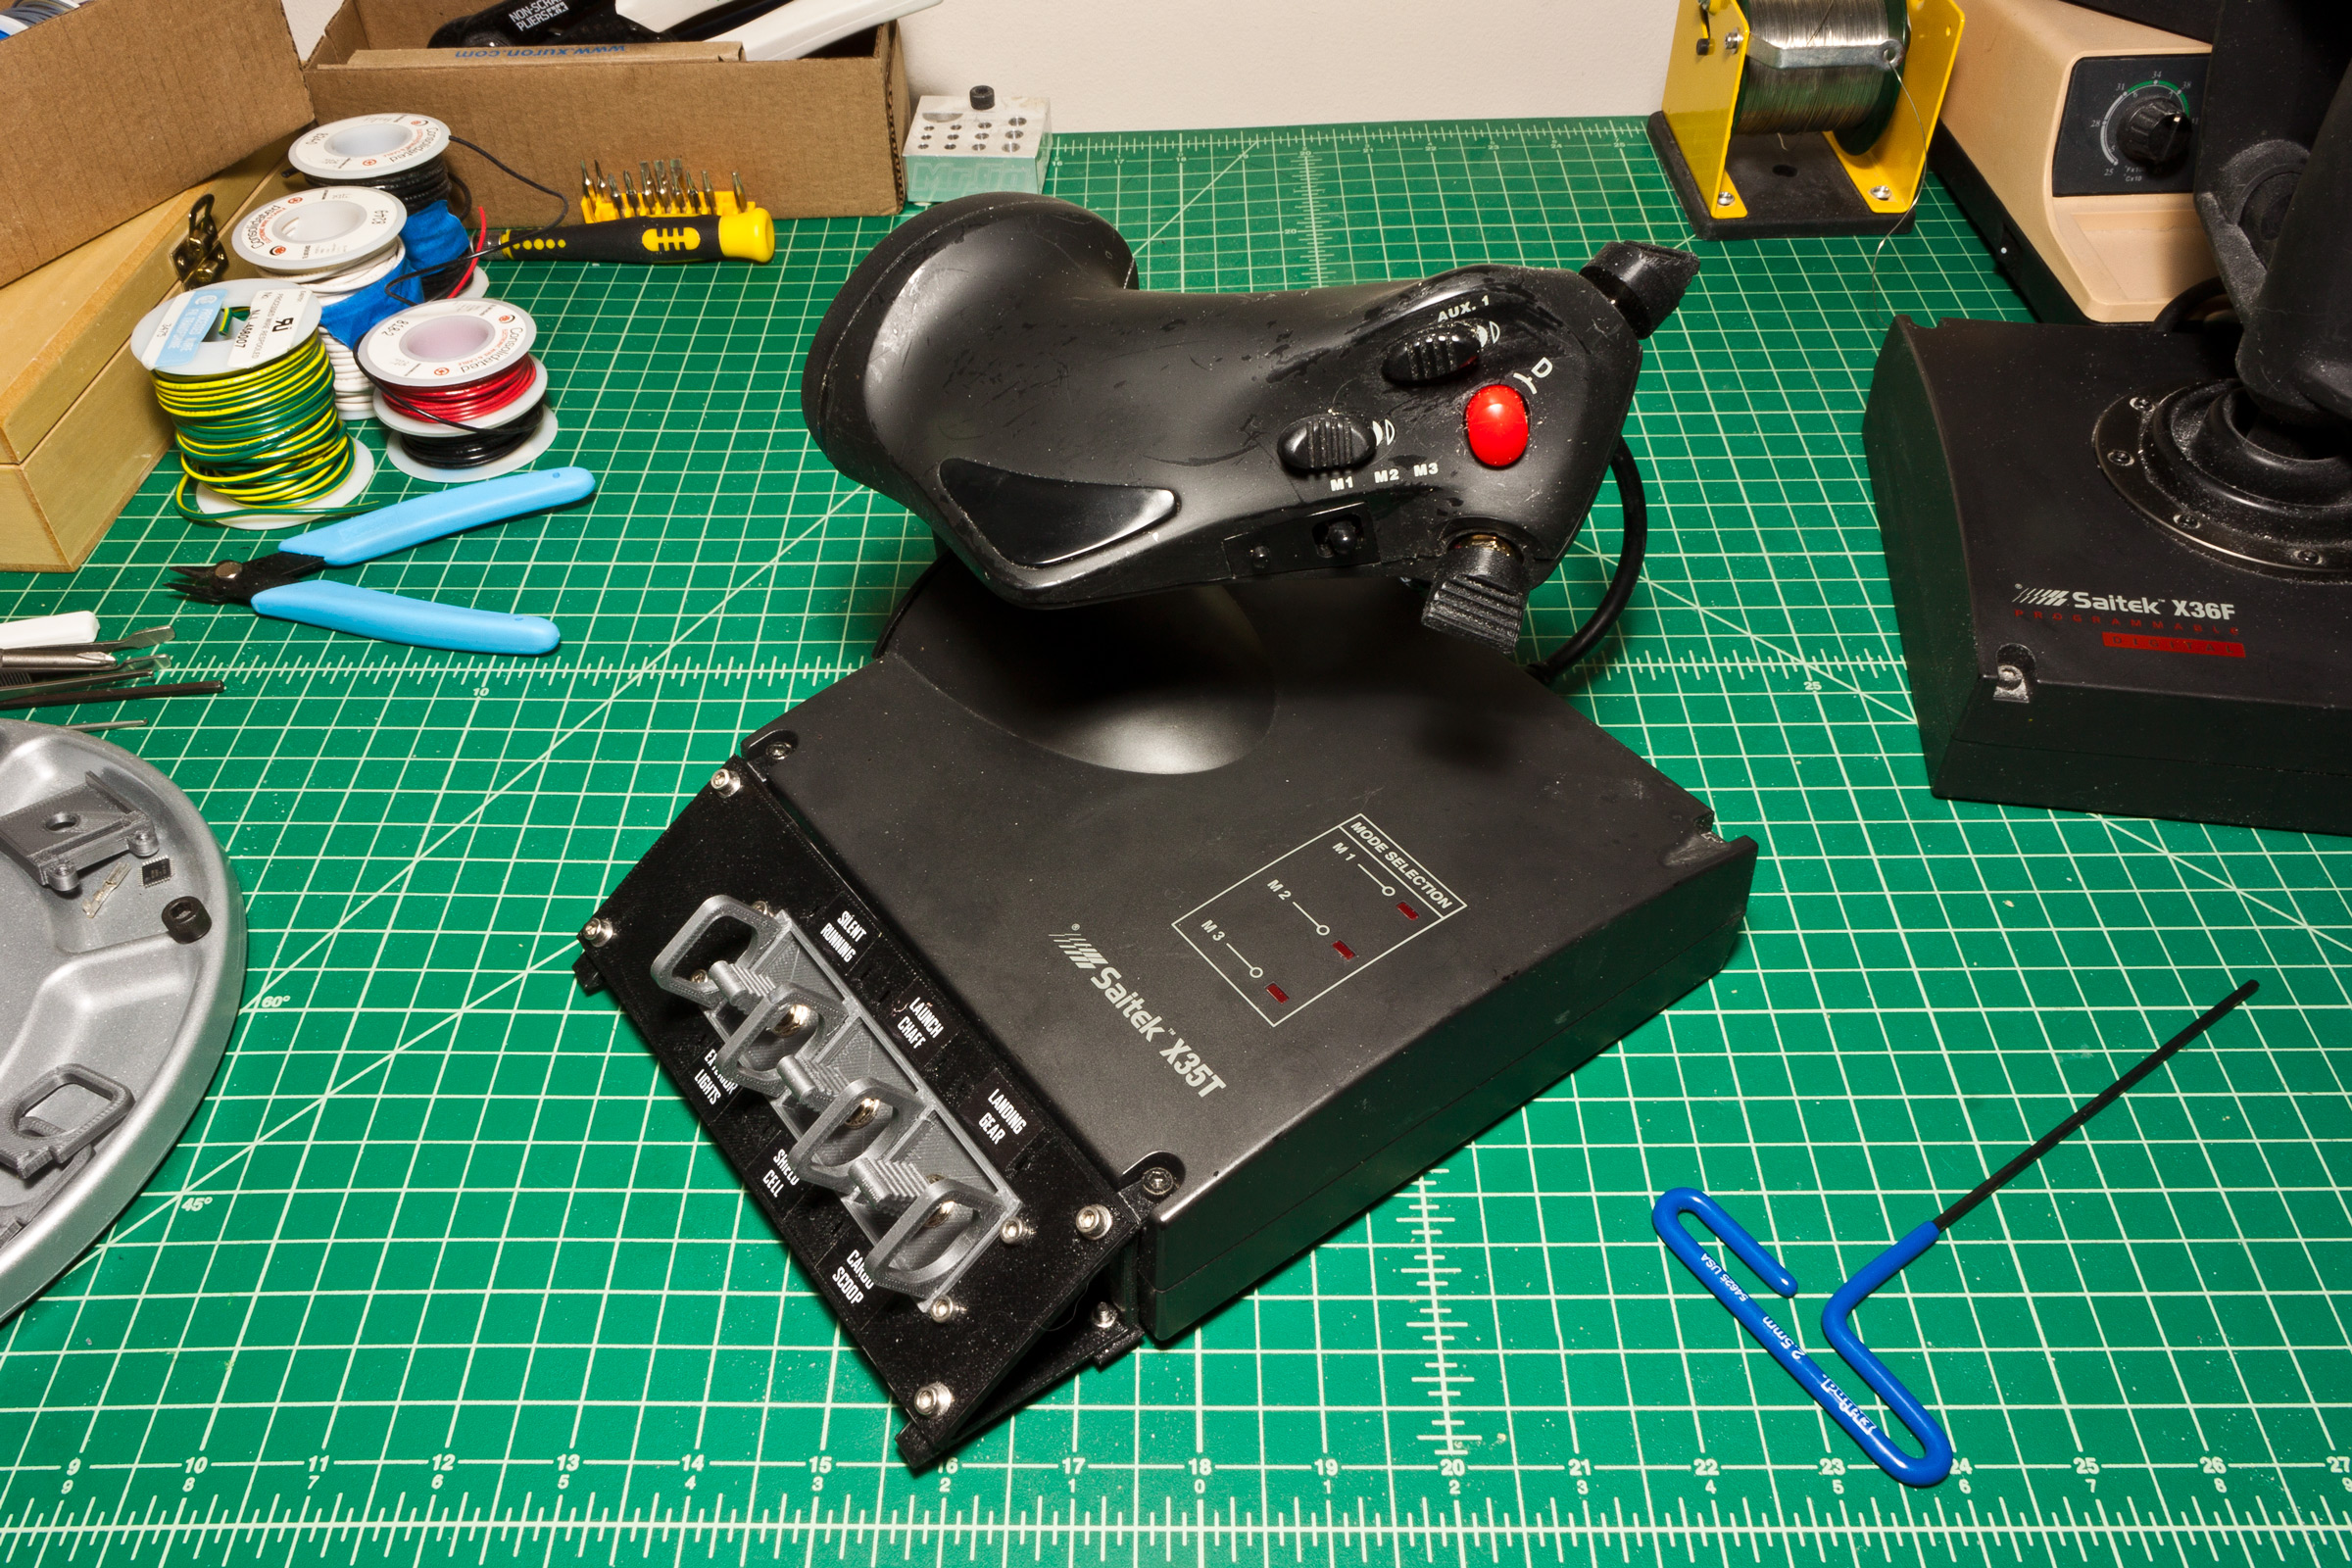
In the previous post I talked about the mod I made to turn the practically useless rotary dials on the X36’s throttle into a pair of On-Off-On momentary switches. Well, Elite: Dangerous is a very demanding game when it comes to controls… It’s not quite up there with Steel Battalion… Nonetheless, there’s a lot of ship functions you might want to have at-hand… Landing gear, cargo scoop, exterior lights, chaff, shield cell (consumable power cells to dump power into shields), silent running… All sorts of stuff.
First I needed a controller board… I had an old USB arcade controller board sitting around, so I reused that. (Just takes a bunch of simple on/off inputs and turns it into a game controller.) The second hurdle was designing the switches… The toggle switches I have are relatively small, and besides being hard to hit in the heat of the moment, they’d also kinda hurt. So I decided to design and 3D print caps for them like I did in the previous article. I also wanted guards to separate the different switches in the bank. Well, I found both solutions in the same place; the design of the switches and switch guards in the Space Shuttle cockpit.

Drawings of the parts.
Prototype parts.
Test assembly.
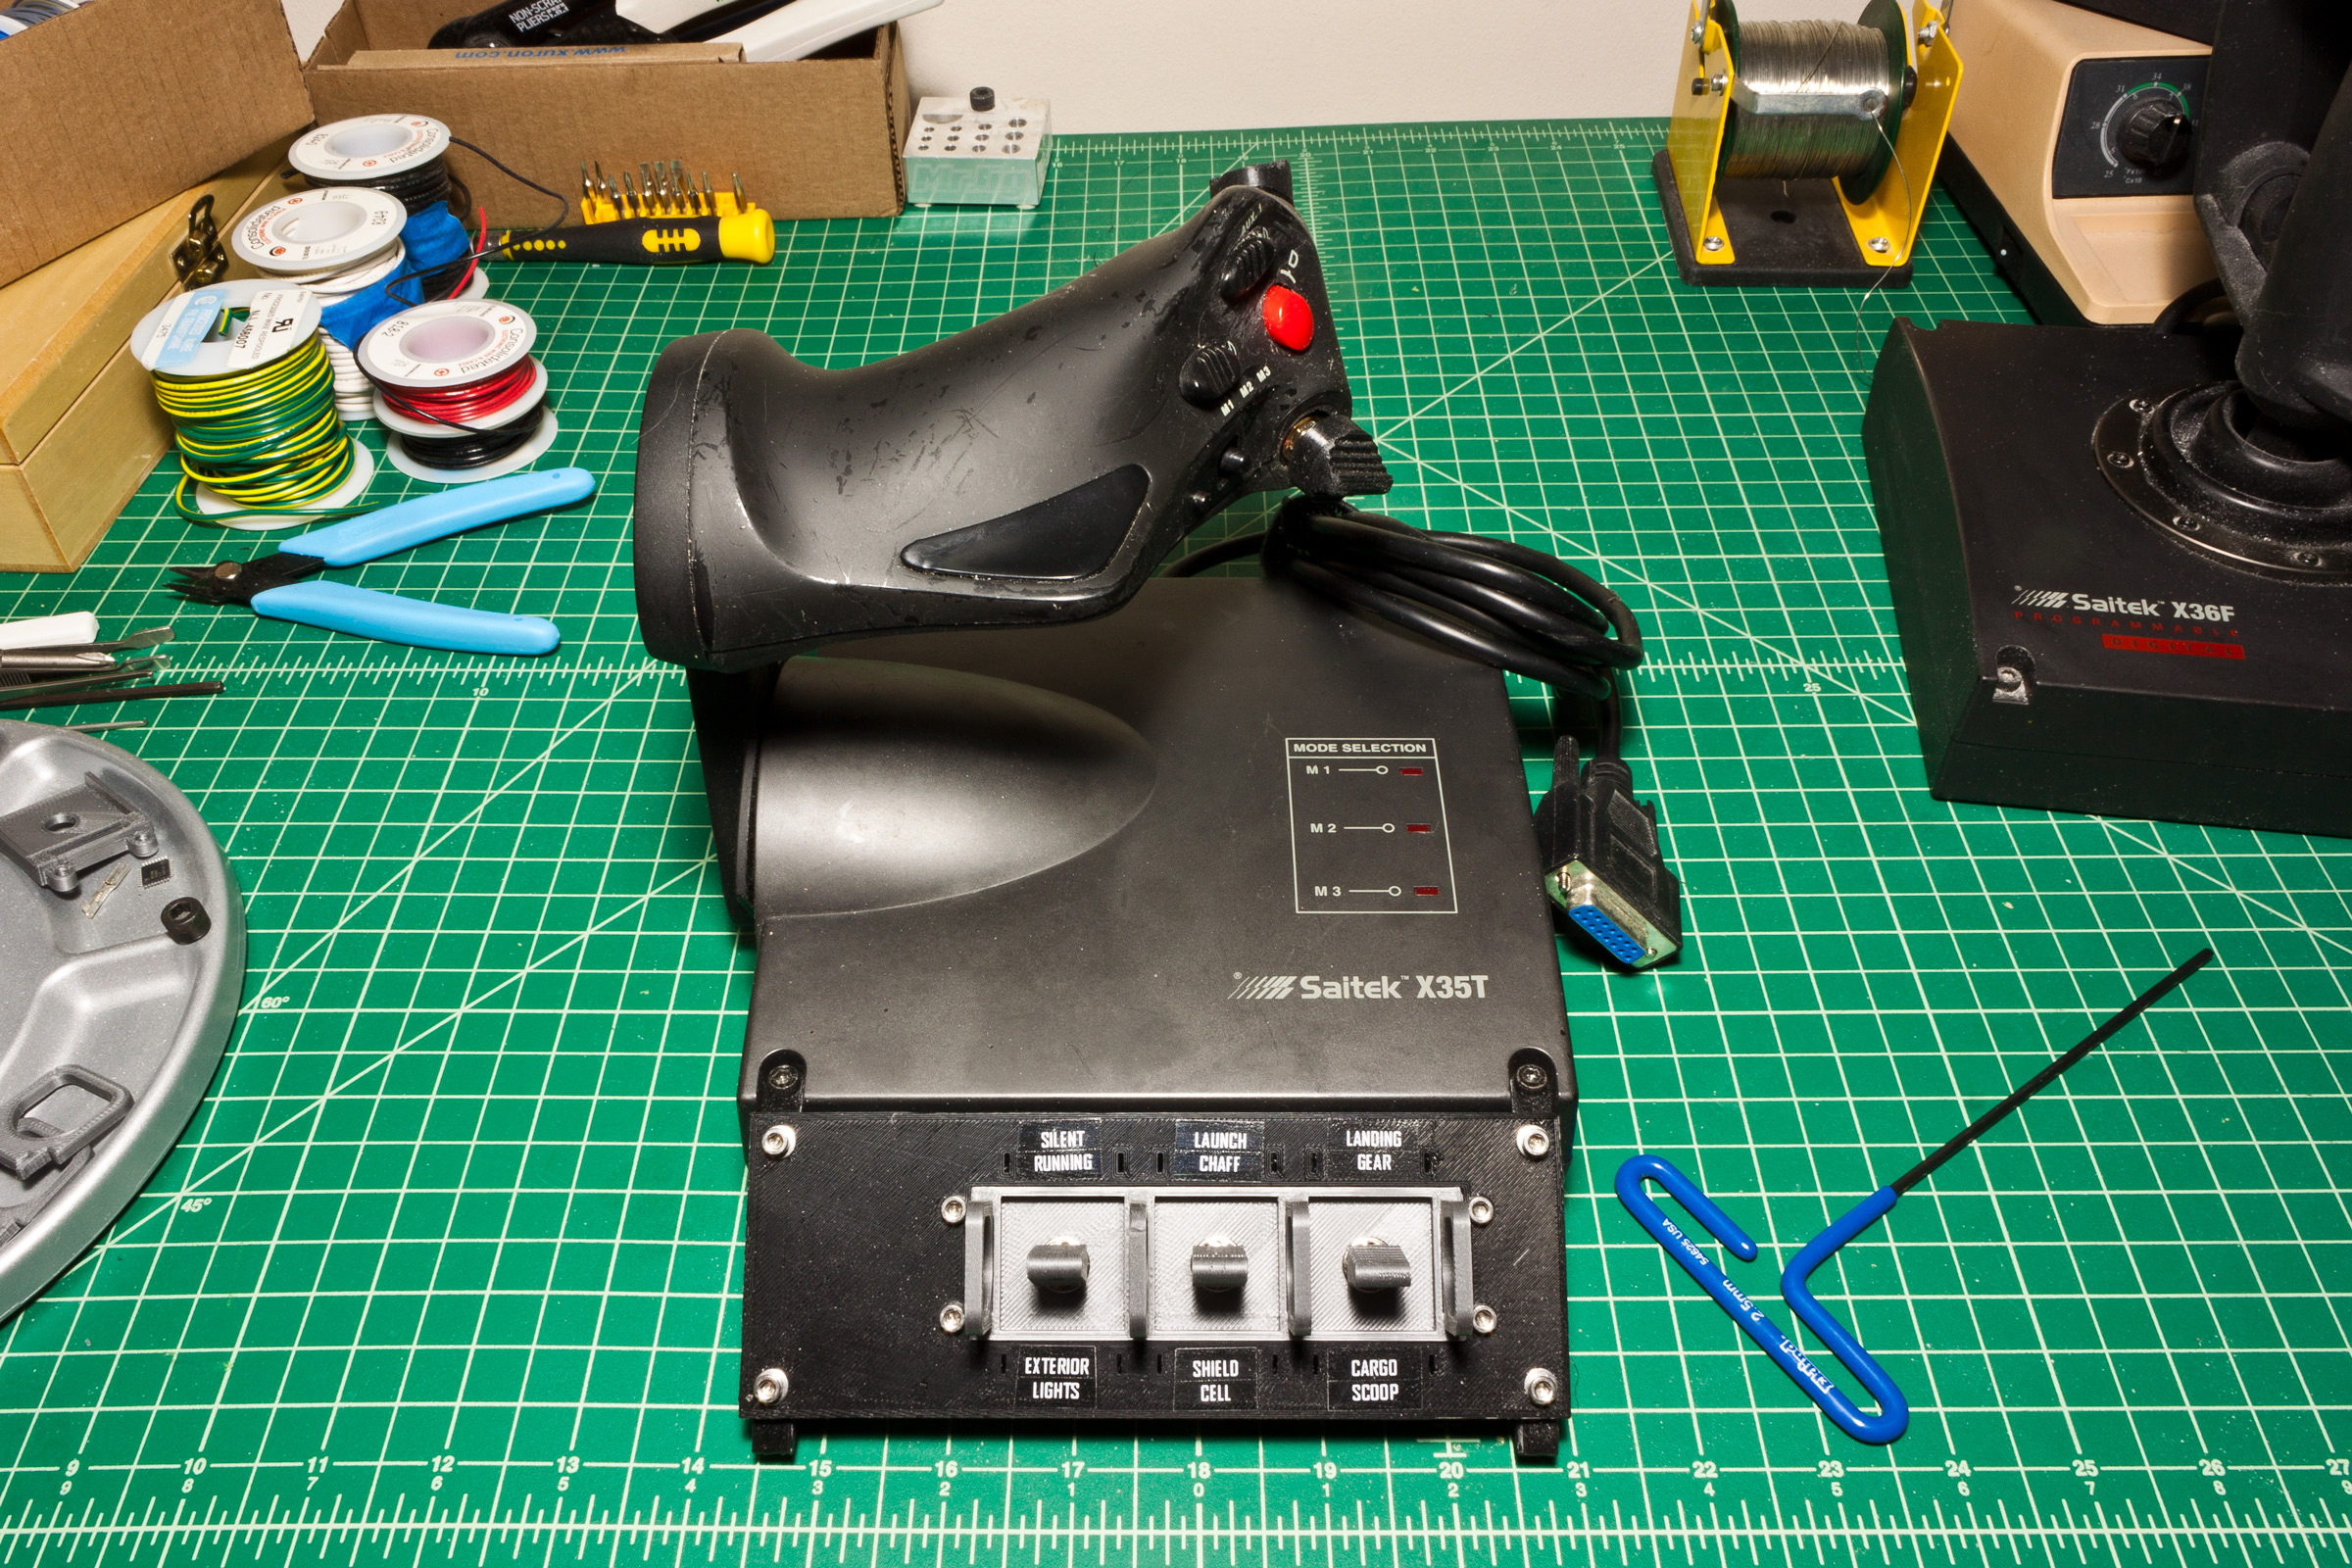
The next problem was figuring out how to attach it to my flight controls… I ended up settling on designing and 3D printing a little housing that hook into the keyed holes in the throttle’s underside for the optional suction cups that let you secure it to a surface, and at the top I simply added tabs that went under the pre-existing case screws.
It ended up being a very elegant little solution, though I’d certainly like to revisit it at some point to make it even better.

The assembled switch panel, showing the mounting points.

The assembled switch panel.
I’d like to to try this again, with laser cut/etched acrylic for the panel… Because then I could add backlit markings and the whole deal. I’d also, of course, like to try making the switch parts out of actual aluminium.
First though, I need to come up with a better method of attaching the parts to the switches– such as threading the shafts of the switches –as well as a method to shorten the shaft to better accommodate switches the way I want them. (Example: The thumb switches on the throttle have an additional like 4-6mm of height because of how far up into it that shaft of the switch has to be concealed.) And of course, having them threaded, with threaded inserts in the caps, would prevent them from rotating.
Anyway… Those are conversations for another day! Here’s what it looks like assembled:
Pingback: Week 07, 2015 – Keeping Track of One’s Head » MAKE COOL THINGS