
Week 22, 2015 – We Are Now In Control (Part I)
Ever since I saw a magazine ad for one over a decade and a half ago (Yes, a magazine, like the printed-on-paper kind!) I desperately wanted a Saitek X36 HOTAS, but they cost like $200 and that was the gameport version! They later released a version that also had USB, but by then I had too much other stuff on my mind and years passed (As they tend to do.) until finally, a few years ago, I snagged one on eBay for $12 shipped (!?) and then a few months later another for like $30, because why wouldn’t I have spares? This was of course just in time for the Elite: Dangerous hype.

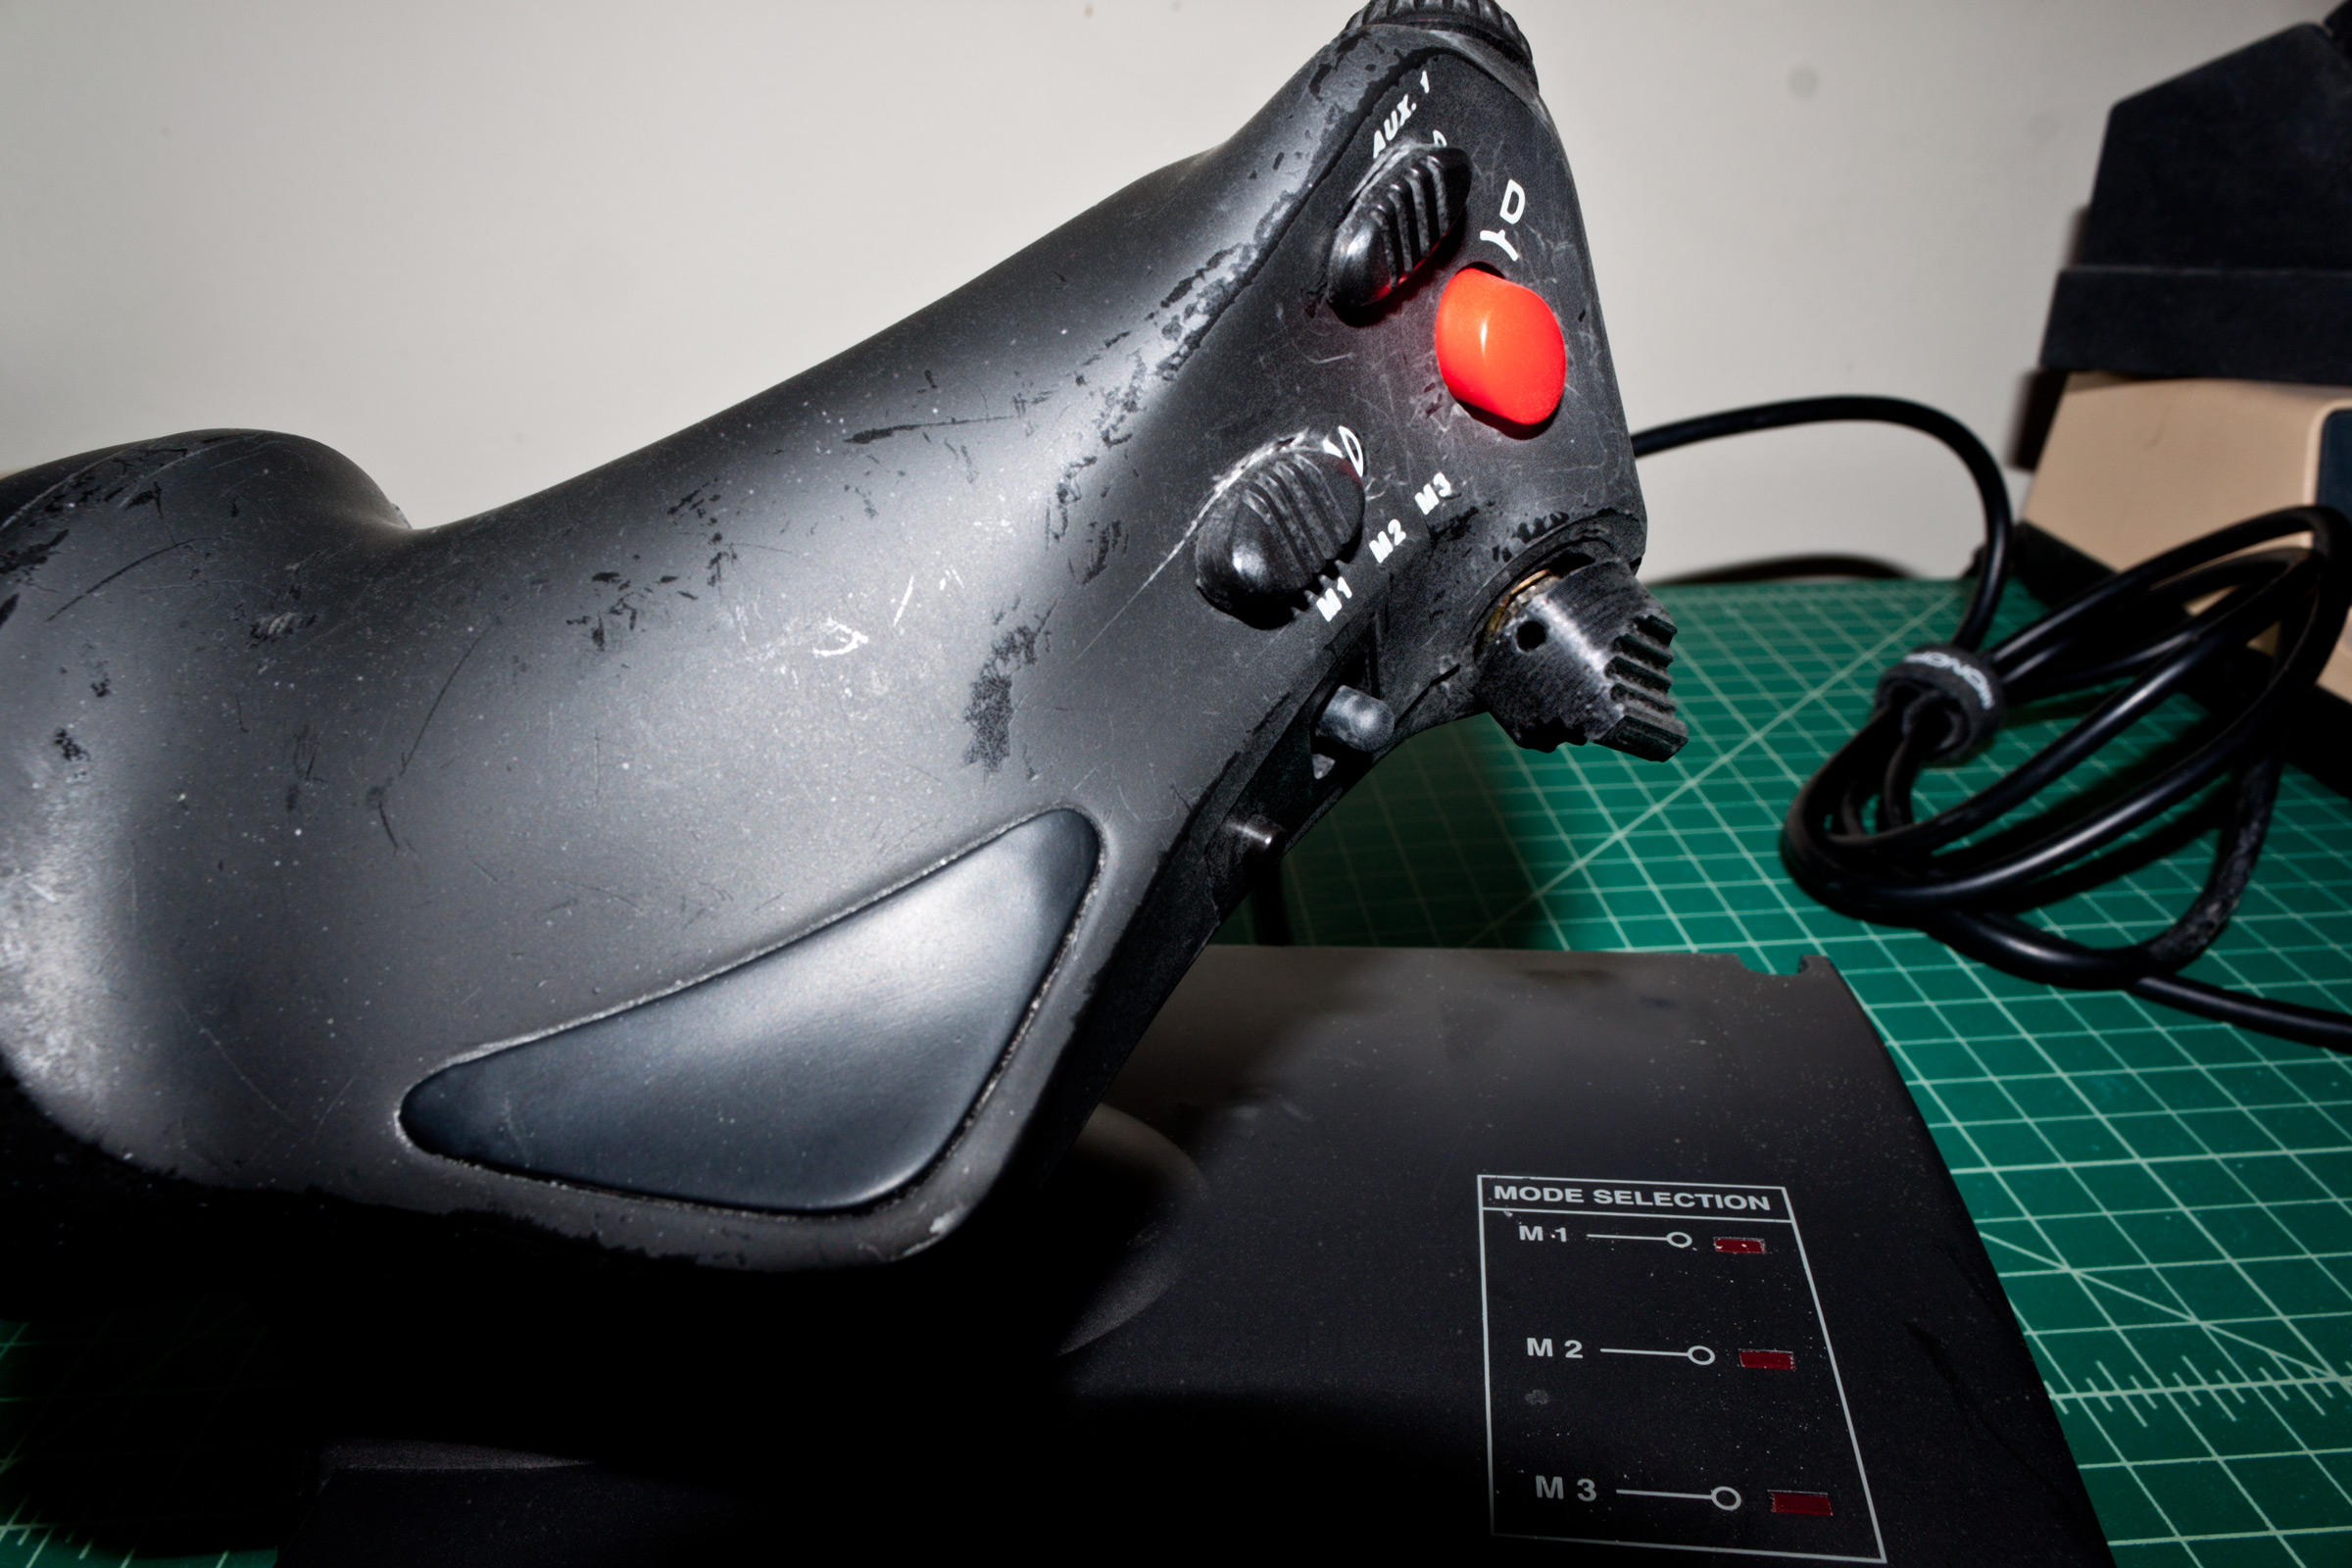
A little worse for wear, but not bad for being over a decade old, and certainly not bad for $11.95 including shipping!
But, because this is me we’re talking about, things cannot possibly be that easy, can they?
Driver Shenanigans!
Soooo, problem numero uno: There are no 64-bit Windows 7 drivers for the Saitek X36… I know, right? However, there are for the X45, which is functionally identical but seriously hideous. So I hatched a plan… This isn’t the first time I’ve had to roll my own 64-bit drivers; back when I was running Windows XP Pro x64 I had this little USB dongle for programming the high-end Futaba speed controller in my Tamiya TA05 RC car chassis, and it was based off of a standard commercial USB-to-serial chipset, but with a custom USB VID/PID… The chipset’s vendor had 64-bit reference drivers, but Futaba only provided a 32-bit driver that worked with their customized version… So, I took the VID/PID of the customized Futaba device, and put them in the reference 64-bit driver from the chip vendor, and boom! Worked. Anyway, as I was saying…this wasn’t my first rodeo, so I did basically the same thing; I took the X45 driver, but stuck the X36’s PID in the .inf file and changed the folder name to match, so it’d get loaded as the X36 driver, and it worked flawlessly!
About the only problems are that without the Saitek software– the modern version of which doesn’t even support the X45 anymore, and the older versions of which are too decrepit to run on Win7 –I lose some of the configuration bells and whistles, which I don’t need anyway, and windows only recognizes the main hatswitch as being a true POV Hat, so all the others just show up as four buttons. Also, the two 3-position switches show up as two clusters of three buttons, one of which is constantly on…and this can bugger some games’ controller implementations. (I’m working on a hardware fix, other than just disconnecting the switches.)
Hardware Modding!
Well, first thing on my agenda was to make the two rotary dials on the throttle less useless. (They’re more suited to traditional flight sims.) My first thought was to replace each potentiometer with two pushbuttons, which would require designing and then 3D printing little ‘pods’ to house the buttons… Nothing I came up with there seemed right, so I looked at it again. Well, with RC planes and quadcopters and stuff, when you want to replace a dial on your radio with multiple ‘binary’ controls, you use a switch. (Can also be used to replace an analog dial with a multi-position switch to create a ‘range’ of commands on a radio channel, being interpreted by a software flight controller.)
Of course this is already where I got the idea to replace the pots with buttons, since I’d have to wire them up with a common ground, and then wire the hot sides of each button through a different value of resistor. (So one would look like the ‘high’ end of the axis, and the other the ‘low’.) Neat thing about Elite: Dangerous is that the controller setup is very accommodating when it comes to using analog axes for ‘binary’ commands. Most games won’t let you do that. But Elite will let you set positive and negative motion on an axis– not even a specific point, but just “it just moved in that direction” –to a command.
At any rate, I wired in an On-Off-On momentary toggle switch, and I tested it…success! It’s in the perfect position on the throttle for my thumb, which is otherwise only used to initiate the Frame Shift Drive with the throttle’s main button, or navigate menus with the little ‘mouse’ thumbstick… So what can I use it for? Oh, I know! Ha! Perfect!
So, I click it down, and I boost. I put my thumb under it and lift up, and it reverses my throttle. (The X35T doesn’t have a center detent on the throttle axis, so I prefer the “0-100% w/reverse” setting in Elite.) It’s amazing in combat, because it lets me fly with the throttle wide open but moderate my speed by feathering the reverse– to the point that I can basically come to a zero-relative-velocity hover and circle-strafe my enemy –hold it in reverse if I’m getting too close, and release it and boost if they start to break away. Of course…that little metal toggle switch was terribly uncomfortable. Let’s see what I can do about that. It’s time to science engineer the shit out of things.
Mistakes Were Made, Also Things
I already had a pretty good idea what I wanted, so it was just a matter of getting it done…so I did it! Aren’t 3D printers great?! I couldn’t make it as low-profile as I wanted, because of the length of the lever on the switch, but someday I’ll have a workaround for that.

Not bad! Looks like it belongs on military flight controls!
It took several tries printing it– I’m still really new to this whole amazing as hell 3D printing thing –but the results were outstanding.

Compared to the unmodified throttle.
Closer look at the profile. At some point I’d like to design a snap-on bezel that better blends the throttle’s contour and hides the stem of the switch.
With that all taken care of and working… I tossed all my progress out the window! ヽ(。∀゚)ノ lol, the mode-selector switch on this throttle was a little janky and had a slight flutter, add to that the fact that the second set I got had a stick with a much tighter deadzone, and I switched this set out for the other pair. (Which is fine, I’d only modded the one dial so far.) So I modded both dials on the second throttle.
Pingback: Week 23, 2015 – We Are Now In Control (Part II) » MAKE COOL THINGS
Pingback: Week 51, 2016 – Wrapping Up The Year – Part 1 » MAKE COOL THINGS