
Week 21, 2019 – Improving your Space-Life through technology
It is well-known that I take my life as a professional imaginary spaceship pilot a little too seriously. Like “4-point harness on my computer chair” seriously. And while I certainly liked the old version of the harness, it was missing something; It was just a little too simple.
I’m not sure I’ve talked about it before, so I’ll take a minute here before moving on… I was originally planning on making a 4 or 5-point harness from scratch, and actually designed my own cam-lock release mechanism, but my 3D printer at the time simply wasn’t up to the task, and the prototype’s flimsiness really dissuaded me from the idea.
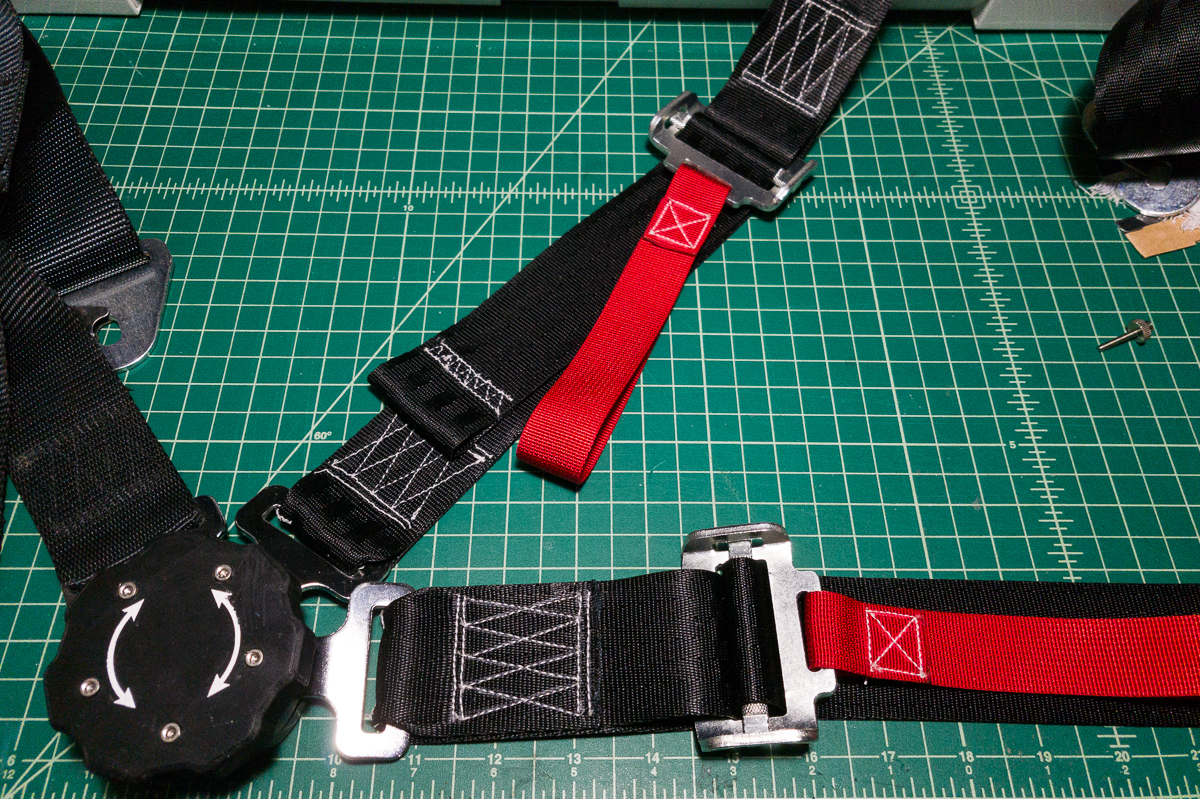
It was a little while after this that I found a 4-point racing harness on eBay for under $30…cheap enough that I wouldn’t trust it with my life, but in my case, it’s just a prop. I replaced all the plain nylon webbing with proper seatbelt-weave webbing which looked much better, and added little pull straps in red. All the new stitching was also done in a contrasting mil-spec bonded nylon thread.
Finally I 3D printed a knob to go over the release lever…which required filing off the protruding lever, and drilling holes in the face of the cam lock plate. For the last added touch, I cut some paint-mask vinyl on my Silhouette Cameo 3, and used that to paint markings on the knob.


It did the job and I rather liked it, but now that I have the new printers, I wanted to give it another go. I recreated the original knob I had designed for a far earlier incarnation of the project and printed it in some bright red eSUN PLA+


I think the results speak for themselves. 😏 At some point I’ll probably do it again, just to add the arrows back in as actual 3D printed inlays. Though I should probably also prime, sand, and paint it next time for an even more polished look…not that there’s anything wrong with the raw print…especially when viewed anything but up-close.


