Week 20, 2015 – I Can See For Miles and Miles…

For quite some time now I’ve been interested in computer-generated stereoscopic 3D graphics and the required display technology… And for quite a bit longer I’ve been interested in virtual reality.  As an extension of my previous work on head-tracking for Elite: Dangerous and thanks in no small part to my little sister’s generous donation of her old Samsung Galaxy SIII– Having upgraded to some manner of S5 –I decided to work on a DIY VR headset.
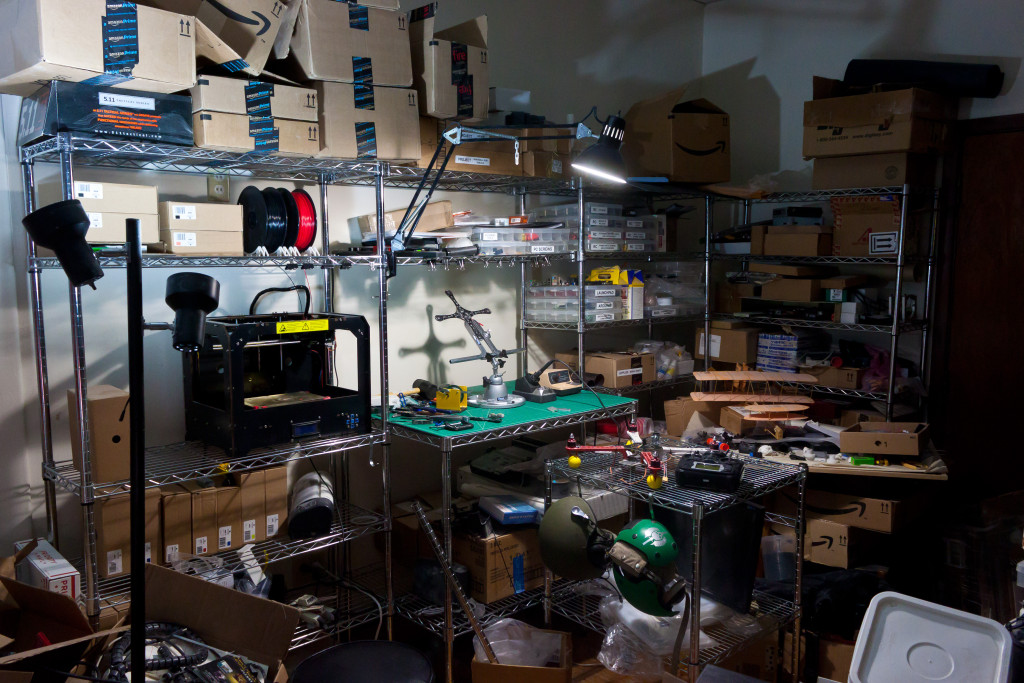
The Hardware

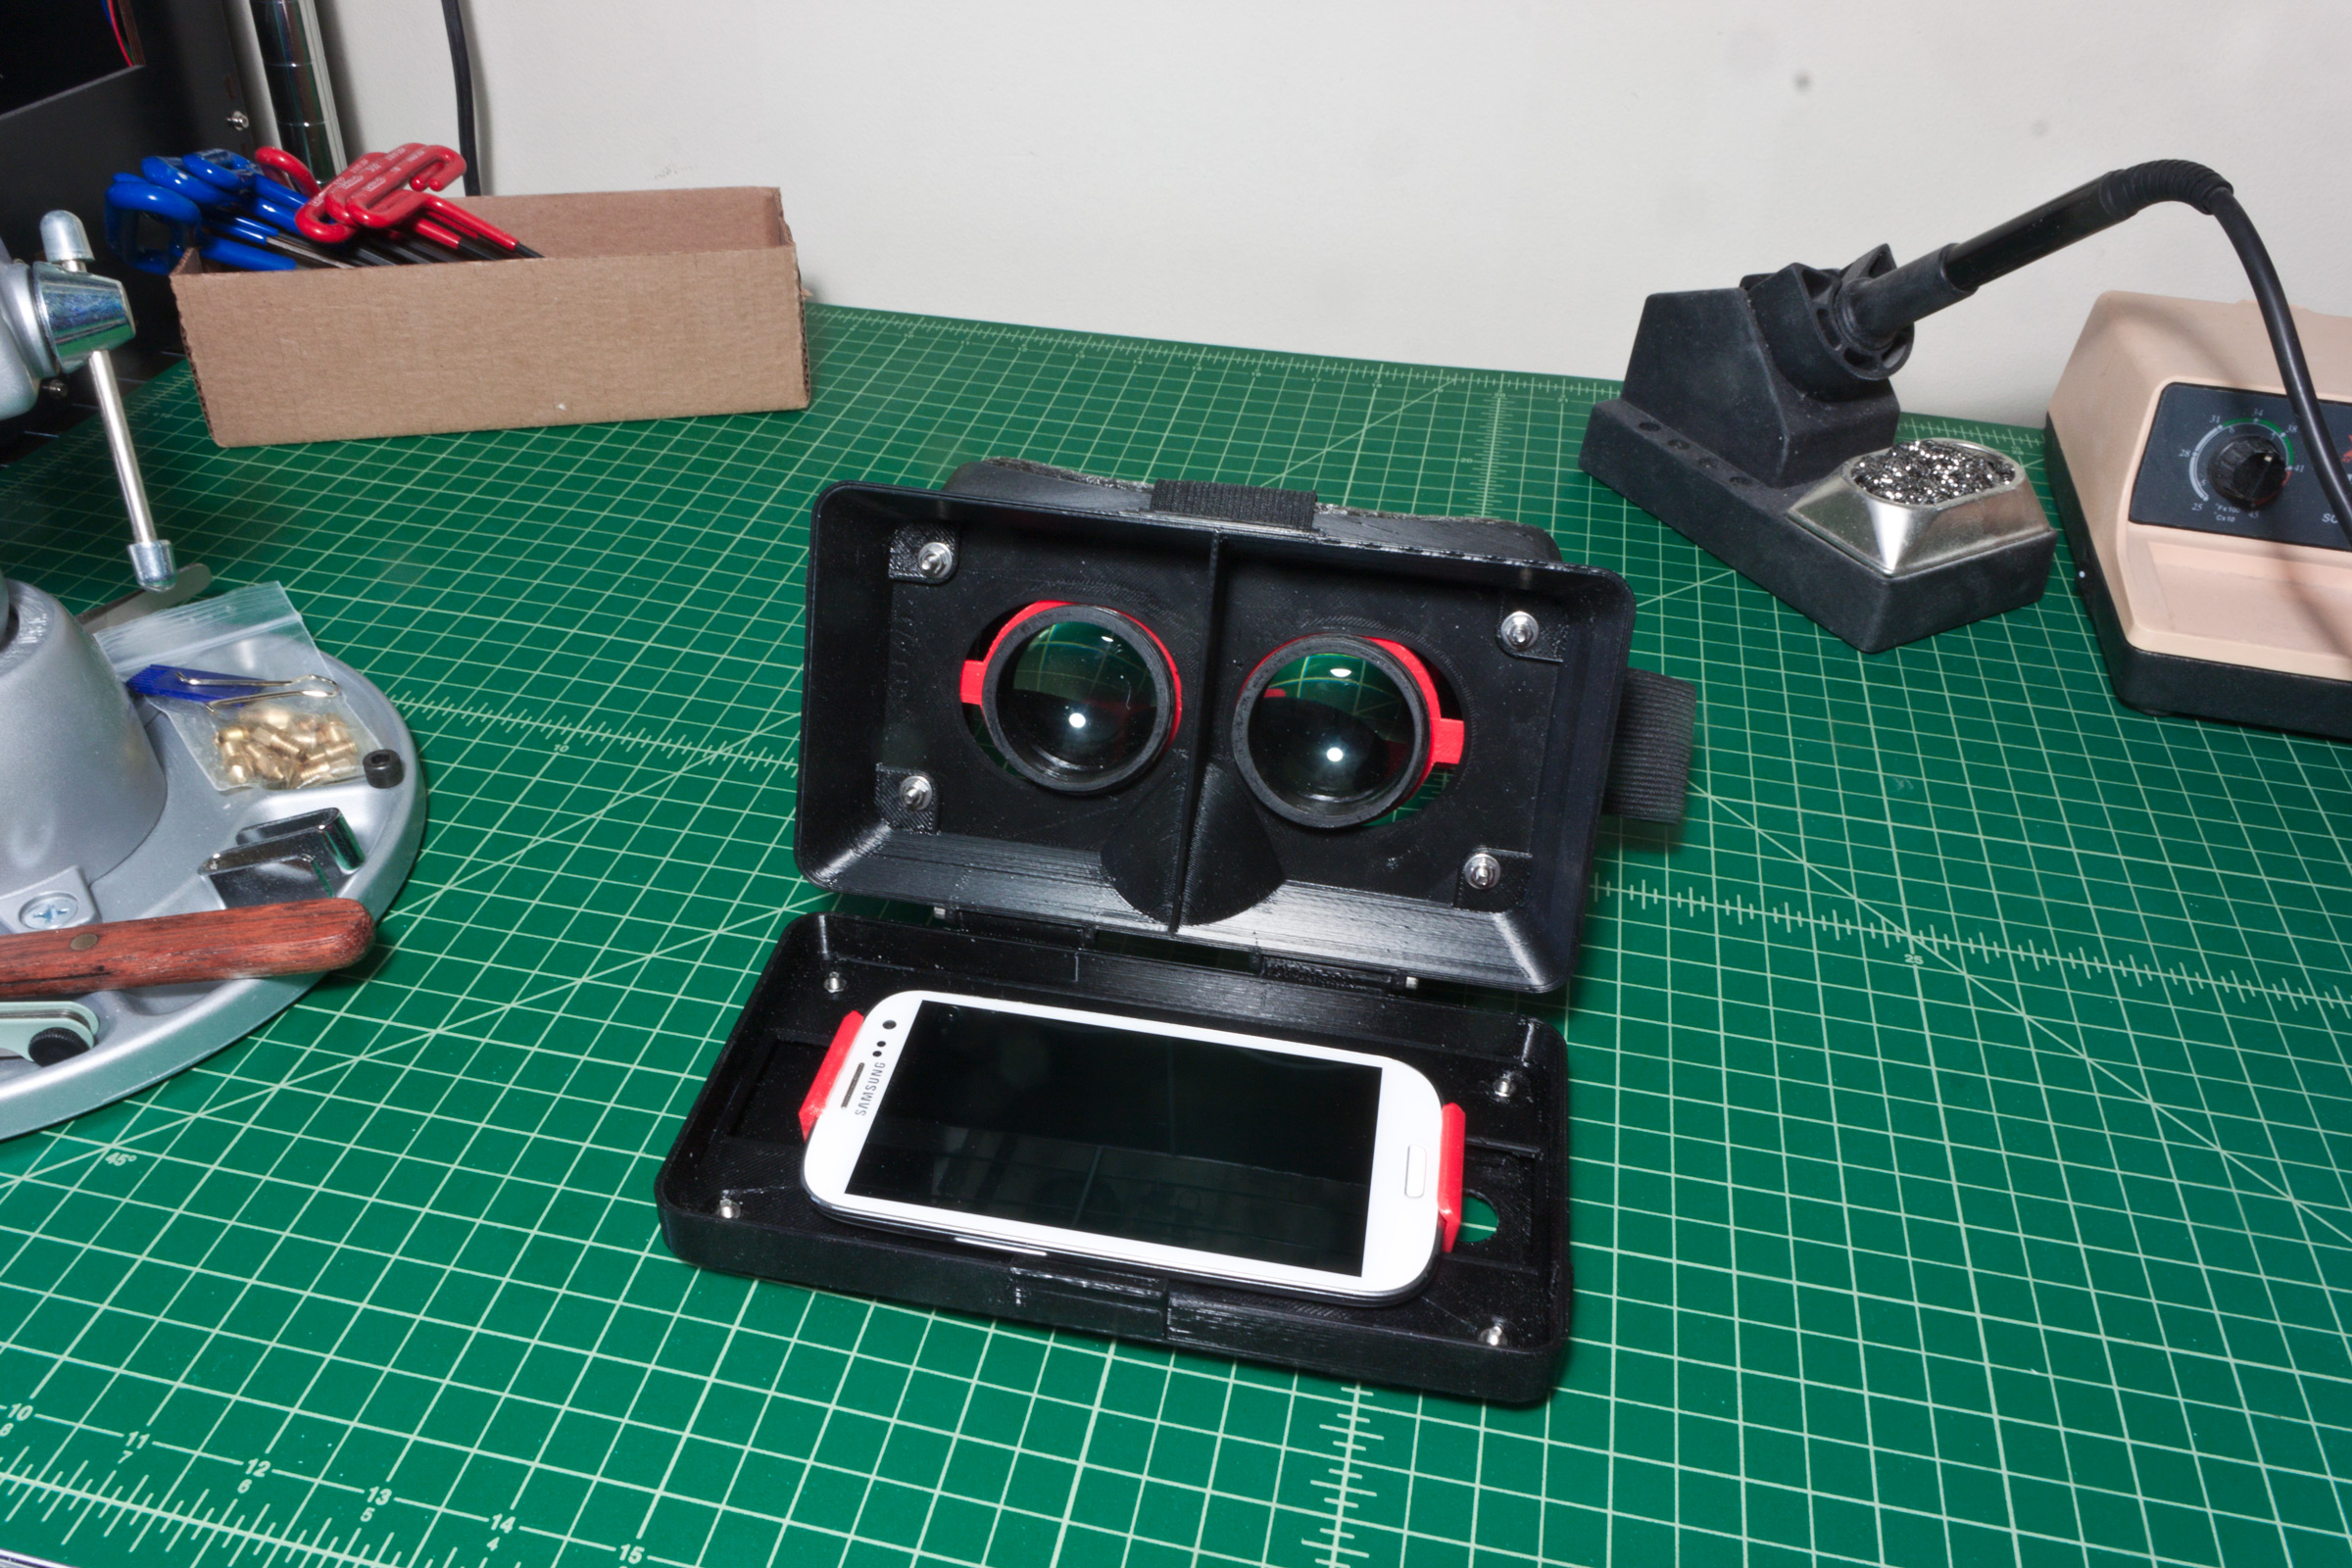
First, I got this design off Thingiverse, just to try it out… It was okay, but hard to work with.  I used these bi-convex lenses off Amazon…which, at the time, were almost 50% less…  Later I settled on this design, but had to scale it up slightly to fit the lenses I already had.  I used springs from this assortment for the phone holder, and this 1.5″ elastic webbing for the head straps.  The fasteners are all 14-4 Stainless Steel 3mm SHCS, nuts, and washers, from Bolt Depot.  The webbing hardware is all printed as part of the headset design.

It all turned out rather well.

BakaVR_mk2_01BakaVR_mk2_02BakaVR_mk2_03BakaVR_mk2_04BakaVR_mk2_05

The foam was just some random stuff I had lying around because I couldn’t find what I wanted to use… I later DID find where it was hiding, so here’s what’s on there now: McMaster #8694K144 Weather-resistant Neoprene Foam, adhesive back, 3/8″ wide, 1/2″ thick.

Overall everything was great…having to make it like 7.5% larger to accommodate the lenses I bought for the other design was less than ideal though. Obviously I need to experiment further.  I want to design my own headset along these lines, but with a mind given to sturdy manufacture and keeping dust out.  For starters I want to design it for heat-set threaded inserts. instead of fastening everything with nuts and bolts.  Another thing I will do is NOT make the cover that the phone is attached to rely on a friction fit to stay closed! That damned thing always flops open. :|

The Software

For the software I was using TrinusVR in USB mode…it was also less than ideal…but it was more than workable.  The software basically streams the currently focused application to your phone. It can even do ‘fake 3D’ if the image you’re sending isn’t already SBS3D, and it does lens correction, and can even fake head tilt. It can pass head-tracking back to the computer from the phone’s sensors in the form of FreeTrack, TrackIR, Mouse emulation, and other methods.

Future Developments

Since the major drawbacks of this current solution are resolution and the required processing power and bandwidth on the hardware side, and a combination of game incompatibilities and TrinusVR’s limitations on the software side, the next step in development should be to do away with the phone altogether in favor of a small high-resolution screen.

I’ve seen 6″ IPS panels on AliExpress and and eBay for as little as $200 that offer 2560×1440, connect via HDMI, and are powered via USB. That’d be perfect, especially paired with a USB 9DOF tracker that emulates a standard joystick input… I wonder where I can get one of those… ;)

Week 12, 2015 – Lab Renovations… For Science!

Lately, I’ve been acquiring quite a bit of wire shelving, transforming the other half of the livingroom from what was an actual pile of junk and empty cardboard boxes, into a proper workspace worthy of my MAD SCIENCE!

labdisarray

It’s still in horrible disarray as it remains in a state of transition.


It now more closely resembles the corner of the room that my ‘battlestation’ encompasses. (Except that half is in even more disarray…)

Picture of Battlestation

Picture of Battlestation

I even got one for out in the kitchen, for the screen printing supplies.

Silkscreening area renovations.

Silkscreening area renovations. (Multiple pictures)

Which reminds me, I never got around to showing off a lot of this stuff…  Next time I silkscreen something, I’ll do a proper write-up.

MADE COOL THING – Filament Spool Holder

Well, here it is.  This is what I consider to be my first ‘real’ part.  I mean, sure, I designed that webcam mount and a few other things, but they were all crude early attempts.
Simple Smooth Spool Holder

I decided that a spool holder was going to be absolutely essential.  Besides just making it a pain in the ass to change, having the spools mounted to the back of the printer caused a lot of feeding friction– though I never had a jam, I did have a particularly brittle transparent ABS filament snap off at the extruder a couple times because it took too much force to feed it –and most importantly it makes it impossible to put the printer on my 14-inch deep wire shelving.  I wanted to be able to mount the spools above the machine, make them as fast and easy as possible to swap, and make it feed as smoothly as possible. To take care of that last point, I knew that whatever I did, it was going to need to involve bearings of some kind.

Mechanical drawings.

Mechanical drawings.

At first, I thought about other designs I’d seen, like a horizontal post that the spool hangs on,
with a single straight race loaded with like quarter-inch ball bearings, which the spool rests on…  But mounting that would be problematical, and there’s no guarantee that the balls would roll smoothly.  It also wasn’t necessarily universal.  In the end, I settled on a very simple and elegant concept; just have each rim of the spool rest on a pair of skate bearings spaced apart by a printed frame.

Assembly diagram.

Assembly diagram.


The end result was some beautiful work, with some additional cutouts to lighten it up and reduce material usage and print time. (I later found out that the reduction in print time was negligible, depending on the print settings, because of the additional time spent printing perimeters.)

And it printed just as good as it looked…which is something I could definitely get used to.

The printed parts.

The printed parts.


I put them to use immediately, moving the printer to the shelves, and setting up the filament spools above it.

The spool holders in action.

The spool holders in action.

I need to design and print some little clips that attach to the spool holders, and then to the wires of the shelf… I purposely avoided integrating a shelf attachment method to allow for flexibility in their use.  In future design iterations, it might be useful to include some manner of guide tube near the front or something, so I can just plonk the spool down on the holder, feed the filament into the tube, and have it come out where I want under the holder.  Because currently, I have to stick the filament through the shelf first, before I set the spool down, so that the filament is coming down from the center of the spool…this is less than ideal.  I think it’d also be cool to print them in Taulman Bridge filament, so the finished parts would be nigh-indestructible!

UPDATE! 2015-08-30 Posted to Thingiverse!

Thingiverse and MakerBot are running a contest, #FilamentChallenge, with first prize being ten spools of either MakerBot ABS or PLA.  The challenge is to design a spool holder, so I submitted this design. You can find it on Thingiverse here! It’s my first submission to Thingiverse, but it won’t be my last.

And by the way, you can see that nearly six months later, the spool holders are still working perfectly.

Still in service, six months later.

The spool holders are still serving me well, six months on.

Week 11, 2015 – Still Printerating…

3D Printing still dominates much of what’s going on in my world at the moment.  This week I made what I consider to be my first ‘real’ part; my skate bearing filament spool holder.  Sure, I made that webcam mount and whatnot, but it turned out so rough and unrefined…  I needed these spool holders for various reasons that I’ll get into when I write a post about them, but for now, you can see them in action here:

My spool holder in action.

The spool holder, doing its job.


I backed a Kickstarter campaign for a new controller board that sounds like it’ll be a drastic upgrade for any 3D printer or laser cutter you put it in.  Not just in performance, but also as far as interface options.

Cool 3D Printing Links:

Week 10, 2015 – Embuggerances

(Credit for this week’s post title goes to the late Sir Terry Pratchett.)

Just so we’re clear, I’m not off to as bad a start this year as it looks; I actually have every weekly post sitting in the queue in draft form, but various Embuggerances have prevented me from providing the visuals that were to be associated with the posts…  (Don’t spend too much time thinking about the fact that this post is dated the 8th, and Terry Pratchett passed away on the 12th.) And the biggest problem is, that the first of the posts that is held up is the reveal for the big secret that pretty much every post after that touches upon… So I’m hard-pressed to make the posts individually, without media, or any other possible stopgap measure.

Anyway, I hope to have things sorted in time for this week’s post.

Week 07, 2015 – Keeping Track of One’s Head

So, for my birthday, and to keep from losing my mind while waiting for my 3D printer to arrive, I bought Elite: Dangerous.  Even with my Saitek X36 HOTAS it quickly became clear that there was an element of immersion drastically lacking.  The game was developed with the Oculus Rift, and later the Vive, in mind, but that’s a little out of my reach at the moment…surely there’s an intermediate step, I thought.  Head tracking!

Read more…

Week 06, 2015 – 3D Printering

First off, I’m sure there’s some questions anyone interested in getting their own 3D printer might have, so I’ll try to answer the most basic ones:

Where did you get it?

eBay.  It’s a CTC 3D branded Chinese copy of the original dual-extruder MakerBot Replicator.  I got it for $550.90.  Though it dropped another $50 days later. That got me the printer, a 1kg roll of (in my case) no-name red PLA filament, a bag of screws and stuff, an SD card, etc.  Shipped via FedEx.  EDIT: As of February 21st, the price seems to be back up to the original $700, which is unfortunate.

How good of a copy?

Well, I replaced the generic firmware it came with– which I guess is based on an earlier open source MakerBot firmware –with the latest official MakerBot firmware, right from within MakerWare… Yeah.  In fact, the hardest part was getting the damned timing right for hitting the reset button on the back of the printer, so that the controller board is rebooting just as you try to upload. Basically, other than probably skimping on material quality where they could (Though that doesn’t seem to be a problem… I mean, other than the working bits, it’s already just made out of plywood anyway.) the only difference between this and a vintage MakerBot machine would seem to be the lack of a MakerBot ‘M’ button as the interface’s enter key. Only time will tell how durable it is.

Any problems so far?

Mostly just me trying to climb the learning curve, and tumbling back down.  Though the bed is slightly uneven– it dips in the center –but that’s a very common problem regardless of the printer.  And hopefully that’s been resolved, as I’ve got a 0.25″ borosilicate glass plate to put on there that’s flatter than anything.  Haven’t installed it yet though.  It’s also a wee bit rattletrap; when it arrived, it’d already lost a bolt from the housing (I eventually found the nut in the box, and reinstalled it.) and one of the bolts at the back of the print bed, that hold in the upright section behind it, came undone and fell out… That was a bastard to put back in.  Basically, I’ve just gotta make sure to snug everything up, and get some loctite the next chance I get.  Luckily it does come with a bag full of extra hardware.

What are you using for filament?

I bought a little over $200 worth of HATCHBOX brand filament from Amazon, via Fire Sale Merchant. (Fulfilled by Amazon, though often it will default to getting it direct from Fire Sale Merchant without the benefit of Prime and you have to choose the ‘Fulfilled by Amazon’ one under other sellers.)  They seem to be the only source for this brand of filament.  Both their PLA and ABS are very nice, though their ‘transparent’ ABS is a bit of a misnomer… It’s more of a ‘translucent’, at least, without post-processing to reduce the diffusion properties of the surface. (Haven’t tried that yet.) Sadly the prices for the 1KG spools have gone up $6 to ~$30 since I bought mine.

Anything else?

Well, I’ve been keeping some notes on print quality– such as the fact that the transparent white ABS extrudes better at 245°C but I need to do some proper test parts. (Like extrusion temperature/speed tests) I’ll tell you this though; Elmer’s purple glue sticks do wonders for making prints stick to the bed regardless of filament/substrate…even combinations like PLA directly on a Kapton-covered printbed.

What’s next?

I want to get some HIPS and a gallon of Limonene, some PVA, some NinjaFlex, some carbon fiber filament, some T-Glase, some Taulman 618, some Taulman Bridge, and a copy of Simplify3D.  Once I get experience with dissolvable support materials, flexible materials, high-strength nylon and reinforced ABS, and other exotic materials, I should have a pretty good handle on the current 3D printing landscape… Plus I’ll have that much more to offer on 3D Hubs.

Week 04, 2015 – SPAAAAAAAACE!

So, two days until my birthday! (Who am I kidding? We all know I’m posting this way after my birthday because ‘procrastination’ is my default mode of operation.) Something big is in the works!  Of course, to keep me from literally climbing the damned walls in anticipation– waiting ironically not going hand-in-hand with procrastination –I bought a game to pacify myself; Elite: Dangerous… It is, to say the least, pretty freakin’ awesome.  And I just had to bust out the Saitek X36 stick and throttle…even though the bloody thing doesn’t work under Windows 7 64-bit, and I’m literally using a Saitek X45 driver that I edited the USB VID/PID for to match the X36’s…

And I needed it, because this is a hardcore space sim. You’ve got control over everything.  I’ve seen video of a guy slipping contraband past station customs by making a docking request 7km out from the docking perimeter, accelerating straight at the station’s dock, and then cutting power to all his ship’s systems to reduce his heat signature below the customs ships’ detection threshold, and taking it into the dock on inertia with near-zero visibility– because his cockpit iced up from the cold –bringing everything back online, and throwing it into reverse inside the station. This is basically porn for anyone who’s ever wanted to be a space pirate or something.

Anyway, it got me thinking that, given the new awesomeness I’ve got arriving soon, maybe I should start thinking about making my own stick and throttle? Maybe even some control panels.  And I’m not the only one interested; I’ve already got somebody willing to throw in for one.

ヽ(。∀゚)ノ彡 SPAAAAAAAACE!!!

Week 03, 2015 – Big Things

2015-01-21 *Sigh* Yes, I’m back-dating these posts because I didn’t want to start the year off badly when the reason I kept being unable to sit down and write them was because I had so much cool stuff going on!!!

So I got a small investment from my mother, for my birthday. It’s going to buy something very, very, very, spiffy.

When I show off what it is, I’ll also be announcing what I hope to become a new feature of the site, as well as listing some projects I want to undertake.  Other than that, I’m still waiting on the screen printing article because I’ve got a few small but important items coming in, and because there’s a lot of photos I’d need to take that I haven’t yet.

Speaking of screen printing, I found a cheap IR-based flash dryer for $400 that some guy sells…builds them himself and it’s basically just the panel with a metal box built around it and a light switch to flip it on and off.  So I went straight to Intek and they quoted me a price under $200 for the same panel. (Way under.) Between that, and building my own 36-inch-long exposure unit– so I can do all the way up to 36×31 frames –for about $200…  I’d say I’m good on that front, it just might take me a couple months unless I come up with another source of funding.

Anyway, just over a week until my birthday!


Week 02, 2015 – On The Horizon

2015-01-21 *Sigh* Yes, I’m back-dating these posts because I didn’t want to start the year off badly when the reason I kept being unable to sit down and write them was because I had so much cool stuff going on!!!

For starters, I spotted this in the Adafruit Twitter feed: A DIY PCB ‘printer’ built around the laser pickup out of an Xbox 360 HD-DVD drive.  Oh man, to have one of those…

Second, I bought some fabulous stuff from Silkscreeningsupplies.com again: Several new colors of ink, a roll of pallet tape, spatulas, ink clean-up cards, and more… Plus I never detailed the items I picked up on Black Friday… And there’s still more ahead, so I’m going to do a couple big Screen Printing posts to cover it all! (Probably the beginning of February.)

That’s about it for now… I’m trying to get the house in order for various things that’re going on…

Go back to top