Subscription-Based Licensing; You’re Doing it WRONG, Autodesk!

Well, here it is, exactly one week before my birthday, and looking at Autodesk’s site this morning, I stumbled across a wonderful little present they’ve decided to give me; as of the 31st, they will no longer offer the perpetual licenses that I have been hoping to one day be able to afford, opting instead for an equally unaffordable subscription plan. Fuck me, right?!

As far as I can tell, they won’t even be offering suites anymore. (See update at bottom!)  You used to be able to get a whole suite of apps, such as 3D Studio Max, Inventor, AutoCAD and a ton of others, together for, what? Nine grand, one time? Now, you’ve got to pay like $1,900 a year just for Inventor.  Which is fine for all their big corporate customers who make all their software purchases without a second thought anyway, but any individual who isn’t a student is basically fucked.  Leaving people like me with no choice but to continue ‘stealing’ their software.

Yeah, I know, “What could some unwashed underachieving poor like you possibly know about such things?” Well, for starters, I can do the maths*, so that makes exactly one of us, Autodesk.  I also know that when Adobe launched Creative Cloud in May 2012, and went Subscription-only a year later, they didn’t try to put the screws to their customers and make it too expensive for individuals and micro-businesses.  An individual can get the whole fucking Creative Cloud suite– which actually has more apps than the old Creative Suite ever did –for $49.99 a month.  That’s affordable.  So affordable that it’s actually less trouble to go legit than to keep pirating it. Think about that.  Adobe made the Creative Cloud so inexpensive that it’s literally not worth the hassle to steal it.

And you tell me, even with such low prices…how’s Adobe doing?

learntomaths

Spoiler Alert: Their stock price has almost TRIPLED since they began offering Creative Cloud,
a subscription plan so cheap that even poor-ass people like me can afford it.


And because some people just have to be taught visually…
additional art courtesy of Google Finance:

moreartthanmaths

(Click to embiggen.)


* Oh, right, ‘the maths’… I almost forgot.  How many people out there do you suppose pirate your software, Autodesk? What if you made the subscription price more reasonable and even just ten percent of those people started paying for it?  Well, you know what they’re paying you now? In the immortal words of the hero of Canton:

“Ten percent of nothin’ is, let me do the math here…
nothin’ and a nothin’, carry the nothin’…”


UPDATE: Okay, so it turns out you can get a Suite subscription, the site was just harder to navigate than it should have been and there’s some UI/UX people who need to be shot out of cannons.  Not that it really matters, I mean, sure a whole suite is maybe $2,000 to $3,200 a year, instead of $1,900+ a year for one friggin’ app…but $160-260/month still isn’t affordable for the kinds of users I’m talking about. Plus, there should be an a la carte suite option so people aren’t saddled with a lot of apps they’re not going to use just because they want more than one app at all.

Week 50, 2015 – Quick Update… Quick like a Laser!

A blog post, on time?! Is it an illusion, or am I one miracle closer to sainthood?! (Is there an evil equivalent of a saint?)

I still haven’t posted the November Acquisitions– which ought to be a hell of a post considering I spent $2,500+! –nor the December Acquisitions… (Blame Fallout 4; 130 hours in and I haven’t touched the main storyline. great game!) So just bear with me for a moment!

Yesterday I finally got the stupid exhaust duct out of the laser cutter, having long since removed the original bed.  This required that I completely remove the XY table assembly.  I wasn’t too keen on doing this, but it turned out that it couldn’t really go back any way but how it was because of the tight tolerances. One interesting thing of note; the holes in the enclosure’s mounting flanges were properly made as part of its construction…but the ones in the XY assembly were very roughly drilled in the steel U-beams with no cleanup, I really don’t get it.  It’s like the whole XY assembly was handmade and put into an off-the-shelf machine enclosure. The cut-out in the rear beam for the exhaust was rough-hewn with some manner of saw, too. (And not even deburred!) In a perfect world, I would have taken the XY assembly completely out of the machine and cleaned those up, deburred the edges, and so on…but life’s imperfect.

Anyway, now I have to align the mirrors… I needed to do it anyway because I hadn’t after receiving the unit, but now that I’ve taken the whole bloody carriage out and put it back in, I definitely have to do it.  There are some helpful 3D-printable tools for this, which I will link to down below.

After that’s taken care of, I can find the focal point of my laser and that will help me determine how to mount my new honeycomb bed.  I ripped out the shitty old bed which was utterly useless, and now with it and the exhaust duct gone, I can cut/engrave basically the entire space within the XY table area… That’s like 12×14 inches, certainly a fair sight better than the 9×12 the machine is supposed to do*, and it sure makes the 12×12 sheets of birch plywood I picked up more useful.  (*And the work-holding clamp in the stock bed had a capacity of like 2.5×6 inches or something absurd like that, and you only got the 9×12 if you laid something on TOP of that.)

Though, after everything is back to normal, I’m going to want to install my new air-assist head and high-quality 18mm Zinc-Selenium lens… The air assist will aid in cutting by blowing smoke out of the way of the beam, as well as helping to keep stuff from getting deposited on the lens and mirrors. (And blowing out small flare-ups.) The lens is purported to give a 15-20% increase in power over the regular lenses they were selling, and I’m sure those are already a little better than the stock lens.

Doing that will of course require me to readjust the bed height to account for the new lens height and focal length…but such is life.  I don’t want to do all my upgrades at once and then try to figure out why everything’s gone to hell.

Links!

Here’s some helpful links for laser cutter users.

Week 46, 2015 – Radiation and the Stimulated Emission Thereof

A new post? After Fallout 4 was released?! And it’s actually ON TIME?!?!?!  Yeah, I amaze even myself sometimes.

Five days ago, Fallout 4 dropped.  So I’ve kinda been doing nothing but playing that since then…  But that doesn’t mean nothing of note has been going on, because yesterday… This happened.

Excuse the certain earthy potato-like flavor of these pics, I used a Samsung Galaxy S3 to snap them, because I’m sick of not getting these sorts of liveblagging images when I can’t be bothered to set up a bunch of lights and a tripod.  I need a point-and-shoot that can do RAW. :<
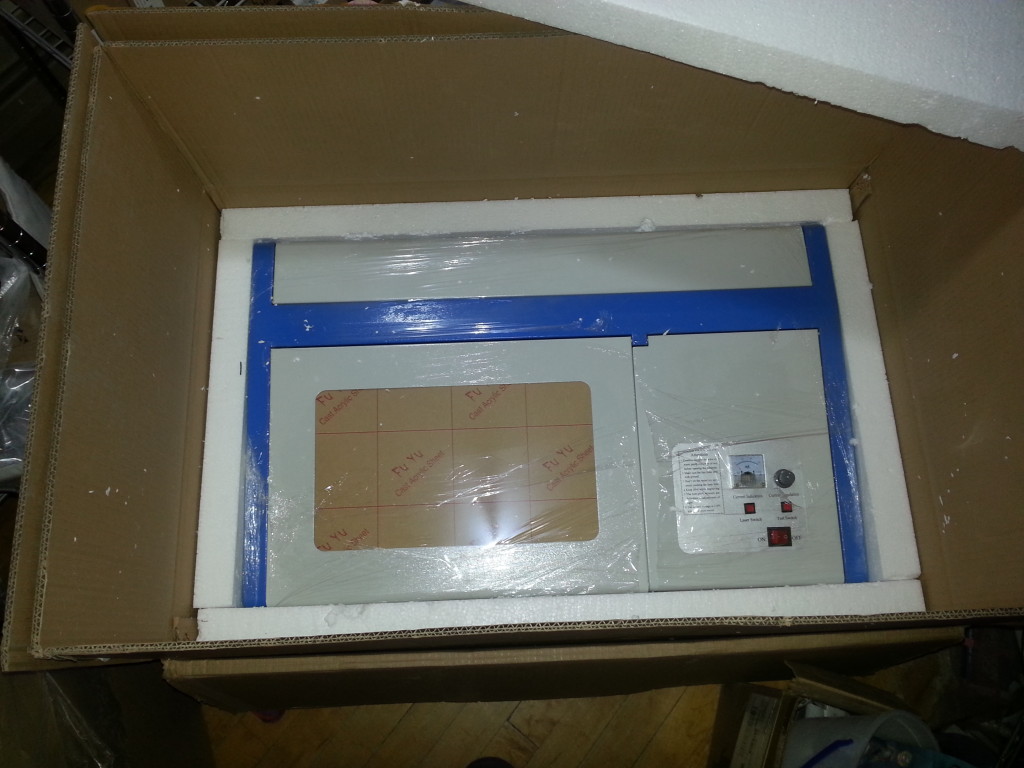
20151114_124850

A FREAKIN’ LASER! From China, with cheapness.

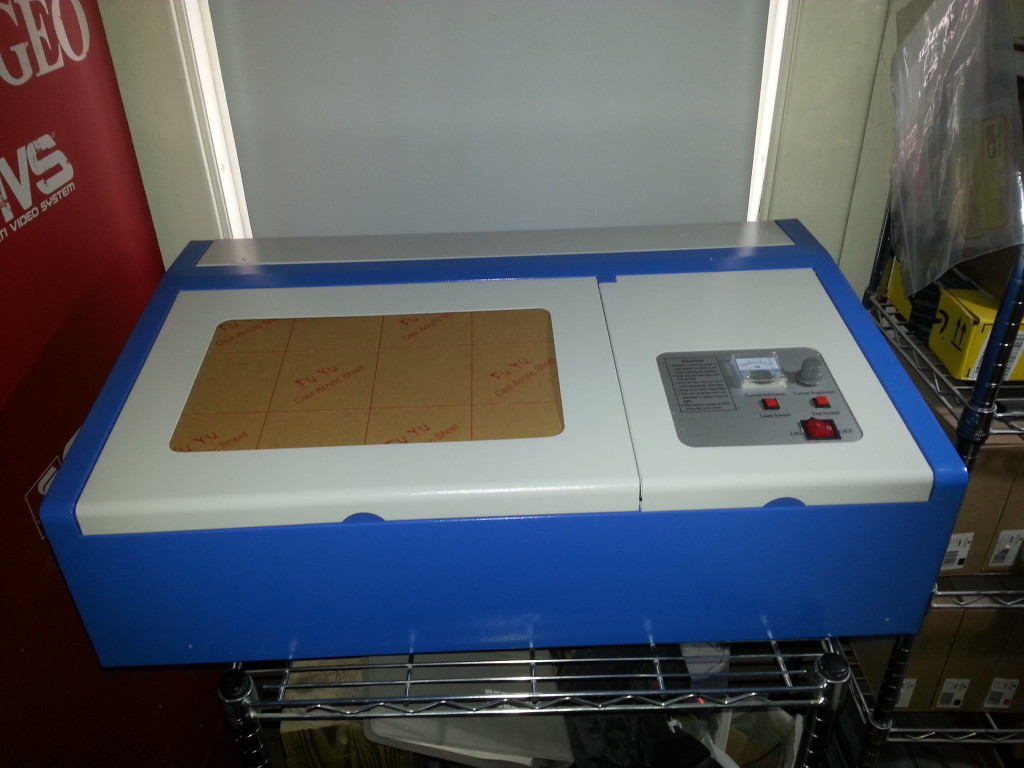
20151114_125925

In its new (at least temporary) home between the 3D printer and the NEO-GEO cabinet.

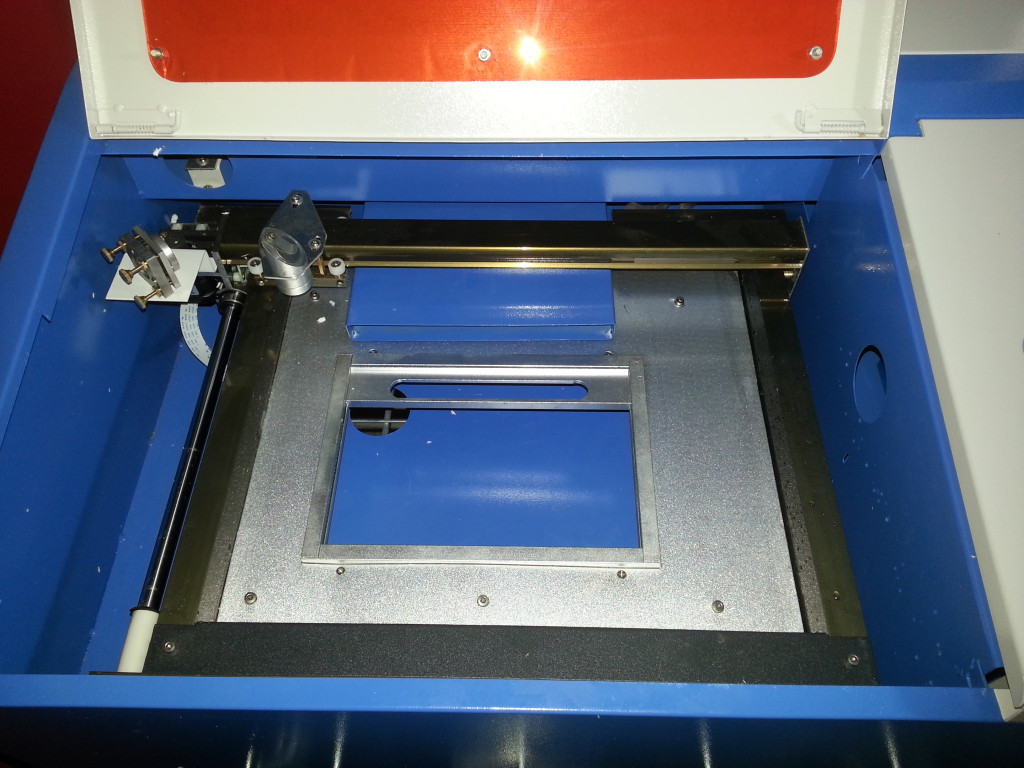
20151114_125948

The inside. I’m going to need a power bed upgrade and an air assist… And I’d like to get rid of that stupid exhaust duct.

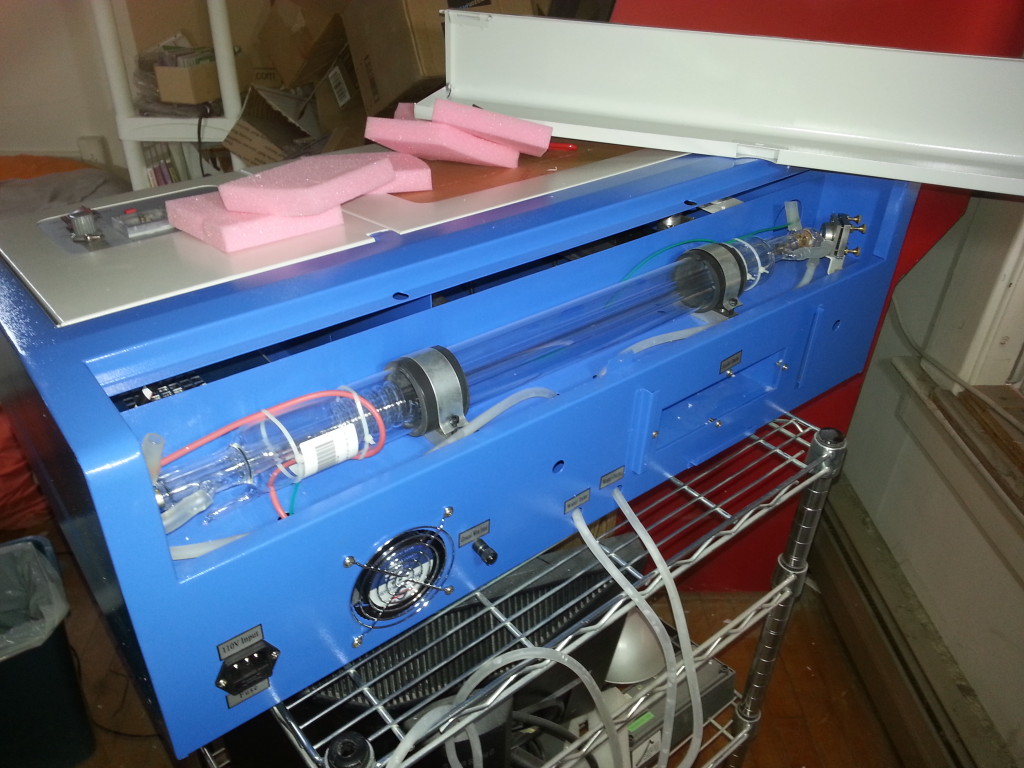
20151114_145000

A 40 Watt, water-cooled, CO2 laser tube.

20151115_030755

The second test, after using the laser to engrave the word ‘TEST’… I wonder what it is?

20151115_032119

It seems Vault Boy approves of my use of ‘Science!’ Guess I can go back to Fallout 4 now.

I’ll do a more in-depth look at the laser soon, as well as the November acquisitions post.

Frequency of Updates and Placeholders.

This post is a sticky, it will remain at the top of the page for the time being, new posts will continue to appear below it, so keep an eye out.

You’ve no doubt noticed that I have a hard time keeping on the update-a-week minimum, but I do try and go back and fill them in as best I can to cover what’s been going on, and I’ll continue to do that.  Just fair warning; Fallout 4 is about to come out, so I may never be heard from again, until there’s a way to send blog posts from within the game.

Also, a note on the media placeholders: Those are to remind me of images I still need to rescue from my doomed storage array or that are still working their way through my processing queue, part of my massive backlog.  I had something like 6+ months of posts that were piling up in draft form simply because I didn’t have the pictures for them, so I made this placeholder and started publishing instead of piling.  It’s not ideal, but life’s imperfect.

Week 41, 2015 – October Acquisitions

Gotta feed that printer! Filament from hell to breakfast, read the breakdown after the jump! Read more…

A Regular Pint-Sized Atom Bomb

falloutanthologySo, Fallout 4 comes out in just over a month.  To kill time while I wait, I’ve decided to start making Fallout props.  Starting with this Fallout 4 version of the 10mm Pistol, by lilykill on Thingiverse. Pictured here with my awesome Fallout Anthology box and its Mini-Nuke.

After I re-print the side pieces so their orientation match (They very obviously don’t match.) I’m going to print the other weapon mods, and then at minimum give the whole thing a nice sanding. Though…I might just skip finishing this one (I probably should finish it though.) because I want to re-model the gun from the ground up in Inventor, with ‘function’ in mind. I want to be able to rack the slide, and remove the magazine and stuff.

The post title is of course a reference to the song ‘Atom Bomb Baby‘ by The Five Stars, a real song from the 1950s that you can hear on the radio in Fallout 4.  (And which they used in what is now one of my favorite game trailers of all time. Where you can also see the Mini-Nuke and the 10mm Pistol in action…in fact, the modeler of the pistol used that video and the crafting demo video for reference.)

Week 37, 2015 – Everything’s (not) Ruined Forever!

So… That went well.

I ended up with a hard plug of PLA in the teflon tube of my printer’s hotend, and trying to clear it I mangled the teflon tube.  Of course, to get even that far, I had to completely disassemble the hotend.  And since I was doing that, I figured it was a good time to replace the thermocouple on the left extruder. And since I was doing that, I figured I’d do some upgrades I’d been planning on. And since I was doing that, I figured… Yeah, the slope just kept getting slipperier and slipperier.

Things didn’t go terribly as you can can see in the few pictures I took…  Nonetheless, things were not working correctly.

Dual-extruder assembly removed from printer.

Dual-extruder assembly removed from printer.


Old thermocouple unplugged from MightyBoard.

Old thermocouple unplugged from MightyBoard.

So, I got it back together, with some modifications…  I like the replacement top plate… The 3D-printed strain relief for the cable bundle and the pneumatic press-fittings for the PTFE bowden tubing are fantastic additions.  However, the spring I used in the new 3D-printed extruder was not up to the task and was simply not capable of extruding anything…

Partially re-assembled extruder.

Partially re-assembled extruder.

I ended up disassembling and reassembling the whole thing two or three more times before I got it back up and running.  Still, I’m not happy with the hotend barrels I got off Amazon, they have PTFE linings with a 2mm ID and 4mm OD, and are threaded full-length.  The original barrels only had threads at the end, the rest was smooth, and used PTFE tubing with a 2mm ID but a 3mm OD, and the temperatures and behavior of the new parts were very different.  Also, the original nozzles butted up against the barrel, but the PTFE tube extended down into the nozzle…  The new barrels’ linings don’t stick out…but I do have additional nozzles designed to interface like that…so I put those on there.  Nonetheless, I’m going to try and get some 3mm OD tubing.

UPDATE 2015-09-16: Teflon Tubing Trials and Tribulations.
I couldn’t actually get PTFE tubing via Amazon Prime, so I had to order it from China– meaning it will be here whenever it bloody-well feels like it –and instead I ordered some PFA tubing that was rated for the same temps as PTFE.  Anyway, that’s a god damned lie, because when I went to print PETG, the god damned PFA tube liquified.  Not ‘melted’, not ‘distorted’ or ‘deformed’…it straight-up fucking liquified, leaving a quarter-inch blockage of rock-hard PFA in the end of the barrel.  Managed to get printer back up and running by using one of the new nozzles, and the old barrel, and cutting the original PTFE liner so that it’d fit. (And thus removing the part that’d been all crinkled up.)

Melted PFA tubing.

Melted PFA tubing.

Week 36, 2015 – September Acquisitions

Well, let’s see here…  First of all I got a replacement part for my computer chair, because the bloody thing basically broke in half a week or so prior… I actually found a reinforced one on Amazon with Prime shipping, and had it overnighted for the extra four bucks!  But we’re not here to talk about that.

I got a whole lot of cool stuff, some of it very important. Details after the jump! (Pictures are coming) Read more…

Week 23, 2015 – We Are Now In Control (Part II)

In the previous post I talked about the mod I made to turn the practically useless rotary dials on the X36’s throttle into a pair of On-Off-On momentary switches.  Well, Elite: Dangerous is a very demanding game when it comes to controls…  It’s not quite up there with Steel Battalion… Nonetheless, there’s a lot of ship functions you might want to have at-hand… Landing gear, cargo scoop, exterior lights, chaff, shield cell (consumable power cells to dump power into shields), silent running… All sorts of stuff.

First I needed a controller board… I had an old USB arcade controller board sitting around, so I reused that. (Just takes a bunch of simple on/off inputs and turns it into a game controller.)  The second hurdle was designing the switches… The toggle switches I have are relatively small, and besides being hard to hit in the heat of the moment, they’d also kinda hurt. So I decided to design and 3D print caps for them like I did in the previous article.  I also wanted guards to separate the different switches in the bank.  Well, I found both solutions in the same place; the design of the switches and switch guards in the Space Shuttle cockpit.

mct_placeholder

Drawings of the parts.

mct_placeholder

Prototype parts.

mct_placeholder

Test assembly.

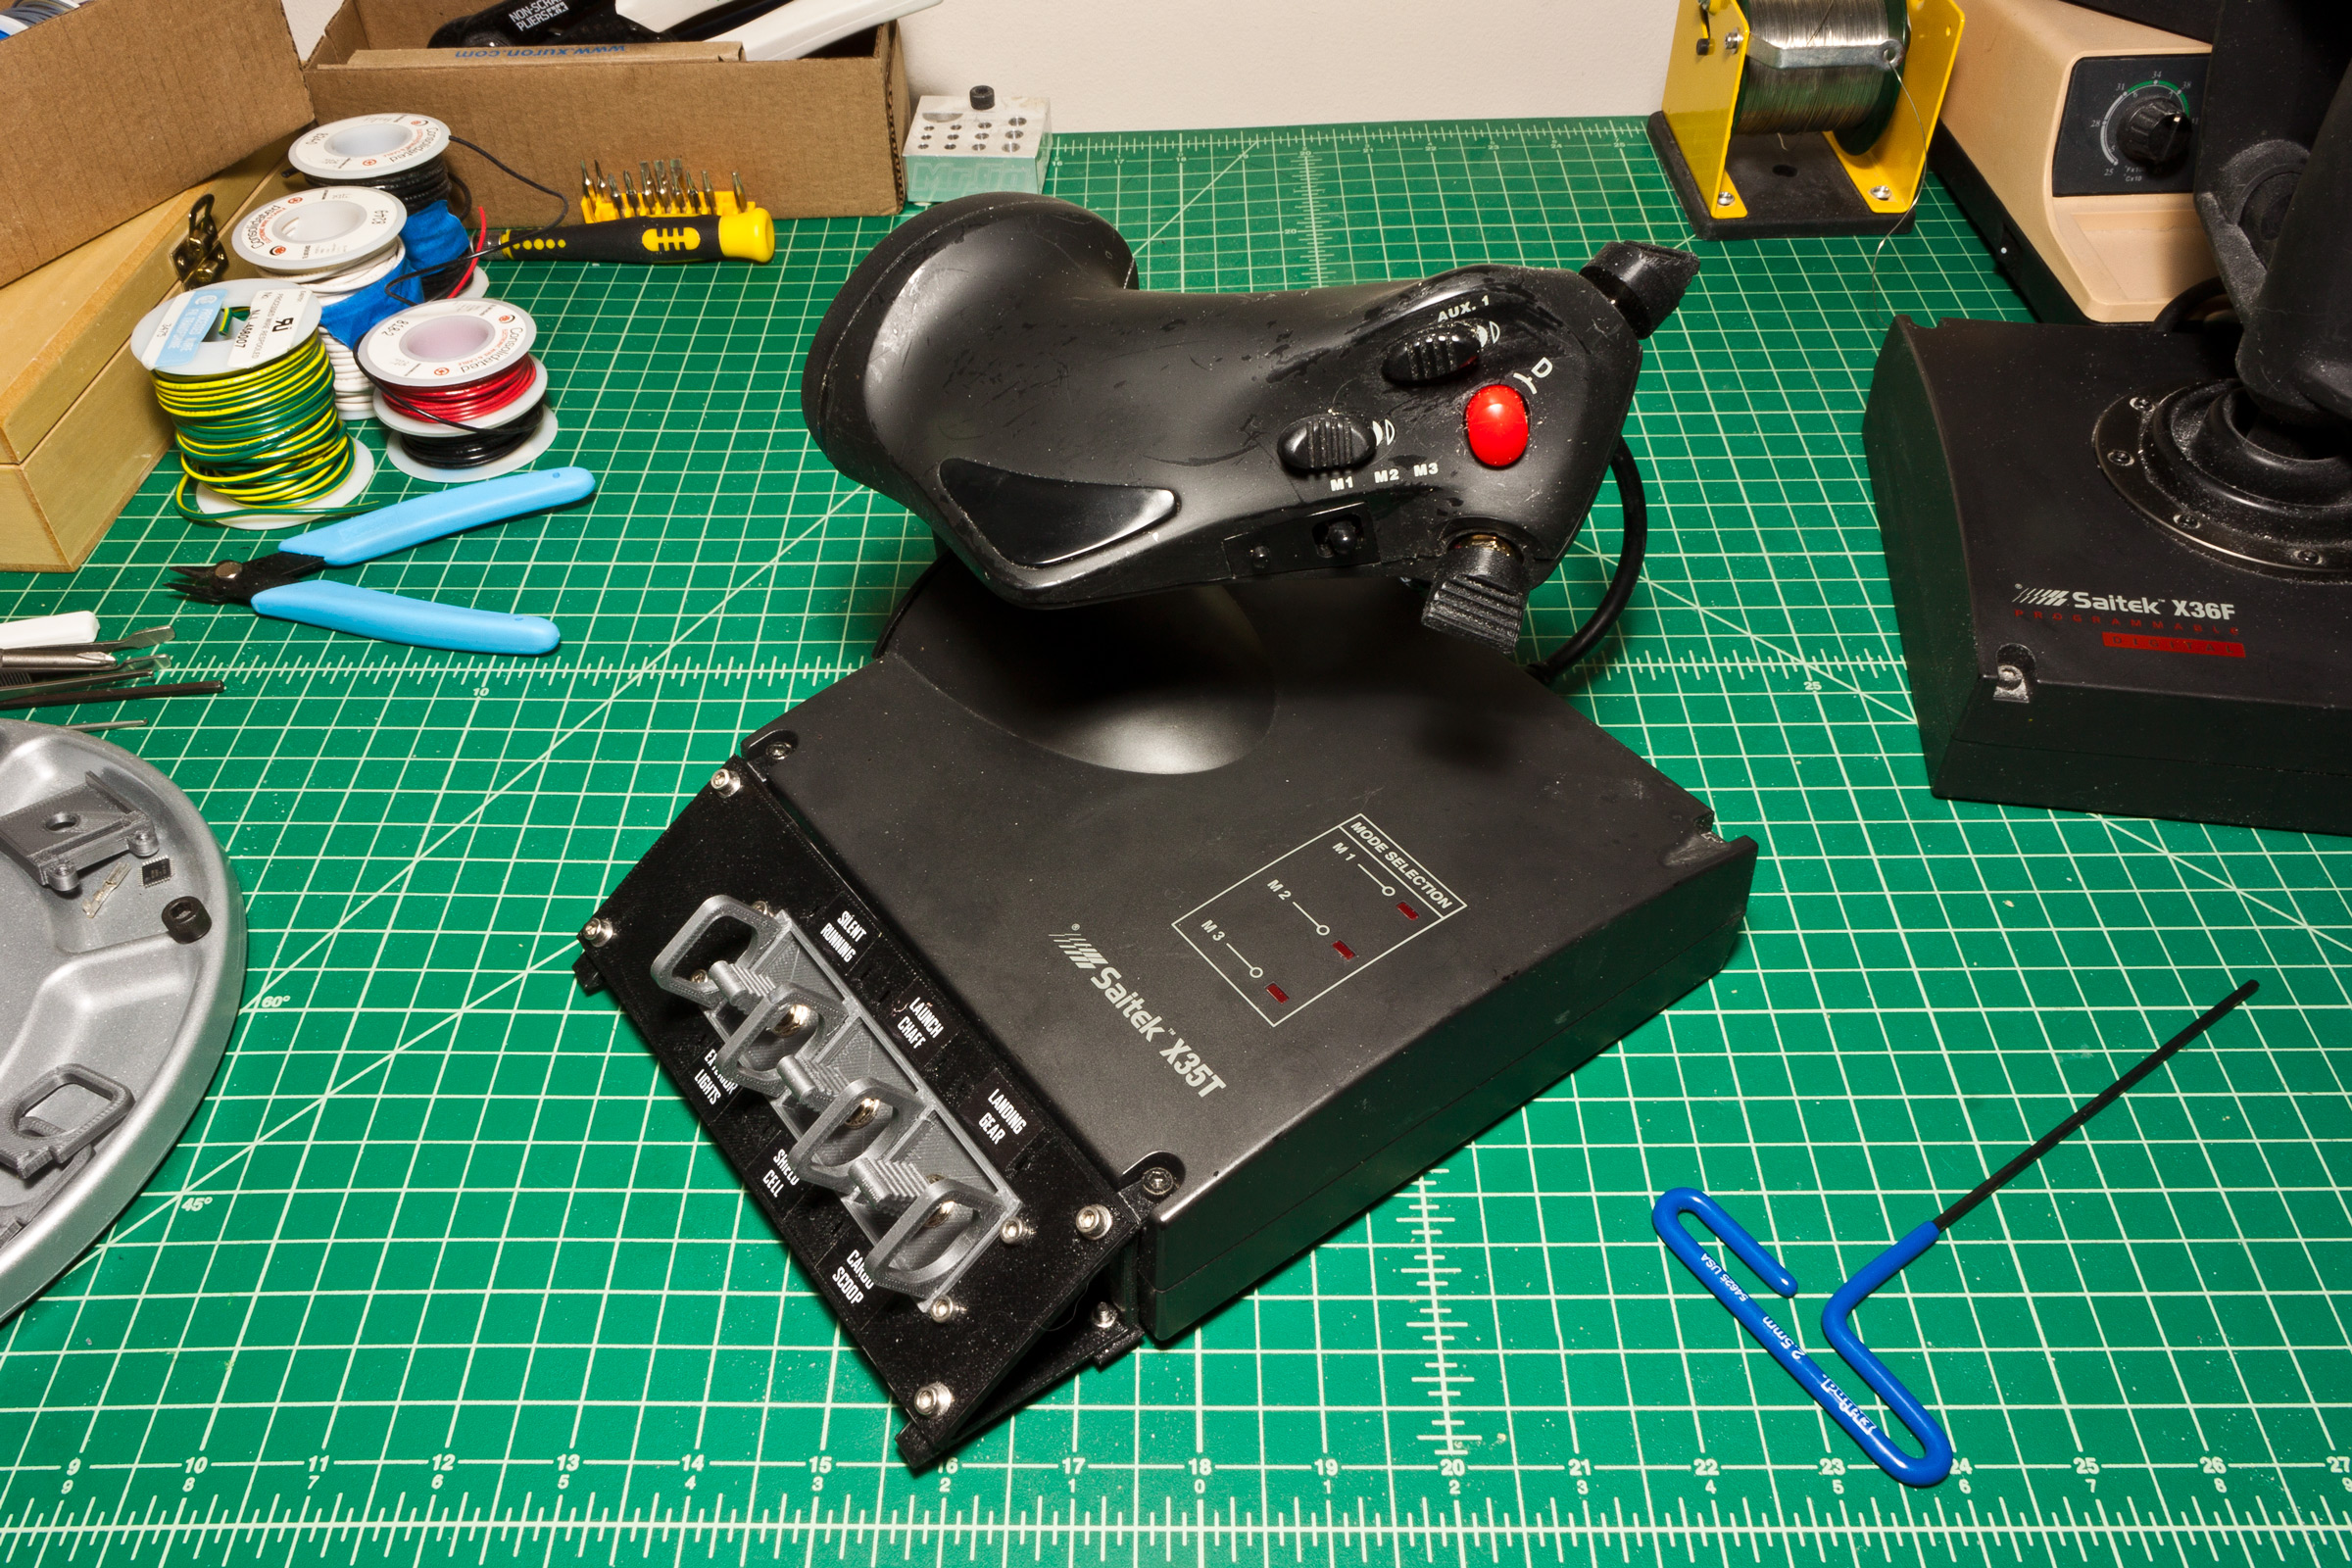
The next problem was figuring out how to attach it to my flight controls… I ended up settling on designing and 3D printing a little housing that hook into the keyed holes in the throttle’s underside for the optional suction cups that let you secure it to a surface, and at the top I simply added tabs that went under the pre-existing case screws.

It ended up being a very elegant little solution, though I’d certainly like to revisit it at some point to make it even better.

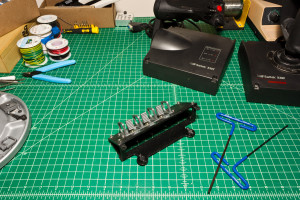
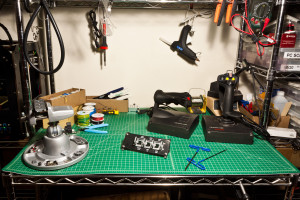
x36switchpanel_02

The assembled switch panel, showing the mounting points.

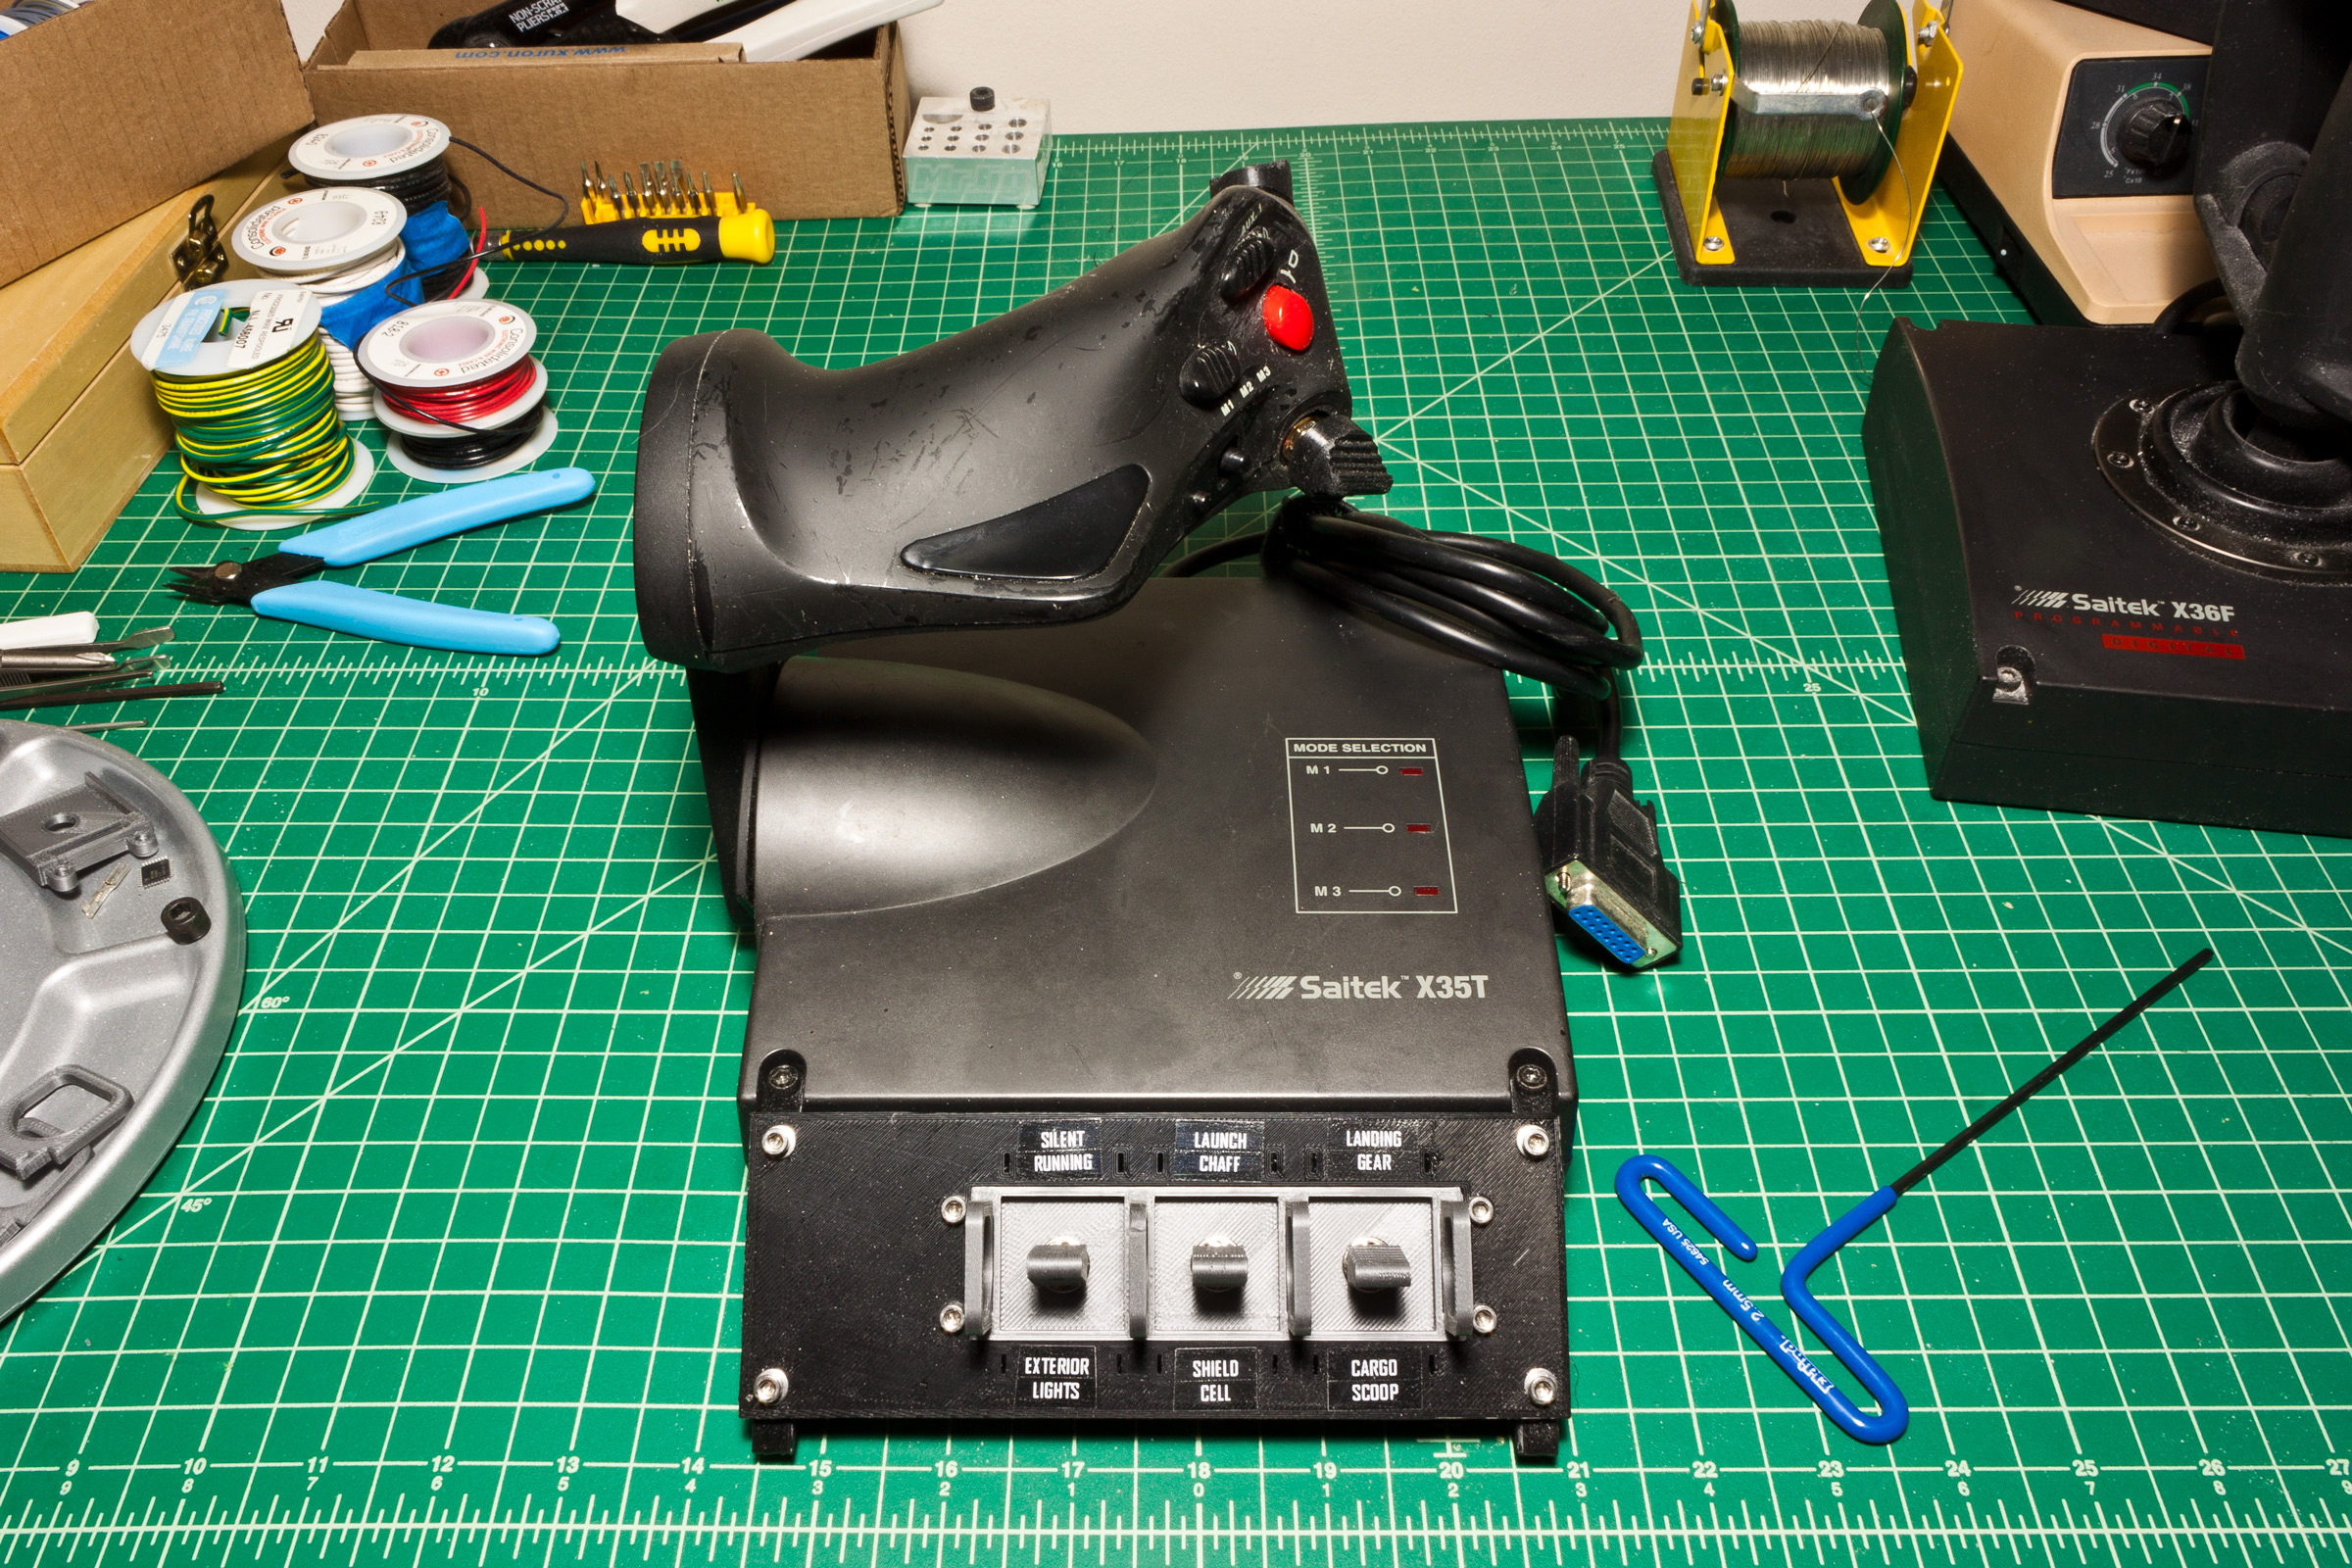
x36switchpanel_01

The assembled switch panel.

I’d like to to try this again, with laser cut/etched acrylic for the panel… Because then I could add backlit markings and the whole deal.  I’d also, of course, like to try making the switch parts out of actual aluminium.

First though, I need to come up with a better method of attaching the parts to the switches– such as threading the shafts of the switches –as well as a method to shorten the shaft to better accommodate switches the way I want them. (Example: The thumb switches on the throttle have an additional like 4-6mm of height because of how far up into it that shaft of the switch has to be concealed.) And of course, having them threaded, with threaded inserts in the caps, would prevent them from rotating.

Anyway… Those are conversations for another day!  Here’s what it looks like assembled:

x36switchpanel_03x36switchpanel_04


Week 22, 2015 – We Are Now In Control (Part I)

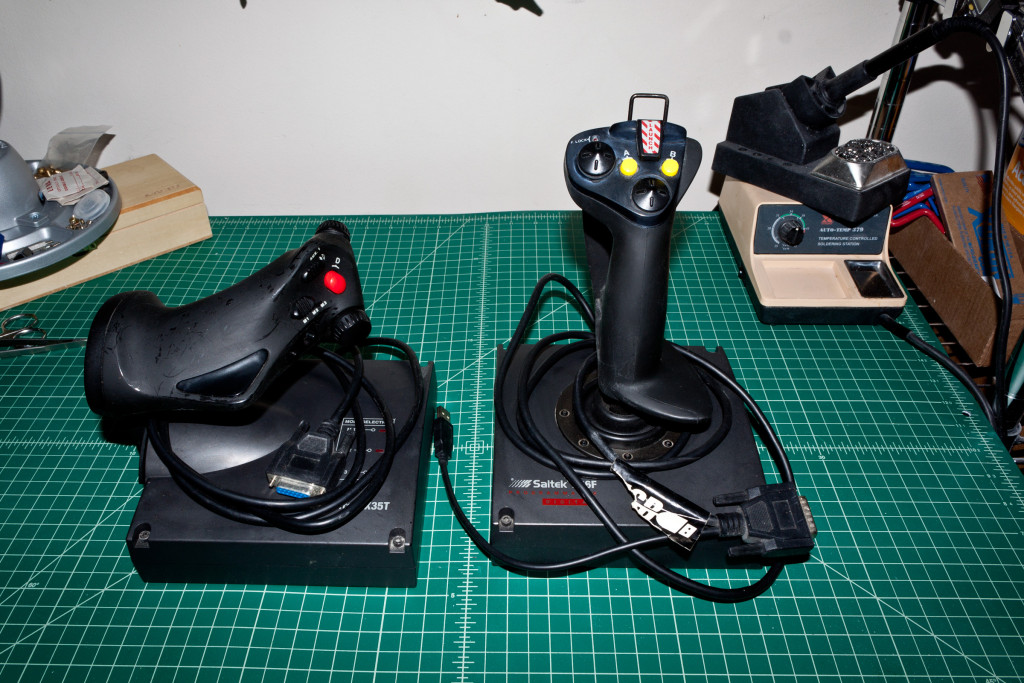
Ever since I saw a magazine ad for one over a decade and a half ago (Yes, a magazine, like the printed-on-paper kind!) I desperately wanted a Saitek X36 HOTAS, but they cost like $200 and that was the gameport version! They later released a version that also had USB, but by then I had too much other stuff on my mind and years passed (As they tend to do.) until finally, a few years ago, I snagged one on eBay for $12 shipped (!?) and then a few months later another for like $30, because why wouldn’t I have spares?  This was of course just in time for the Elite: Dangerous hype.

x36throttlemod_01

A little worse for wear, but not bad for being over a decade old, and certainly not bad for $11.95 including shipping!

But, because this is me we’re talking about, things cannot possibly be that easy, can they? Read more…

Go back to top